
Okay, let’s be real for a sec. Does the thought of cooking shrimp make your palms a little sweaty? I totally get it! It seems like this fancy, difficult seafood that’s super easy to mess up. But trust me, it’s not! I’m Lisa Park, and I coordinate all our recipe testing, and I still remember my own shrimp-cooking panic one summer night when friends were coming over. I was so worried about messing it up, but I found this super simple garlic butter recipe and, *poof*, my friends were raving and asking for seconds! That right there is why I’m so thrilled to share The Ultimate Shrimp Recipes Guide for Beginners with you. We’re going to bust this myth open and show you just how easy and impressive shrimp can be, even if you’re just starting out in the kitchen.
Why You’ll Love The Ultimate Shrimp Recipes Guide for Beginners
Honestly, cooking shrimp doesn’t have to be scary! This guide is designed to make you feel like a pro, fast. Here’s what makes it so great:
- Super Easy: We break everything down into simple steps so there’s no guesswork.
- Lightning Fast: Seriously, we’re talking about a delicious meal that’s ready in minutes – perfect for those busy nights when you need a quick dinner.
- Incredible Flavor: You’ll be amazed at how much deliciousness you can pack into simple shrimp dishes. Get ready for those “wow!” reactions.
- Impress Your Friends (and Yourself!): These recipes are so good, everyone will think you spent hours in the kitchen.
Essential Equipment for Your Shrimp Adventure
Don’t worry, you don’t need a fancy kitchen for this! For our ultimate shrimp recipe, you’ll just need a few basic things:
- A medium bowl for mixing everything up.
- A large skillet for getting that perfect sear.
- A couple of paper towels for drying those shrimp – this is important!
- Some trusty tongs to flip those little guys perfectly.
Simple Ingredients for The Ultimate Shrimp Recipes Guide for Beginners
Okay, let’s get our ingredients ready! You’ll be surprised how few things you need to make something this delicious. These are the stars of the show for our super-simple shrimp dish:
- 1.5 pounds medium shrimp: Make sure they’re deveined! You can leave the tails on for a pretty presentation, or peel them all off if that’s easier for you.
- 0.75 teaspoon kosher salt: Kosher salt just dissolves nicely and gives you great flavor control.
- 0.75 teaspoon smoked paprika: This gives a lovely, subtle smoky flavor. If you don’t have smoked paprika, regular paprika is totally fine, just know the taste will be a little different!
- 0.75 teaspoon garlic powder: Because garlic makes everything better, right?
- 0.75 teaspoon onion powder: Adds a nice savory depth without having to chop an onion!
- 0.75 teaspoon cumin: Just a little earthy kick.
- 3 tablespoons butter or olive oil: Here’s a little tip! You can use all olive oil if you prefer, especially if you’re worried about the butter burning. Or, do like I sometimes do and start with the oil for heat and finish with the butter for amazing flavor.
- 3 lemon wedges: For that essential bright, fresh squeeze at the end.
- Fresh parsley or cilantro for garnish: This is totally optional, but it makes the dish look so pretty!
Step-by-Step: Mastering The Ultimate Shrimp Recipes Guide for Beginners
Alright, let’s get cooking! This is where the magic happens, and trust me, it’s way simpler than you think. Just follow these steps, and you’ll have amazing shrimp in no time. For more ideas on perfect sauteed shrimp, check out this great guide!
Preparation is Key: Thawing and Drying Shrimp
First things first, if your shrimp are frozen, make sure they’re fully thawed. Pop them in the fridge overnight or use the cold water method. The most CRUCIAL step is to get them super dry with paper towels. Seriously, pat them all over! This little trick helps them sear up beautifully instead of just steaming in their own juice. Nobody wants soggy shrimp, right?
Seasoning Your Shrimp for Maximum Flavor
Now for the fun part! Grab your medium bowl and toss those nicely dried shrimp with our spice mix: kosher salt, smoked paprika (or regular!), that essential garlic powder, onion powder, and a pinch of cumin. Just give them a good, gentle toss so each little shrimp gets coated in all that yummy goodness. This seasoning really makes them pop without being overpowering.
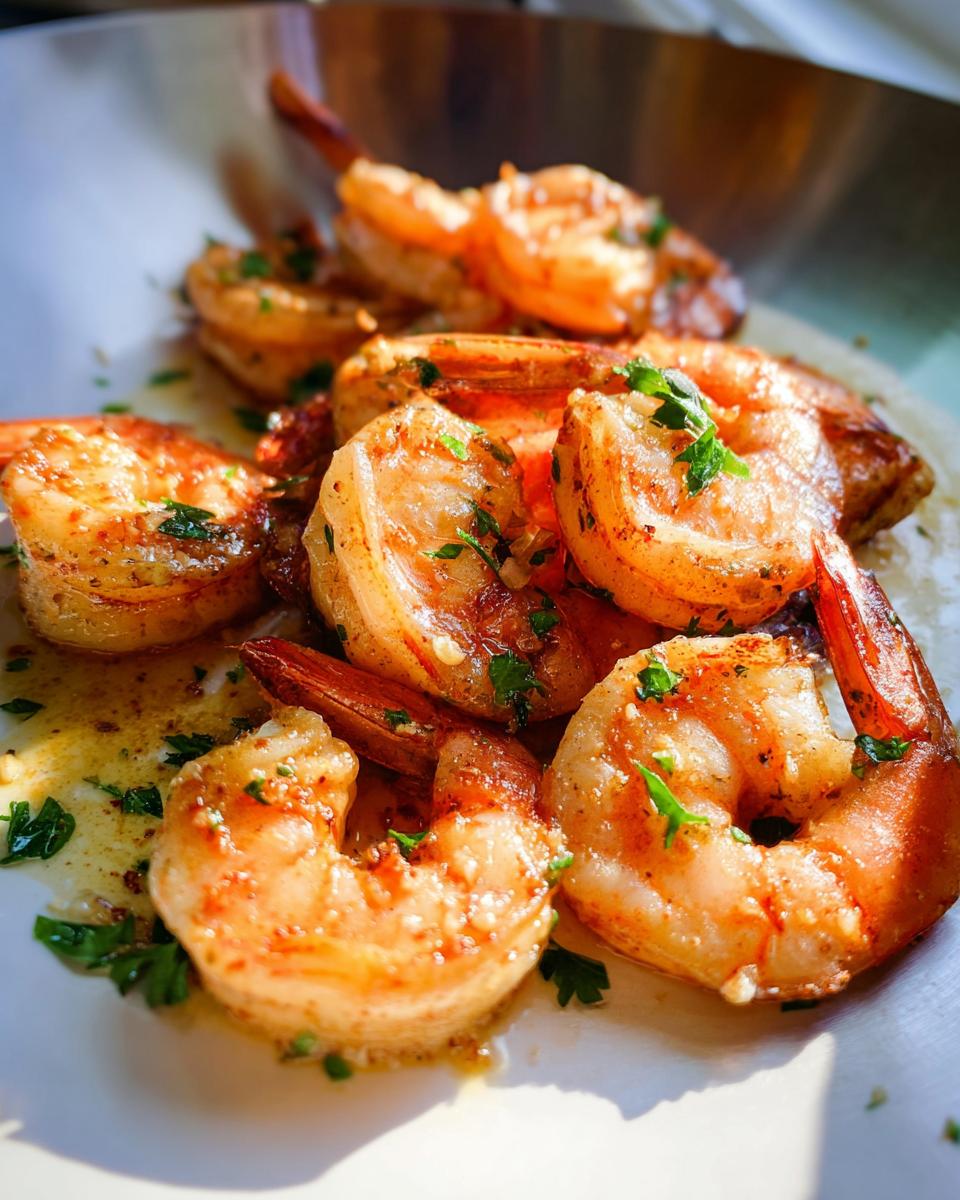
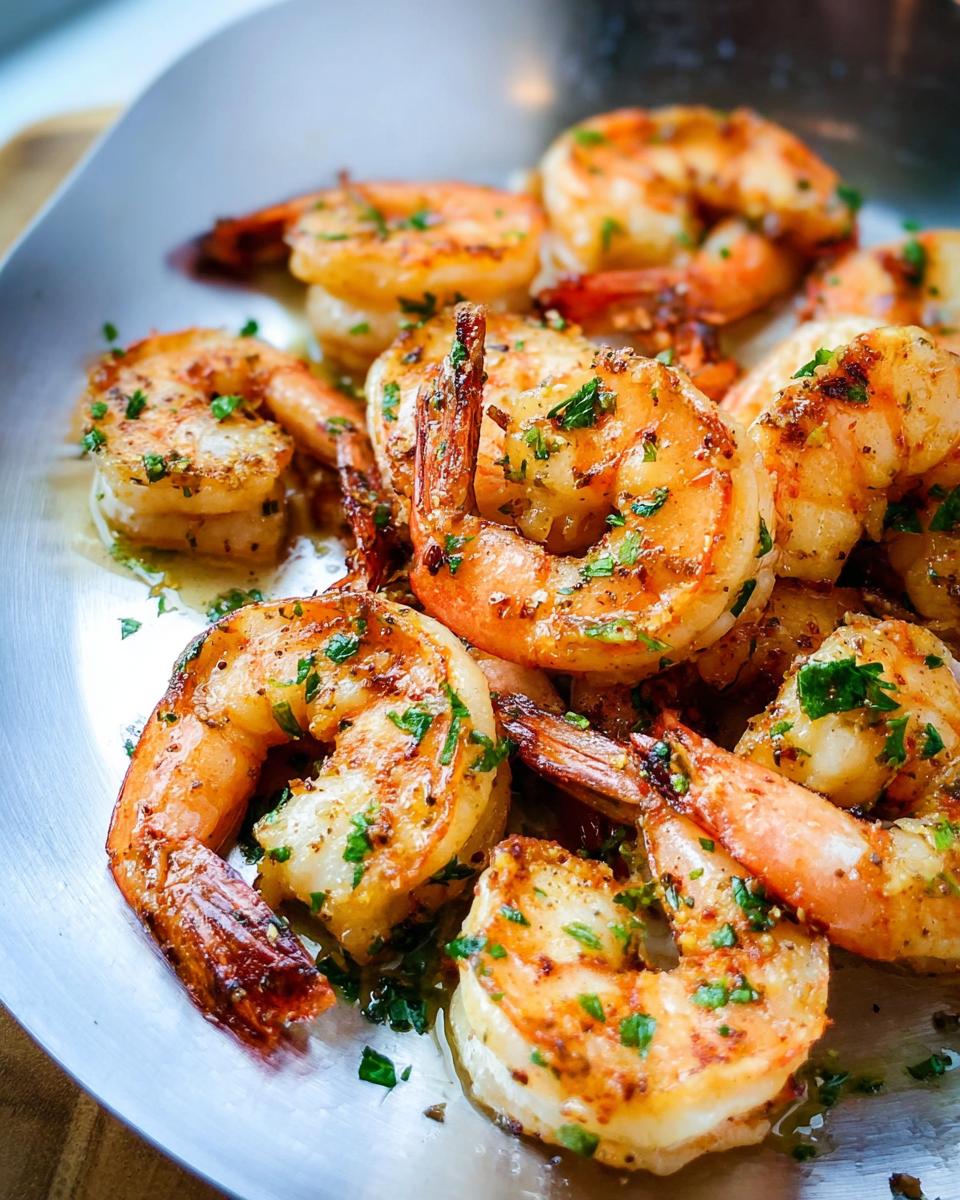
Achieving the Perfect Sear: Cooking the Shrimp
Get your large skillet nice and hot over medium-high heat. Add your butter or olive oil – remember our tip about starting with oil and finishing with butter? If you’re using both, let them melt and get shimmery. Carefully add the seasoned shrimp to the pan. Don’t crowd them! If your skillet is too full, they’ll steam. Cook them for just 1-2 minutes per side. You’re looking for them to turn pink and opaque. Use your tongs to flip them gently. Once they’re cooked through, take them off the heat RIGHT AWAY! Overcooked shrimp get rubbery fast, and we don’t want that.
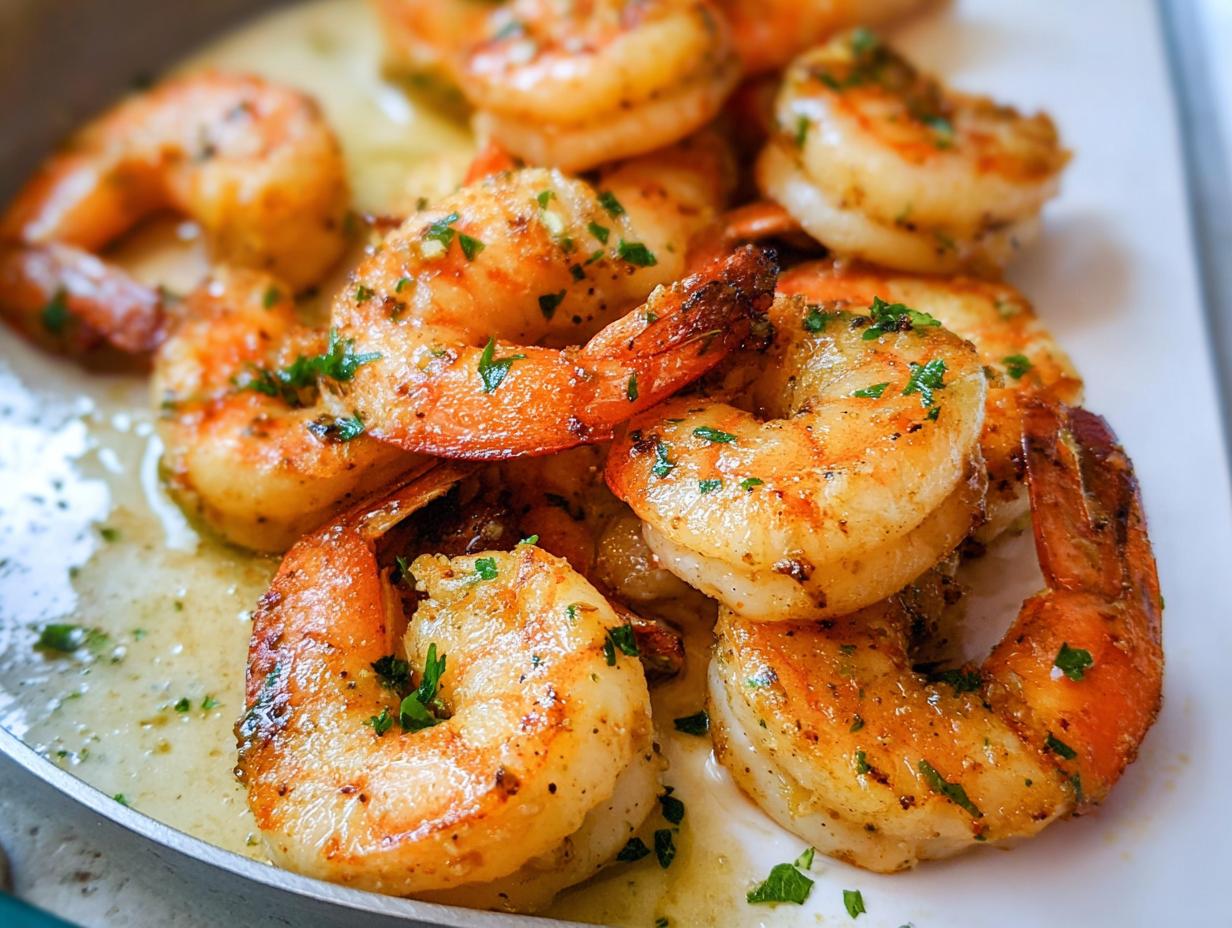
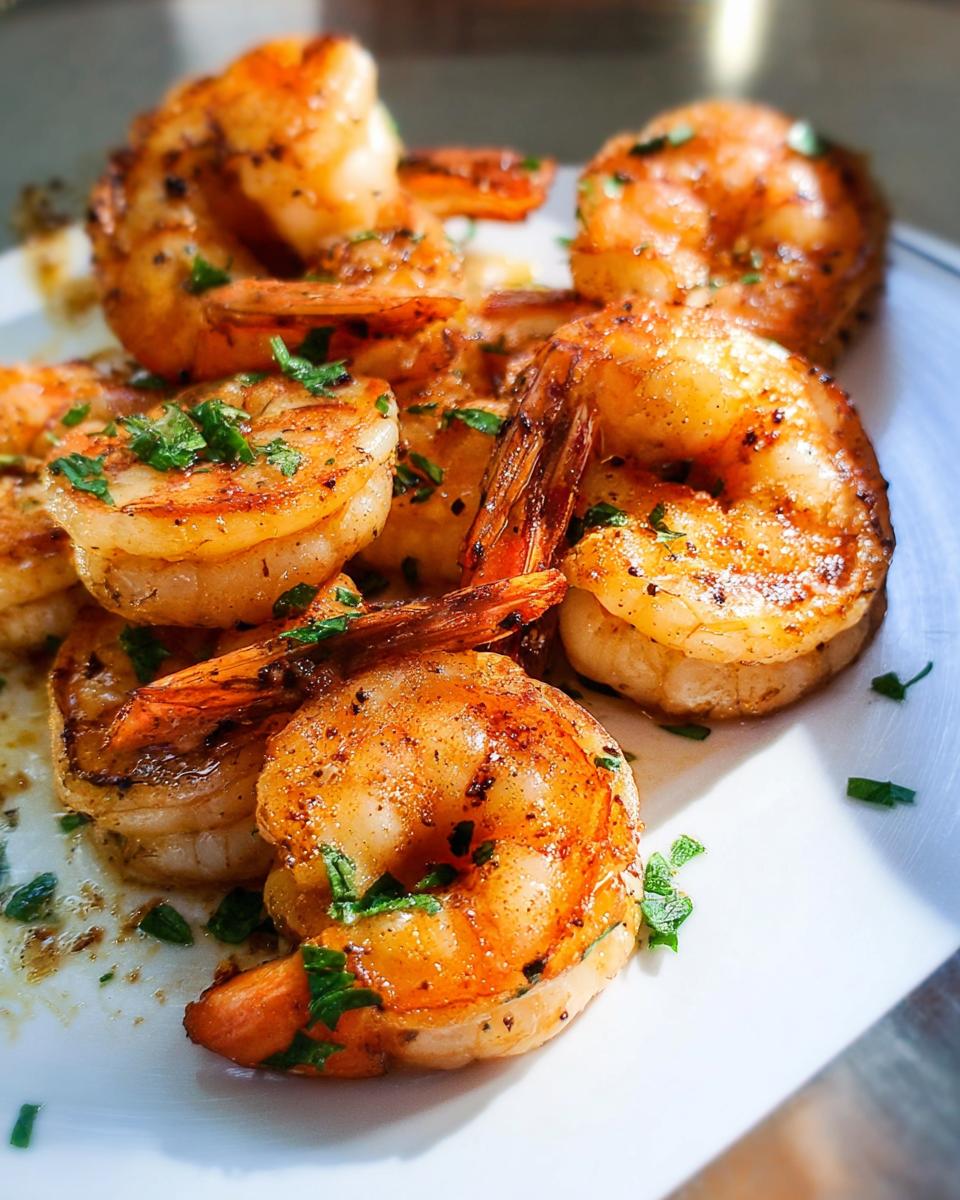
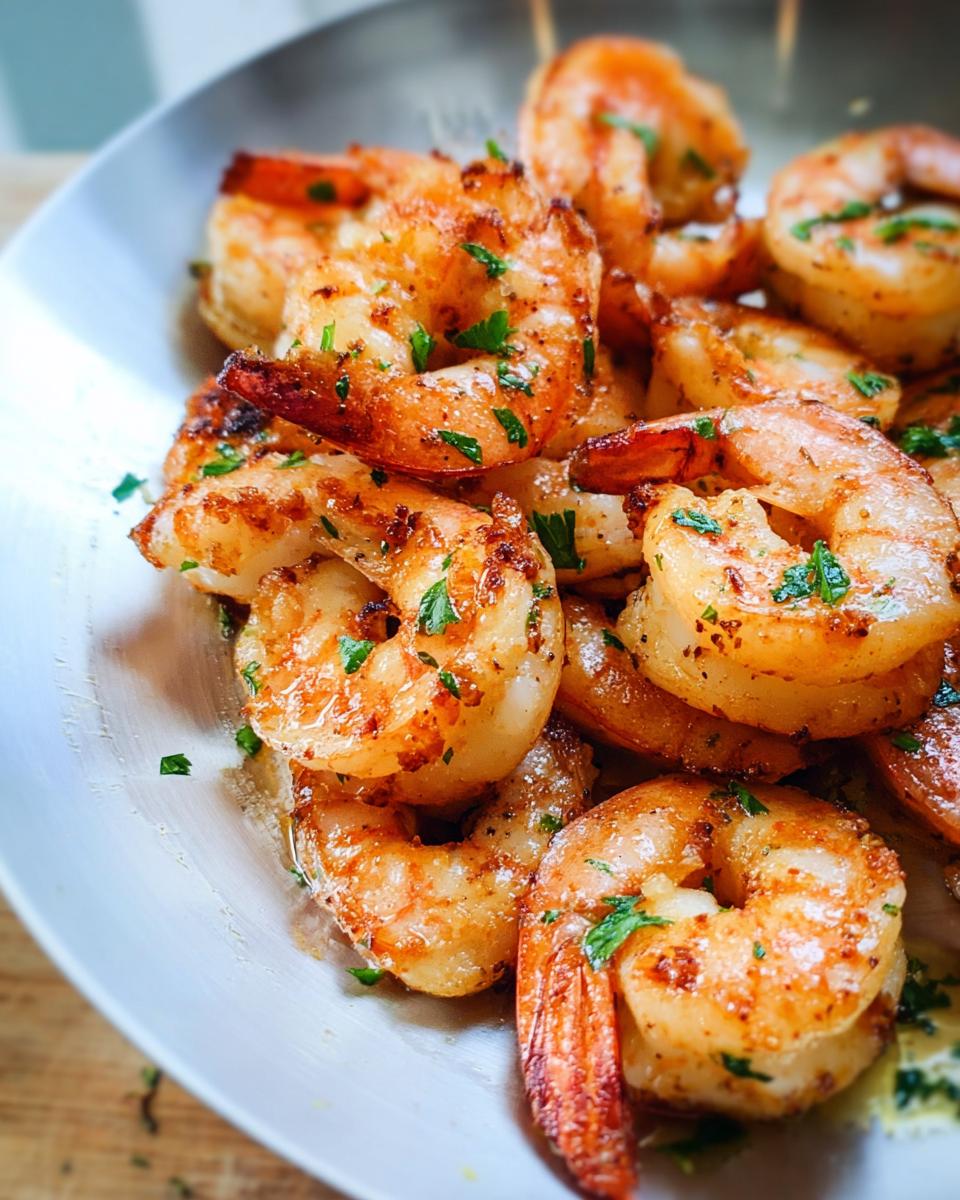
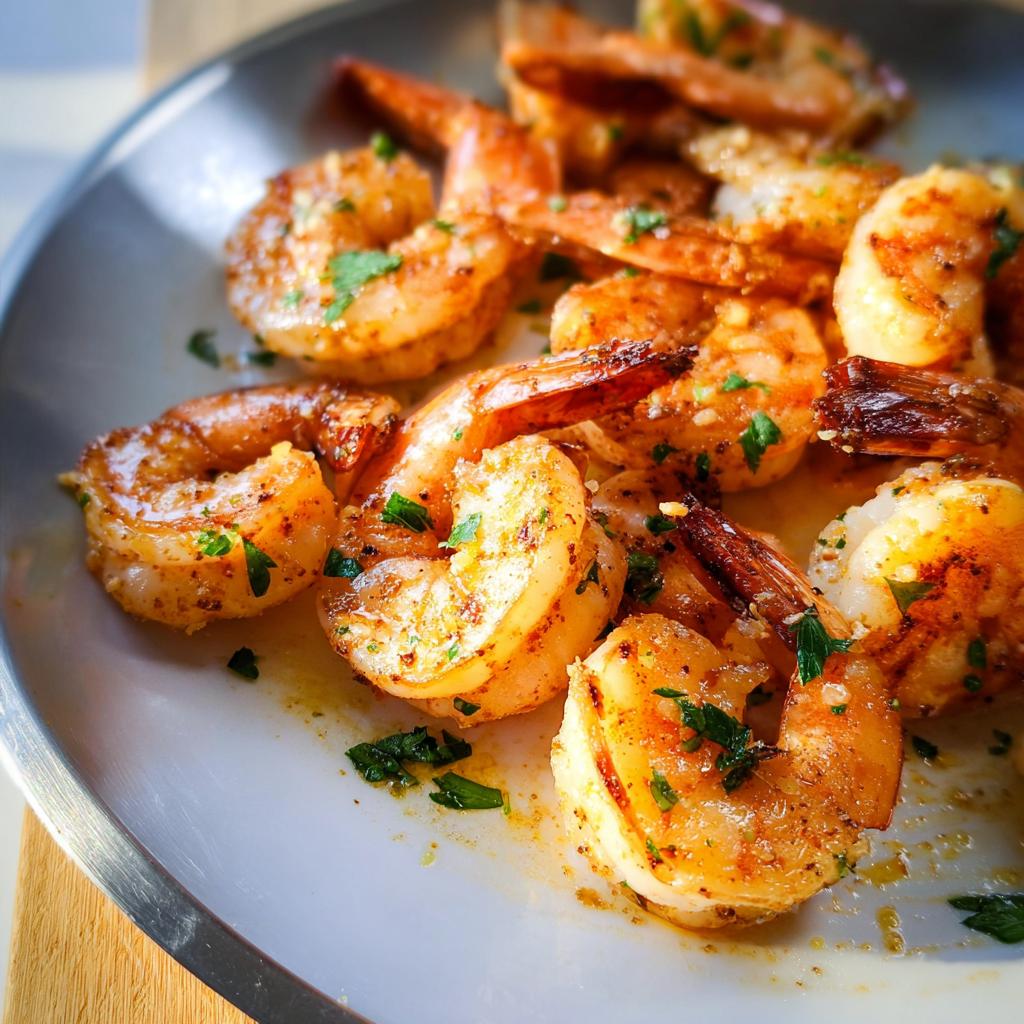
Finishing Touches and Serving
Right after you take them off the heat, give them a good squeeze of fresh lemon juice. This brightens everything up perfectly! If you’re using it, toss in some fresh chopped parsley or cilantro for a pop of color. Serve these beauties immediately! They’re best enjoyed piping hot, straight from the pan.
Tips for Success with The Ultimate Shrimp Recipes Guide for Beginners
Okay, my beginner chefs, let’s chat about a few little tricks that will make your shrimp cooking journey even smoother. It’s all about knowing those little secrets that elevate your dish from good to *amazing*! First off, when you’re buying shrimp, look for ones that smell fresh and clean, like the ocean breeze, not fishy. If you can, buy them deveined already – it saves a little hassle. And remember that super-important step: pat them DRY! Seriously, it’s the magic ticket to getting a lovely sear instead of a steamy mess. Cooking time is also crucial; shrimp cook ridiculously fast. If they look done, they *are* done. Go one minute too long, and they can go from tender to tough in a heartbeat. Keep a close eye on them!
Ingredient Spotlight: Understanding Your Shrimp
Shrimp are little powerhouses of goodness, seriously! They’re packed with lean protein to keep you full and energized, and they’ve got some great minerals like selenium and vitamin B12. For us beginners, picking the right shrimp can seem confusing, but it’s pretty straightforward. You might see “fresh” shrimp at the fish counter, but honestly, most of that has actually been previously frozen and thawed. So don’t shy away from buying bags of frozen shrimp! They’re often frozen really quickly after being caught, which locks in that great flavor. Just make sure you thaw them properly before cooking, and you’ll have fantastic shrimp every time.
Frequently Asked Questions About Shrimp Cooking
Got questions? I’ve got answers! Cooking shrimp is super straightforward once you know a few little things. Let’s clear up some common queries so you can cook with confidence!
How to Tell When Shrimp is Perfectly Cooked
This is the million-dollar question, right? Look for your shrimp to turn pink and opaque all over. They should curl up into a little ‘C’ shape – that’s a happy shrimp! If they look like a tight ‘O’, they’re probably overcooked. Give them a gentle touch; they should feel firm but still have a little spring to them.
Can I Use Frozen Shrimp for This Recipe?
Absolutely! Frozen shrimp is often just as good as fresh, and sometimes even better because it’s flash-frozen right after being caught. The key is to thaw them properly. The best way is to put them in the fridge overnight. If you’re in a pinch, you can pop them in a colander in the sink and run cold water over them for about 10-15 minutes until they’re thawed. Just make sure you pat them super dry afterward, okay?
Substitutions for Spices in The Ultimate Shrimp Recipes Guide for Beginners
Don’t have smoked paprika? No worries! You can totally use regular sweet paprika instead, or even a pinch of cayenne if you like a little heat. If you’re out of garlic powder, you could mince up a fresh clove or two, but be careful not to burn it in the pan. And if cumin isn’t your jam, you can skip it or add a tiny bit of coriander for a different earthy note. The important thing is to have fun with it!
Storage and Reheating for Your Shrimp Dish
So, you managed to make extra shrimp (or maybe you just want to save some for lunch tomorrow)? Smart move! While shrimp is definitely best enjoyed fresh right out of the pan, leftovers are totally doable. Just make sure to let them cool down completely first. Then, pop them into an airtight container and stash them in the fridge. They’ll keep for about 3 days. When you’re ready to reheat, do it gently! Try warming them up in a skillet over low heat for just a few minutes. You can even toss in a little of those cooking juices if you saved them – this helps keep them nice and moist. The goal is to warm them through without overcooking them, which can make them rubbery. Easy peasy!
Estimated Nutritional Information
Just a heads-up, the nutritional info can hop around a bit depending on your exact ingredients and portion sizes, but here’s a ballpark for our delicious shrimp dish. This estimate is per serving:
- Calories: 221
- Fat: 9.5g
- Protein: 34.3g
So you get a great dose of lean protein without too many calories. Pretty fantastic, right?
Share Your Shrimp Creations!
Okay, now it’s YOUR turn to shine! Did you try this recipe? Did you tweak it a little? I absolutely LOVE hearing about how your shrimp turned out. Please, please drop a comment below or even rate the recipe! Your feedback is what makes this whole cooking community so special, and it helps other beginners know they can totally nail this too! If you have any questions or want to share your amazing results, feel free to reach out!
The Ultimate Shrimp Recipes Guide for Beginners
Ingredients
Equipment
Method
- Thaw the shrimp, if frozen. Pat the shrimp dry with a paper towel.
- In a medium bowl, mix shrimp with salt, smoked paprika, garlic powder, onion powder, and cumin.
- In a large skillet, heat the butter on medium-high heat.
- Add the shrimp and cook for 1-2 minutes per side until just opaque and cooked through, turning them with tongs.
- Spritz with lemon juice and serve immediately.
Nutrition
Notes
Tried this recipe?
Let us know how it was!
Master Recipe Testing Coordinator
Honestly? I got into recipe testing because I was tired of expensive failures. My gluten sensitivity meant constantly modifying recipes, only to watch them fall apart in my kitchen. After earning my food science degree, I realized the problem wasn’t the recipes – it was the lack of real-world testing.
So I built what became our signature system: every recipe gets tested by fifteen different home cooks. Grandmother with a 1970s oven? Check. College student with only a hot plate? Double check. Denver altitude versus Miami humidity? We’ve got it covered.
My food science background explains why certain substitutions work, but my gluten sensitivity keeps it real. I know the disappointment of reading “just like the original” and ending up with wasted ingredients and ruined dinner plans.
Our network now includes over 200 volunteer testers across different regions, skill levels, and dietary needs. I track everything – ingredient availability, altitude performance, equipment variations – until each recipe achieves “foolproof reliability.”
Leading our social media community is equally rewarding. Whether troubleshooting a recipe gone wrong or celebrating someone’s first successful gluten-free bread, I’m there for every step of their journey.
When I’m not coordinating test kitchens, I’m hiking with Scout, my border collie mix, mentally planning the next round of testing protocols. Reliable recipes aren’t just nice to have – they’re essential for sustainable dietary change.