
Fourth of July is HERE and you know what that means – backyard BBQs, fireworks, and of course, dessert! I’m always on the hunt for treats that are super easy to whip up, taste amazing, and don’t keep me stuck in a hot kitchen forever. That’s exactly why I fell head over heels for these Fourth of July Desserts With No Bake Cheesecake Cups for Parties. Seriously, they’re a lifesaver for any get-together, especially when you want something cute, quick, and totally delicious without all the fuss of baking!
Why These Fourth of July Desserts With No Bake Cheesecake Cups Are a Party Must-Have
Honestly, I can’t rave enough about these little gems. They are just perfect for any gathering, especially when you’re dealing with the Fourth of July heat and a crowd that’s eager to celebrate! Here’s why I think they’re the ultimate party dessert:
- Super Easy Prep: You seriously won’t believe how quick these come together. No oven required means less stress and more time enjoying your guests.
- Individual Servings: Each cup is a perfectly portioned treat. No need for slicing and dicing, and everyone gets their own cute little dessert.
- Totally Portable: These little cups are fantastic for potlucks or picnics. Just pop them in a container and they’re ready to go!
- Endless Topping Fun: This is where the real magic happens! You can customize them with all sorts of delicious toppings, making them super festive and personalized.
- Kid-Friendly (and Adult-Approved!): Everyone, from the littlest firecracker to the grown-ups, loves a creamy, dreamy no-bake cheesecake. They’re a guaranteed crowd-pleaser!
When you’re looking for Fourth of July Desserts With No Bake Cheesecake Cups for Parties, these should be at the top of your list. Trust me, they’re a winner!
Gather Your Ingredients for Perfect No Bake Cheesecake Cups
Okay, so to whip up these amazing little no-bake cheesecake cups, you’ll want to have a few things ready to go. The best part? Most of these are probably already in your pantry or fridge! Let’s get our shopping list sorted so we can make these the star of your Fourth of July Desserts With No Bake Cheesecake Cups for Parties spread.
First up, for that delicious crust, you’ll need:
- 1.5 cups of graham cracker crumbs (you can buy them or crush your own graham crackers!)
- 1/4 cup of granulated sugar to sweeten it up just right
- And 6 tablespoons of unsalted butter, all melted and ready to bind everything together.
Then, for that dreamy, creamy filling, gather these:
- 16 ounces of cream cheese – make sure it’s softened so it blends smoothly!
- 1 cup of powdered sugar for that perfect sweetness.
- 1 teaspoon of vanilla extract to give it that classic cheesecake flavor.
- And finally, 1 cup of cold heavy cream. Keeping it cold is key for getting those lovely stiff peaks!
Having everything measured out and ready makes the whole process a breeze. Trust me, it’s the little things like softened cream cheese and cold heavy cream that make all the difference!

Step-by-Step Guide to Making Your Fourth of July Desserts With No Bake Cheesecake Cups
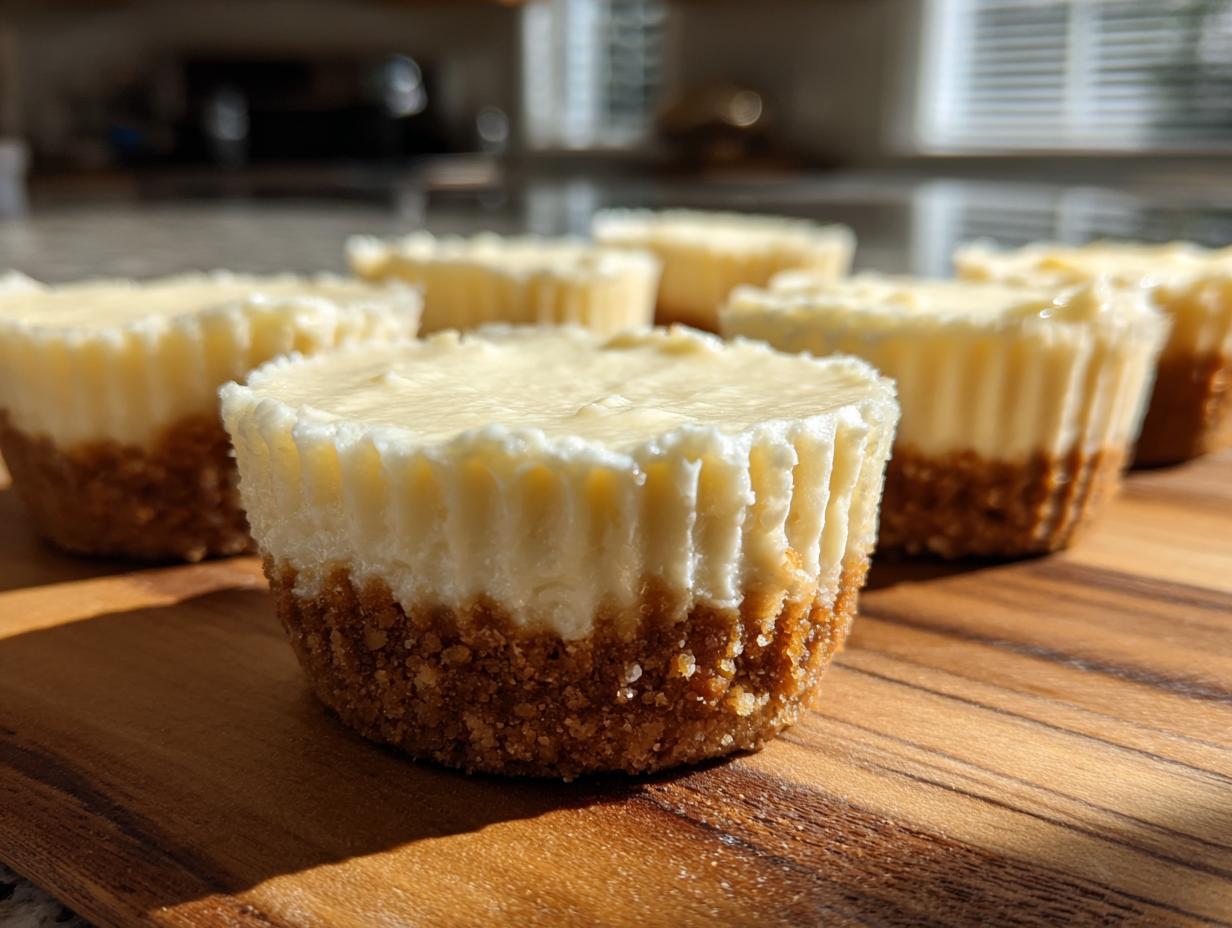
Alright, let’s get down to business and make these fantastic Fourth of July Desserts With No Bake Cheesecake Cups for Parties! It’s honestly so simple, you’ll be amazed. We’re skipping the oven altogether, which is my favorite kind of magic trick for summer entertaining. You just need a muffin tin, some paper liners, and a little bit of love.
Preparing the Crust for Your No Bake Cheesecake Cups
First things first, line your 12-cup muffin tin with those cute paper liners; they just make everything easier later on. For the crust, just toss your graham cracker crumbs and granulated sugar into a medium bowl. Pour in that melted butter and stir it all up until it looks like nice, damp sand. Then, take about a tablespoon of this mixture and press it down firmly into the bottom of each liner. You want a nice, solid base!
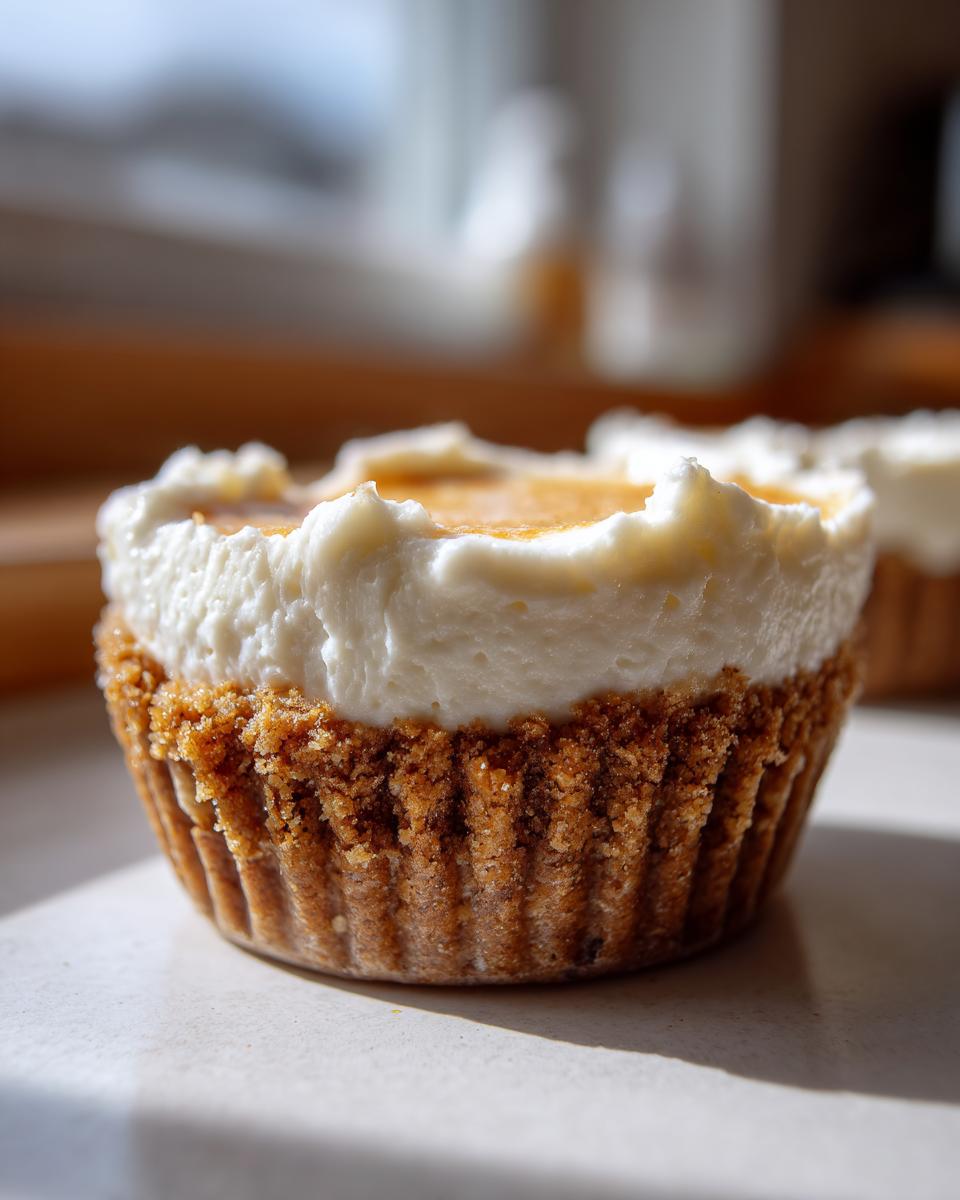
Creating the Creamy Cheesecake Filling
Now for the best part – the filling! Grab a big bowl and beat your softened cream cheese until it’s super smooth and creamy. Seriously, no lumps allowed! Then, slowly beat in the powdered sugar and that splash of vanilla extract. It should be perfectly smooth and smell amazing. In a *separate* bowl, whip up your cold heavy cream until you get those lovely stiff peaks. It’s like magic! Then, gently, *gently* fold that fluffy whipped cream into the cream cheese mixture. You want to keep all that airiness, so don’t go crazy mixing!
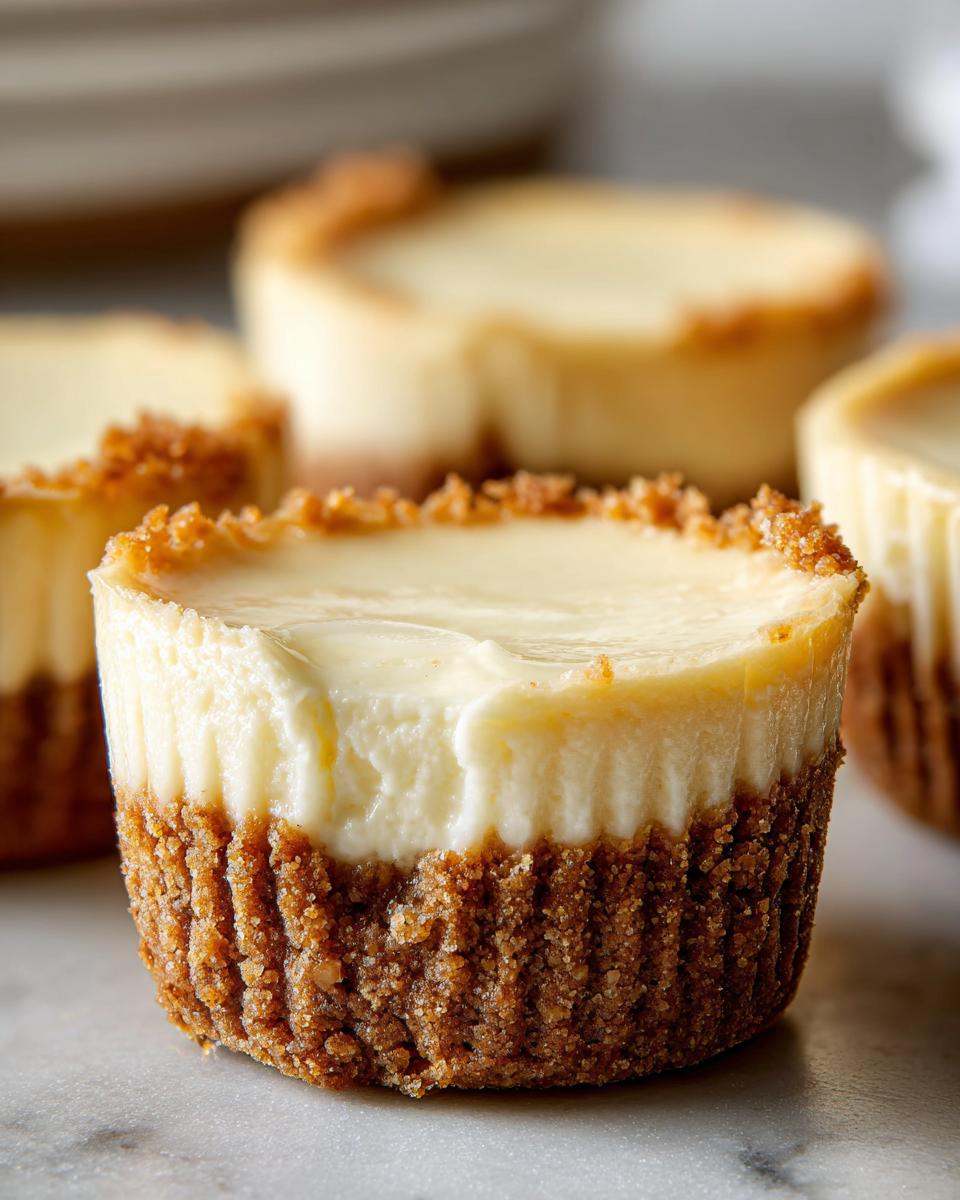
Assembling and Chilling Your Party Dessert Cups
This is where it all comes together! Spoon or pipe that gorgeous, fluffy cheesecake filling right on top of the crusts in your lined muffin tin. Just divide it up evenly. They’re going to look so pretty already! Now, and this is important, pop them into the fridge for at least 30 minutes. This chilling time is what lets them firm up so they hold their shape. You want them nice and set before you add any toppings.
You can even give them a peek after 20 minutes, but a solid half-hour is usually perfect. If you’re making these ahead (which is totally the move!), you can find more tips over on how to make no-bake cheesecake bites that stay amazing!
Tips for the Best Fourth of July Desserts With No Bake Cheesecake Cups
You know, even with super simple recipes like these Fourth of July Desserts With No Bake Cheesecake Cups for Parties, a few little tricks can make them absolutely spectacular. I’ve learned a thing or two from making tons of these for family gatherings, so let me share some of my favorite tips! First off, that cream cheese? It *has* to be softened properly. If it’s too cold, you’ll end up with lumpy cheesecake, and nobody wants that. And for the heavy cream, make sure it’s nice and cold right out of the fridge – that’s what helps it whip up into those glorious stiff peaks we need for a light, airy filling. Overmixing is also a big no-no once you add the whipped cream; you want to keep all that fluffiness!
Another thing I always do is press the crust down really well. It stops it from falling apart when people dig in. And if you want to get ahead of the game (which I highly recommend for parties!), check out my tips for no-bake cheesecake bites – they tell you exactly how to prep most of this ahead of time so party day is a breeze!
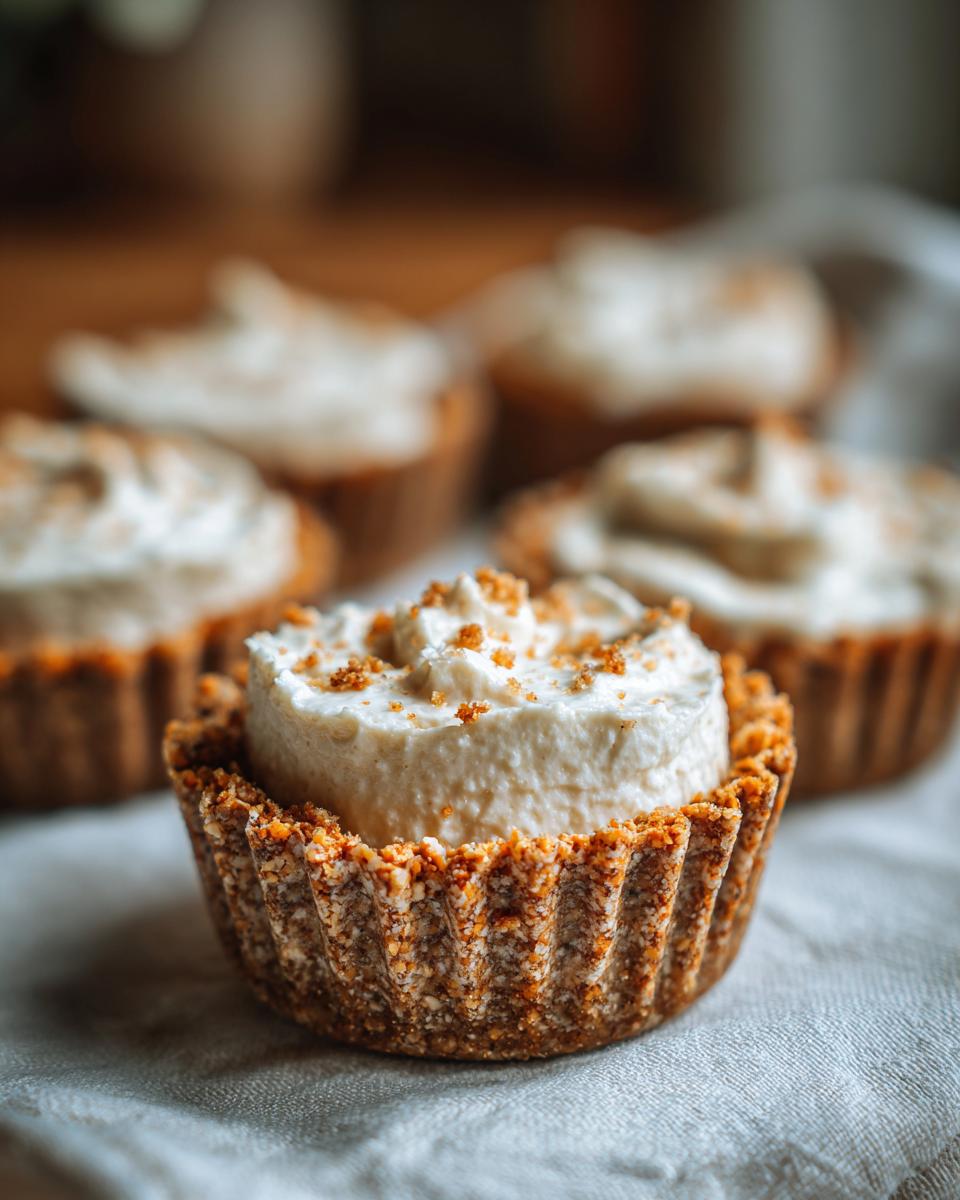
Creative Topping Ideas for Your Cheesecake Cups
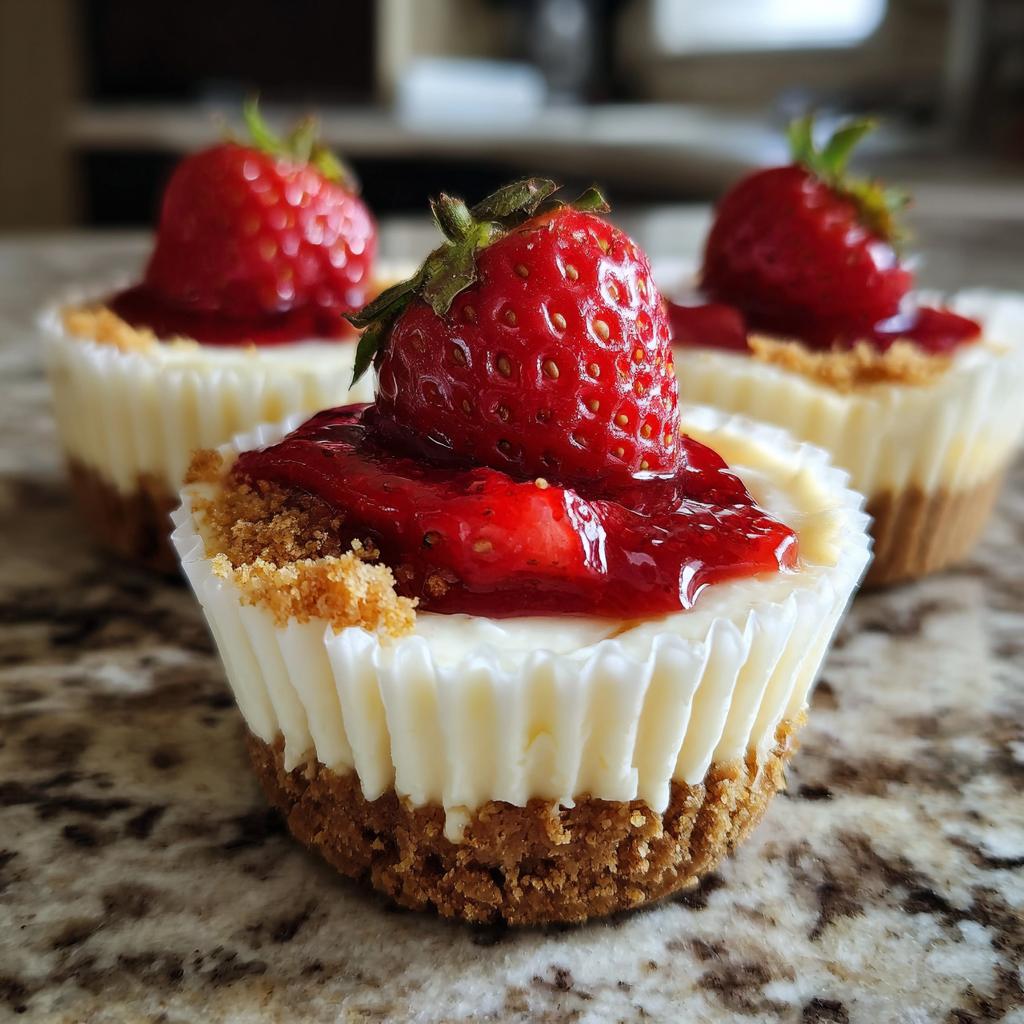
Okay, now for my favorite part: decorating! These cheesecake cups are already delicious on their own, but a few fun toppings can really take them over the top, especially for a Fourth of July party. Think festive colors and yummy flavors! Fresh berries are always a winner – a mix of sliced strawberries and fresh blueberries looks so patriotic and tastes amazing. You could also do a simple raspberry coulis or a quick blueberry compote if you want something a little fancier but still super easy.
Don’t forget the classic drizzles! A swirl of chocolate sauce or some gooey caramel over the top is always a hit. And of course, a dollop of whipped cream makes everything feel extra special. For that extra patriotic flair, grab some red, white, and blue sprinkles! You can mix and match these ideas depending on what you have on hand or what you feel like. The possibilities are endless, and it’s a fun way to let your creativity shine!
Frequently Asked Questions About No Bake Cheesecake Cups
Got questions about whipping up these delightful Fourth of July Desserts With No Bake Cheesecake Cups for Parties? I’ve got you covered! It’s totally normal to wonder about a few things when you’re trying a new recipe, especially one that’s this easy and perfect for a crowd.
Can I make these no bake cheesecake cups ahead of time?
Absolutely! This is one of my favorite things about this recipe. You can totally make these cheesecake cups a day in advance. Just keep them covered in the fridge. They’ll hold up beautifully, and it takes a huge load off your plate on party day. It’s a lifesaver!
How long do these party dessert cups last in the fridge?
They usually stay fresh in the refrigerator for about 3 to 4 days. But honestly, they rarely last that long because everyone tends to gobble them up so fast! Just make sure they’re in an airtight container so they don’t pick up any funky fridge smells.
Can I use a different type of cookie for the crust?
Oh, for sure! Graham crackers are classic, but you can totally get creative. Vanilla wafers, shortbread cookies, or even Oreos (just scrape out the filling if you want to be fancy!) would work wonderfully. You can even try a chocolate cookie crust for a richer flavor. Just follow the same graham cracker ratio for the crumbs, sugar, and butter. It’s a great way to customize your no bake cheesecake!
Can I make these dairy-free?
Making these totally dairy-free might take a little tweaking, but it’s definitely doable! You can use a dairy-free cream cheese substitute and whip up some coconut cream instead of heavy cream. For the crust, use a vegan butter alternative. The texture might be a little different, but the flavors will still be delicious!
Storage and Serving Suggestions
Got leftovers? Lucky you! Just pop these delicious cheesecake cups into an airtight container and keep them chilled in the fridge. They’ll be perfectly good for about 3-4 days, though I doubt they’ll last that long! For the best flavor and texture, try to serve them straight from the refrigerator. They taste amazing when they’re nice and cold, especially on a hot summer day. Arrange them on a cute platter with some of your favorite toppings, and watch them disappear!
Estimated Nutritional Information
Just a little heads-up here – these numbers are just estimates, okay? Since we’re all using slightly different ingredients and obviously, portion sizes can vary (who only has *one*?), your exact nutrition numbers might be a little different. But generally, these no-bake cheesecake cups are roughly around 300-350 calories per serving, with a good mix of fats, carbs, and a little bit of protein. Perfect for your Fourth of July party!
No-Bake Cheesecake Cups
Ingredients
Equipment
Method
- Line a 12-cup muffin tin with paper liners.
- In a medium bowl, combine graham cracker crumbs and granulated sugar. Stir in melted butter until combined.
- Press about 1 tablespoon of the crumb mixture into the bottom of each liner.
- In a large bowl, beat cream cheese with an electric mixer until smooth. Gradually beat in powdered sugar and vanilla extract until well combined.
- In a separate bowl, whip heavy cream until stiff peaks form. Gently fold the whipped cream into the cream cheese mixture.
- Spoon or pipe the cream cheese filling evenly over the crusts in the liners.
- Refrigerate for at least 30 minutes, or until firm.
- Top with your favorite toppings before serving.