
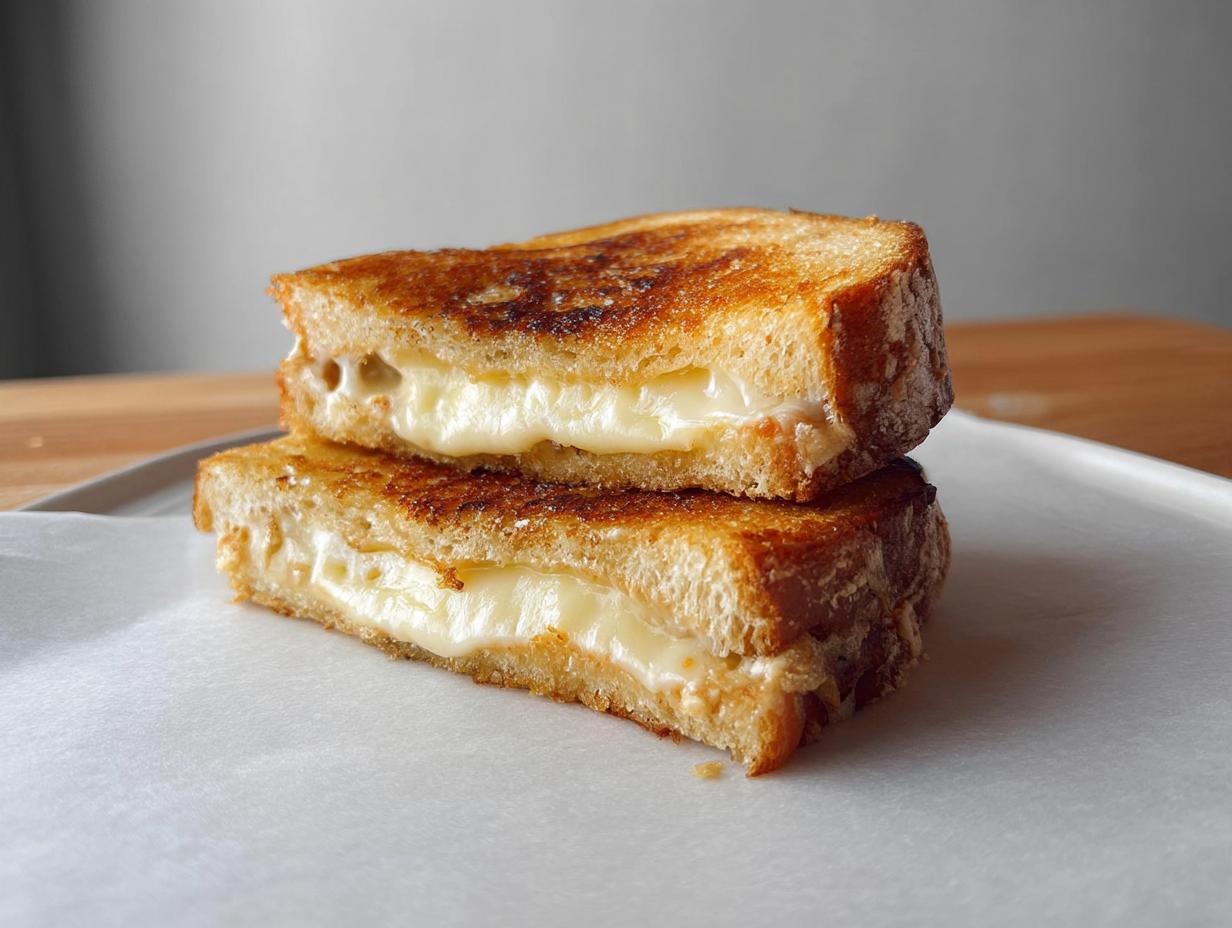
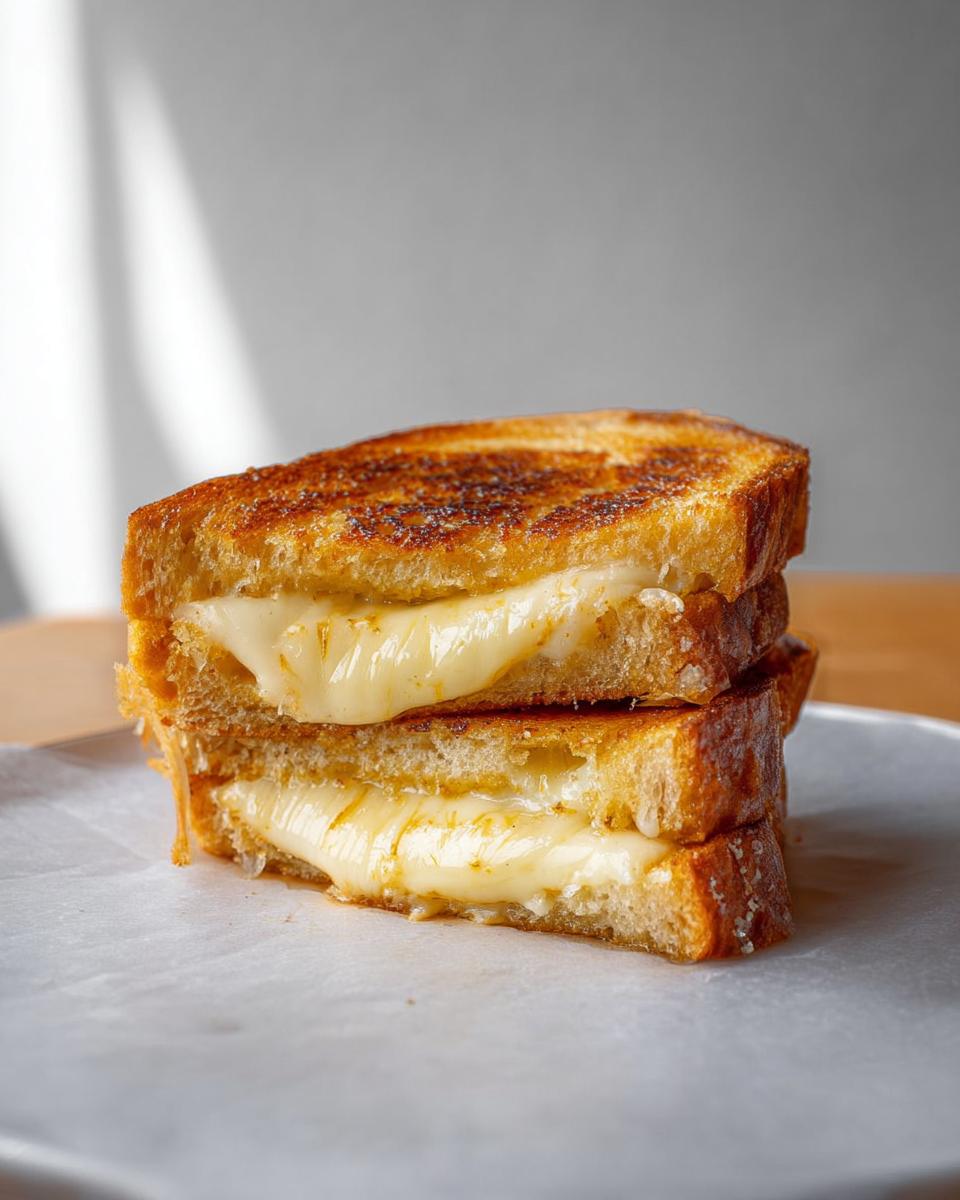
Remember that first magical grilled cheese sandwich you ever made? I sure do! Standing on a little stool, trying to reach the stove, with my mom’s patient guidance, we melted gooey cheese between perfectly crisp, buttery bread. That simple, delicious moment, that first wonderful bite, totally hooked me on cooking! Now, as a chef, I absolutely love sharing that same pure joy with you. I want to show you that making a fantastic grilled cheese doesn’t have to be scary or complicated. This guide, The Ultimate Grilled Cheese Recipes Guide for Beginners, is all about turning what might seem a little intimidating into a really fun, satisfying experience. Get ready to build your confidence, one melty bite at a time!
Why You’ll Love The Ultimate Grilled Cheese Recipes Guide for Beginners
Seriously, if you’re just starting out in the kitchen or just want to nail that perfect, comforting grilled cheese, this guide is your new best friend! Here’s why:
- Super Quick & Easy: We’re talking minimal fuss and maximum flavor here. Get a delicious, melty sandwich on the table in minutes – perfect for busy weeknights or lazy weekends.
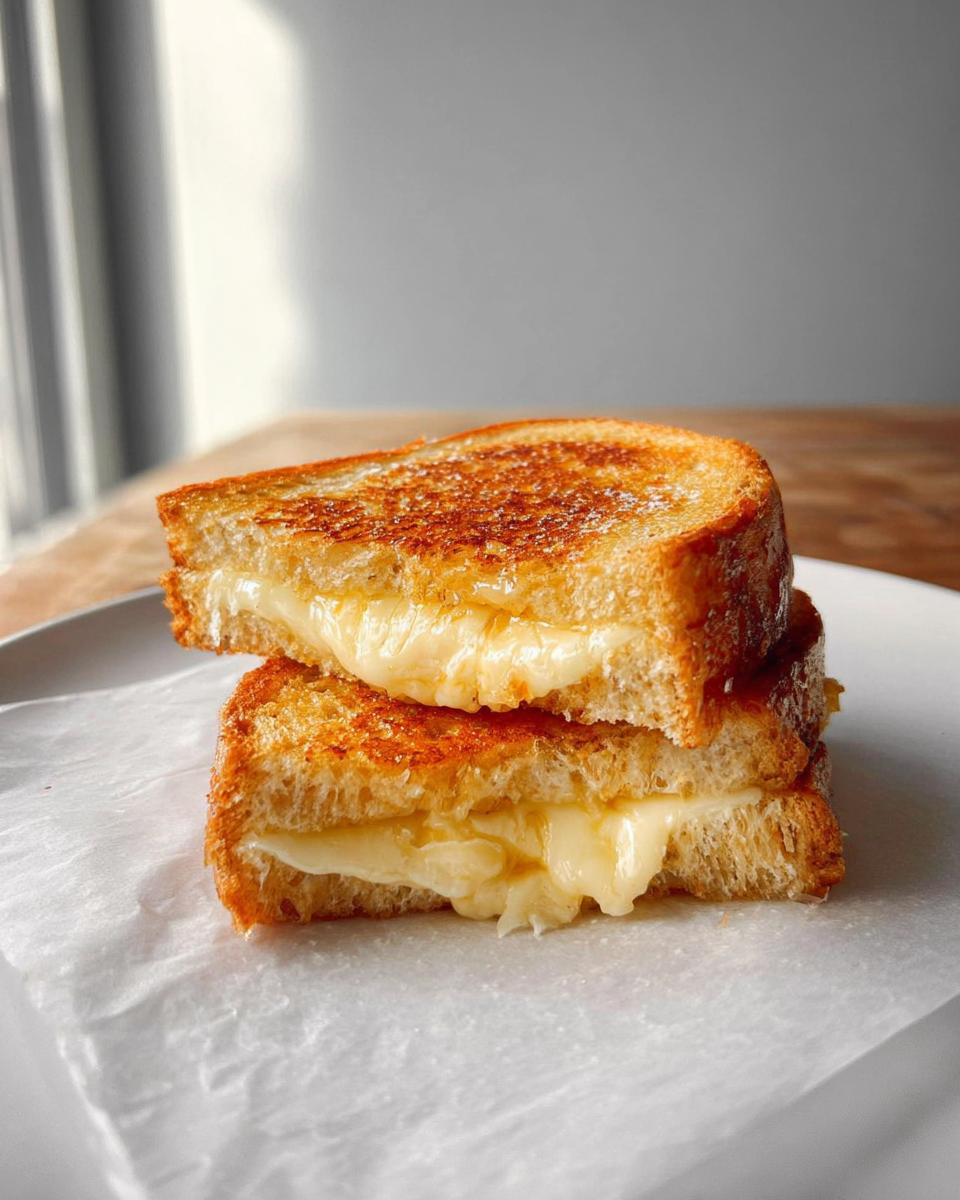
- Perfectly Melty Every Time: No more sad, unmelted cheese centers! We’ll show you the secrets to achieving that gooey, irresistible cheese pull you dream about.
- Beginner-Friendly Steps: I break everything down super simply. You don’t need fancy chef skills; just a few basic ingredients and this easy-to-follow guide.
- Builds Cooking Confidence: Mastering this classic comfort food is a fantastic way to boost your kitchen confidence. You’ll be whipping up other dishes in no time!
Essential Ingredients for The Ultimate Grilled Cheese Recipes Guide for Beginners
Okay, so let’s talk about what you’ll need to create this absolute masterpiece. I’ve found that using good quality ingredients really does make a difference, especially for something as simple and pure as a grilled cheese. You don’t need a ton of fancy stuff, just a few key players that work together beautifully. Think of this as your starter pack for grilled cheese perfection!
Here’s what you’ll need for our basic, go-to grilled cheese:
- 8 slices of sourdough bread – I love sourdough for its tangy bite, but any good sturdy bread works!
- 6 tablespoons of softened butter, divided – Softened is key, it spreads so much easier!
- 3 tablespoons of mayonnaise – Trust me on this one! It helps get that perfect golden crust.
- 3 tablespoons of finely shredded manchego cheese
- 1/8 teaspoon of onion powder – Just a little pinch for a hidden flavor boost.
- 4 ounces of brie cheese, rind removed – This is where the super creamy, melty magic happens.
- 1/2 cup of sharp white cheddar cheese, shredded
- 1/2 cup of Monterey jack cheese, shredded
- 1/2 cup of gruyere cheese, shredded
Mastering the Technique: How to Make The Ultimate Grilled Cheese
Alright, let’s get down to business and make the most amazing grilled cheese you’ve ever had! It’s really not hard, but there are a few little tricks I’ve learned that make all the difference between a decent sandwich and an absolutely epic, gooey, golden masterpiece. We want that perfect balance, right? Crispy bread on the outside, and a river of melty cheese on the inside. Stick with me, and you’ll totally nail it. You can even find some other great ideas over at Taste of Home to get inspired!
Step 1: Preparing the Cheese Blend
First things first, let’s get our cheese party started! In a small bowl, just go ahead and toss together that finely shredded manchego, a tiny pinch of onion powder for a little something extra, your creamy brie (make sure that rind is off!), and all your shredded cheeses – the sharp white cheddar, Monterey jack, and nutty gruyere. Give it all a good stir until it’s nicely combined. This blend is going to melt into pure heaven.
Step 2: Buttering and Assembling the Bread
Now, grab your bread. You want to spread about a tablespoon of that softened butter on ONE side of each of your bread slices. This is going to be the outside of your sandwich, and it’s what gets beautifully golden brown. On the unbuttered side of *two* of those slices, spread a thin layer of mayonnaise. Yup, mayo! It gives an unbelievable crisp edge. Then, pile that glorious cheese mixture evenly onto those mayo-spread halves. Top it off with your remaining plain buttered bread slices, making sure the buttered sides are facing UP.
Step 3: Grilling for Golden Perfection
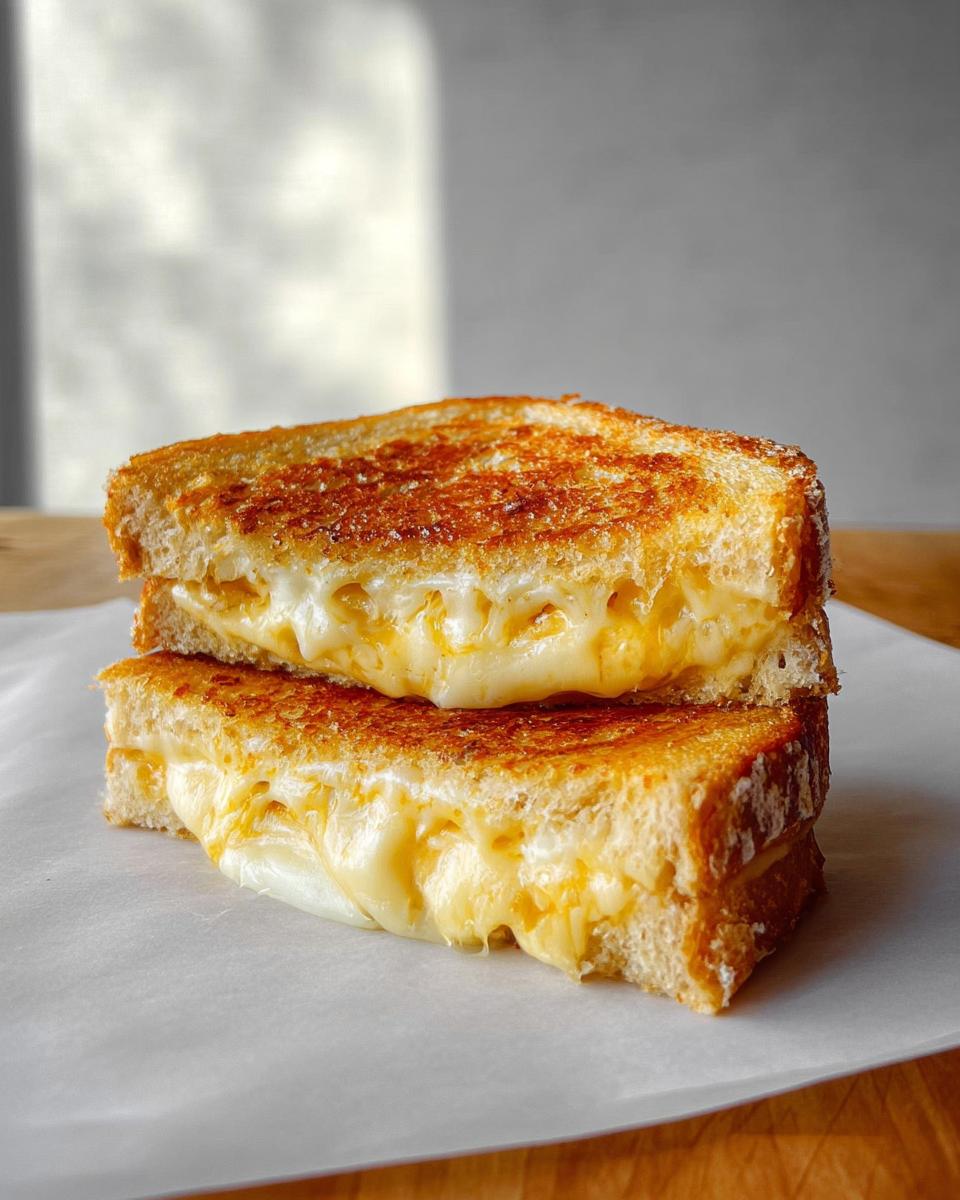
Heat up a non-stick frying pan over medium heat. You don’t want it too hot, or you’ll burn the bread before the cheese melts! Gently place your assembled sandwiches into the warm pan. Now, let them cook for about 4 to 5 minutes on the first side. Peek underneath – you’re looking for that gorgeous deep golden brown color. Carefully flip them over with your spatula and cook the other side for another 4 to 5 minutes. The goal here is that perfect crispy, toasted bread and beautifully melted, oozing cheese. That’s the melty magic!
Step 4: Resting and Serving
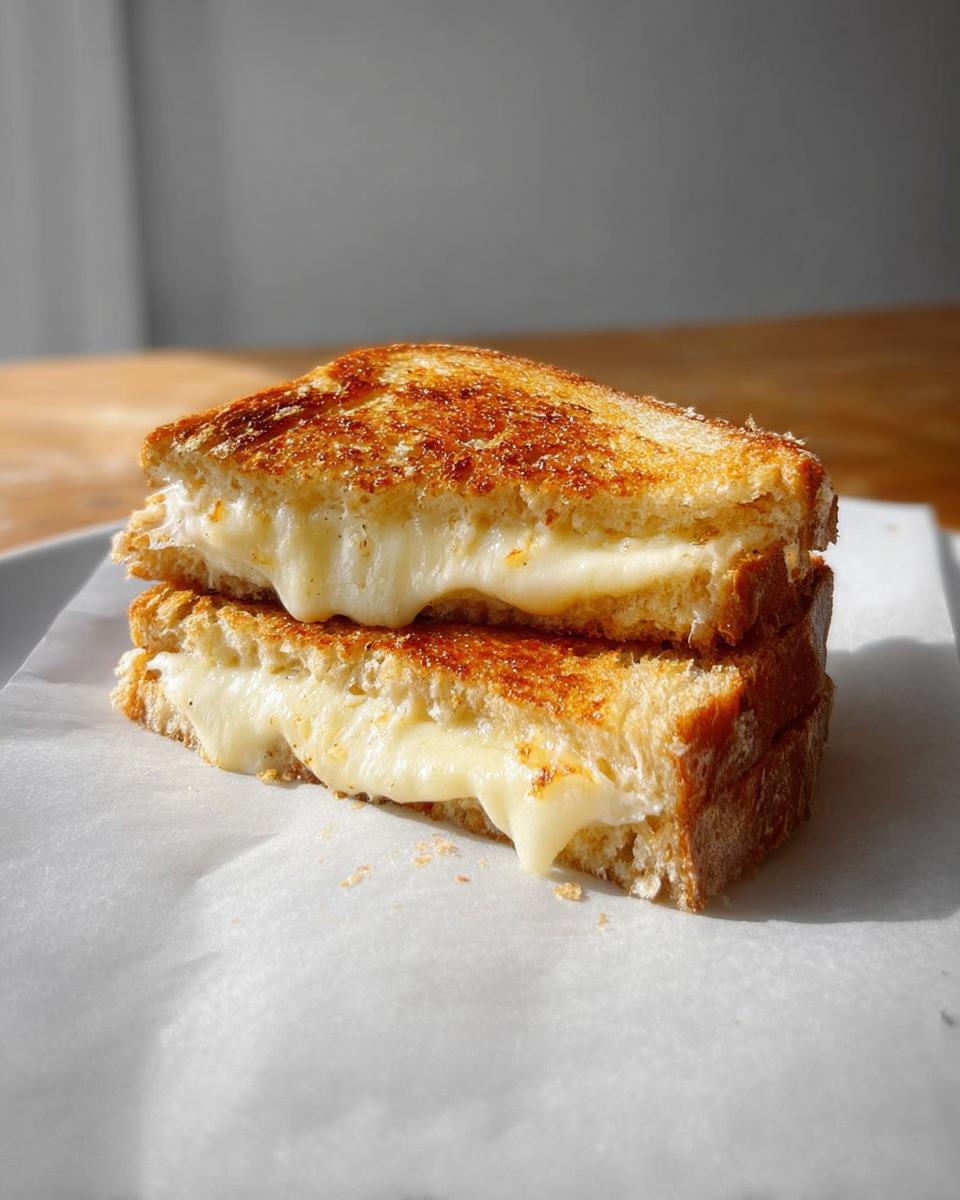
Once they’re perfectly golden and the cheese is practically dripping out, carefully slide those beauties onto a cutting board. It’s super tempting to dive right in, but let them rest for just a minute or two. This lets the cheese settle a bit so it doesn’t all run out when you slice it. Then, cut them in half and serve them up hot!
Tips for The Ultimate Grilled Cheese Recipes Guide for Beginners
Okay, so you’ve got the basics down, but let me give you a few insider secrets to make your grilled cheese truly next level. Think of these as my little whispers of wisdom to save you from any melty mishaps! These are the things I’ve learned over years of making them, and they really do make a difference. You can find even more quick ideas over here that might spark some inspiration too!
- Bread choice is crucial! While sourdough is my current fav, don’t be afraid to experiment. A slightly denser bread, like a good challah or even a good quality white bread, holds up better. Just make sure it’s not too thin or it’ll get soggy.
- Low and slow is the way to go! Seriously, resist the urge to crank up the heat. Medium-low heat is your best friend. It gives the cheese enough time to get perfectly melty without burning your beautiful bread. Patience, my friends!
- Butter AND Mayo is the secret weapon. I know, I know, it sounds a bit much, but hear me out! Spread butter on the outside for that classic flavor and color, but a thin layer of mayonnaise on the inside of that buttered side? Game changer. It creates the most amazing, even golden-brown crust. You won’t regret it.
- Shred your own cheese whenever possible. Pre-shredded cheese often has anti-caking agents that can make it melt a bit weirdly. Grating your own cheese, especially harder ones like cheddar and Gruyere, gives you that superior, gooey melt every single time.
Beyond the Basics: Creative Grilled Cheese Variations
Once you’ve got the hang of the classic, trust me, the grilled cheese world opens up in the most delicious ways! It’s so fun to play around with different flavors. Don’t feel like you have to stick to just cheese and bread forever. Here are a couple of super easy ideas to kick your grilled cheese up a notch, inspired by all sorts of yumminess you can find in the recipe section over here!
- The Speedy Tomato Twist: After you spread the mayo and before you pile on the cheese blend, add a couple of super-thin slices of ripe tomato. It adds this lovely little burst of freshness and acidity that cuts through the richness of the cheese. Just make sure the slices are thin so they cook through!
- Herbaceous Delight: Before you grill, sprinkle a little bit of your favorite fresh herbs onto the cheese mix. Chives, parsley, or even a tiny bit of dill can add a lovely subtle flavor. It makes your sandwich feel a little bit fancy without any extra work!
- Swap It Up Cheese-wise: While our blend is amazing, don’t be afraid to swap out a cheese or two. Maybe try some smoked gouda for a deeper flavor, or a pepper jack if you like a little heat. Just make sure you’ve got at least one good melting cheese in there to keep things gooey.
Frequently Asked Questions About Grilled Cheese
Got questions? I get it! When you’re just starting out with grilled cheese, there are always a few things that pop into your head. Don’t worry, those are totally normal! Let’s clear up some of the most common ones so you can make the most perfect, melty sandwich ever.
What’s the best bread for grilled cheese?
Honestly, the “best” is kinda up to you, but I’ve found that sturdier breads work wonders. Sourdough, like we used in the recipe, is fantastic because its tang cuts through the richness. But a thick-cut challah, a good whole wheat, or even a classic white bread will do the trick. Just avoid anything too flimsy or airy, as it can get soggy too fast or just fall apart!
How do I prevent my grilled cheese from burning?
Ah, the dreaded burnt bread! The absolute key is heat control. You want to toast the bread slowly while letting the cheese melt. So, use medium-low or medium heat on your stove. If you find the bread is getting too dark too quickly, just turn the heat down a notch. Also, don’t skimp on the butter or mayo – that fat helps conduct heat evenly and creates that gorgeous golden crust without burning.
What are good cheese combinations for a melty grilled cheese?
For that ultimate melty pull, you want a mix! Sharp cheddars, Gruyere, Monterey Jack, and Fontina are all fantastic melters. Brie adds an incredible creaminess, but just be sure to remove the rind if it’s a bit too strong for your taste. Manchego is great for adding a nutty flavor. The trick is to combine a good melting cheese with something that brings a little extra flavor or creaminess to the party. You can even sneak in a little bit of cream cheese for extra gooiness!
Can I add other ingredients to my grilled cheese?
Absolutely! Once you’ve mastered the basic technique, don’t be afraid to get creative. Thinly sliced tomatoes, a bit of cooked bacon, caramelized onions, or even some ham can elevate your grilled cheese. Just remember not to overload it, or it might not cook evenly. If you want to chat about your ideas or need help, feel free to reach out here!
Nutritional Information
Just a little heads-up, these numbers are just an estimate, okay? Your actual grilled cheese might be a little more or less depending on the exact brands of cheese and butter you use, and how much you pile on! But for one sandwich made with our delicious blend, you’re typically looking at around 550-650 calories, about 40-50g of fat, 25-30g of protein, and roughly 25-30g of carbs. Enjoy this comforting classic!
Share Your Grilled Cheese Creations!
So, there you have it – your ticket to grilled cheese greatness! Now it’s your turn. Did you bake up a storm with this recipe? I’d absolutely LOVE to hear about it! Did you try a cool variation? Maybe you found a new favorite cheese combo? Drop your thoughts, tips, and recipe ratings in the comments below! And if you want to learn more about cooking adventures, check out my journey here. Happy cooking, and happy melting!
The Ultimate Grilled Cheese Recipes Guide for Beginners
Ingredients
Equipment
Method
- In a small bowl, combine the shredded manchego cheese, onion powder, brie cheese, cheddar cheese, Monterey jack cheese, and gruyere cheese. Mix well.
- Spread 1 tablespoon of softened butter on one side of each slice of bread.
- Spread mayonnaise on the unbuttered side of two slices of bread.
- Divide the cheese mixture evenly between the two slices of bread with mayonnaise, creating your filling.
- Top with the remaining two slices of bread, buttered side up.
- Heat a non-stick frying pan over medium heat. Place the sandwiches in the pan.
- Cook for 4-5 minutes per side, or until the bread is golden brown and the cheese is melted and gooey.
- Remove from the pan, let cool slightly, and serve.
Notes
Tried this recipe?
Let us know how it was!
Certified Gluten-Free Culinary Master
Everything changed in 2017 when I received my celiac diagnosis. After ten years as a traditional pastry chef creating elaborate wedding cakes and French pastries, I suddenly couldn’t even taste my own work. It felt like the end of my culinary world.
Instead, it became my greatest challenge. I had to completely relearn baking – understanding how gluten-free flours behave differently, how they bind, how they absorb moisture. Adding the low-carb requirement? That was like solving a puzzle with half the pieces missing.
My breakthrough came with what I now call my “foundation flour blend system” – different combinations that seamlessly replace wheat flour while maintaining low-carb macros. These techniques have been adopted by culinary schools and have helped countless bakers who thought their favorite treats were gone forever.
That first successful batch of gluten-free, low-carb chocolate chip cookies? Watching my husband close his eyes and smile told me I’d found my true calling. Now, with over 300 tested recipes, I prove daily that dietary restrictions don’t mean culinary limitations.
When I’m not experimenting in my Austin test kitchen, I’m teaching weekend workshops or tending my herb garden with Biscuit, my rescue beagle who’s become an expert at detecting oven timers.