
Oh, grilled cheese! Just the thought of it takes me back to those cozy, rainy afternoons. You know, the kind where Mom would whip up the most amazing grilled cheese sandwiches for us, golden brown and oozing with gooey cheese, always paired with a steaming bowl of tomato soup. Now, fast forward to my own kitchen, and I’ve found a way to give this beloved comfort food a little health-conscious sparkle, all without losing that incredible flavor. Trust me, we’re talking about elevating the classic with the *perfectly melty* cheese and super convenient make-ahead tips that absolutely rock. This is Why Everyone Loves This Grilled Cheese Recipes (+ Make-Ahead Tips)! Exploring different cheeses and even some gluten-free breads, I’ve created variations that my kids gobble up like there’s no tomorrow. And the best part? Preparing these sandwiches ahead of time means that nostalgic, comforting experience is always ready, no matter how wild the day gets. Plus, our Nutritional Science Advisor, Dr. Michael Thompson, has added some insights to help make this even better for you!
Why Everyone Loves This Grilled Cheese Recipes (+ Make-Ahead Tips)
So, what’s the big deal about these grilled cheese recipes, you ask? Well, it’s all about that perfect balance! This isn’t just any grilled cheese; it’s a quick, easy, and incredibly satisfying meal that feels like a warm hug. We’ve got that super quick prep time because, let’s be honest, who has hours for lunch? But the real star is the melty cheese. Planning ahead is a game-changer too, making this the go-to for busy afternoons. You can find more awesome grilled cheese inspiration too!
The Perfect Melty Cheese Combination
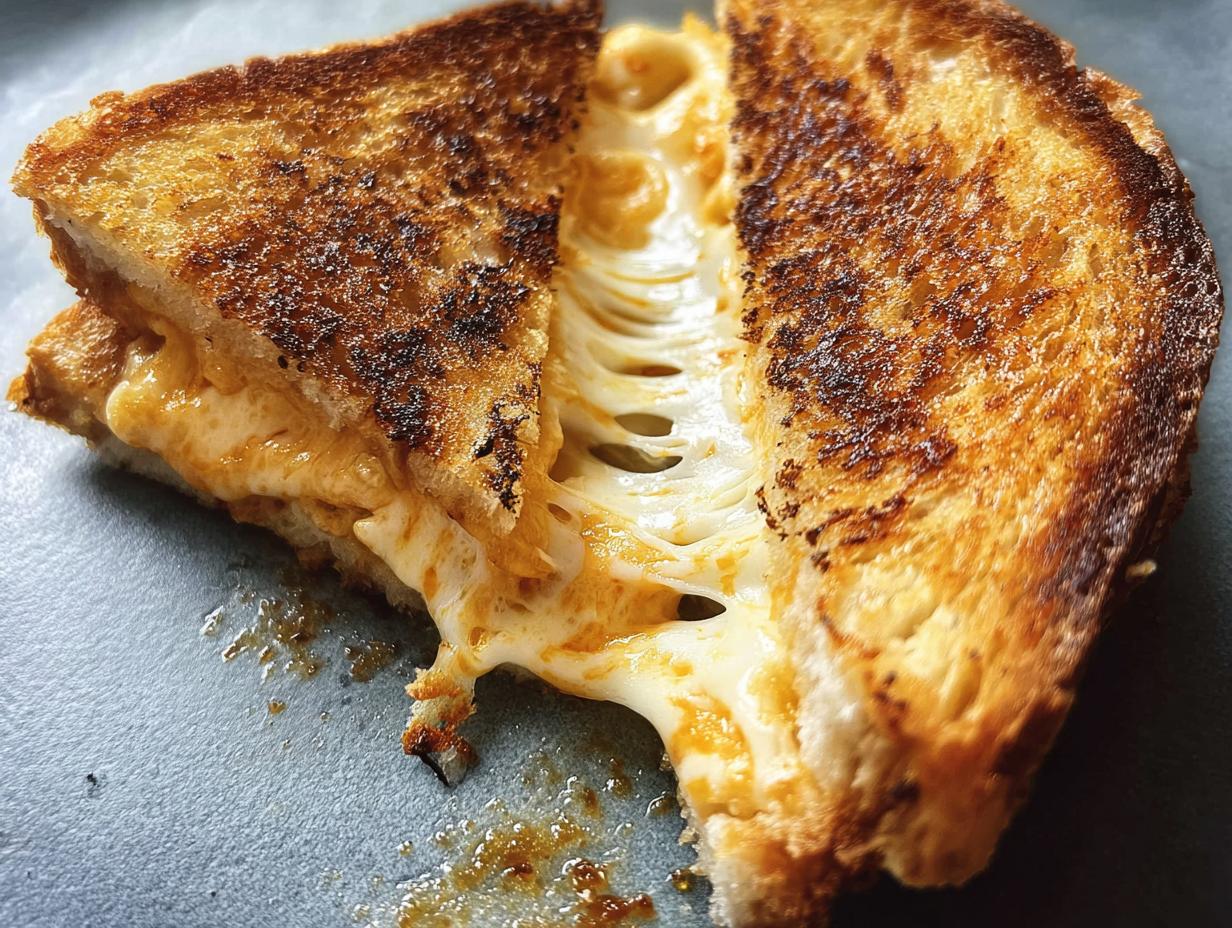
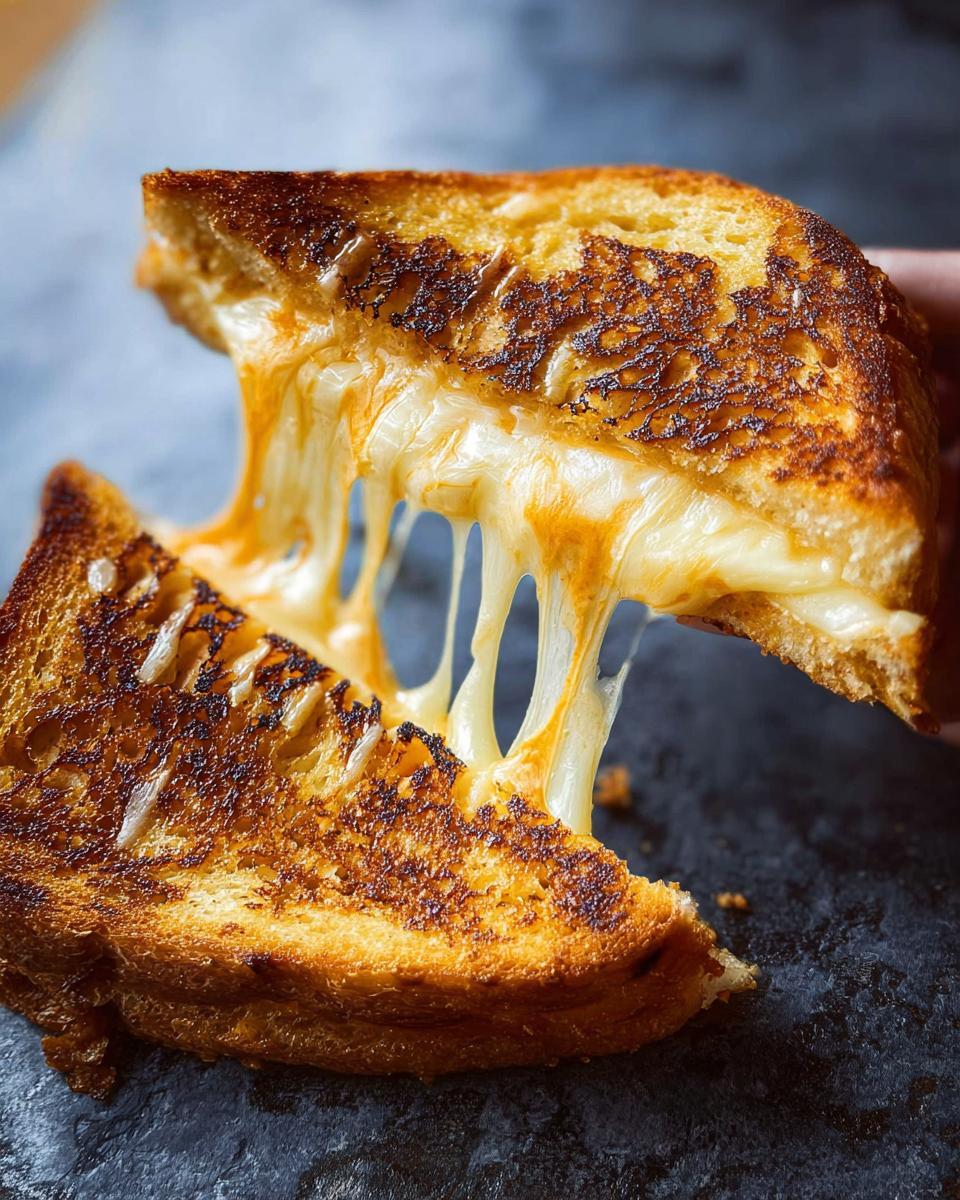
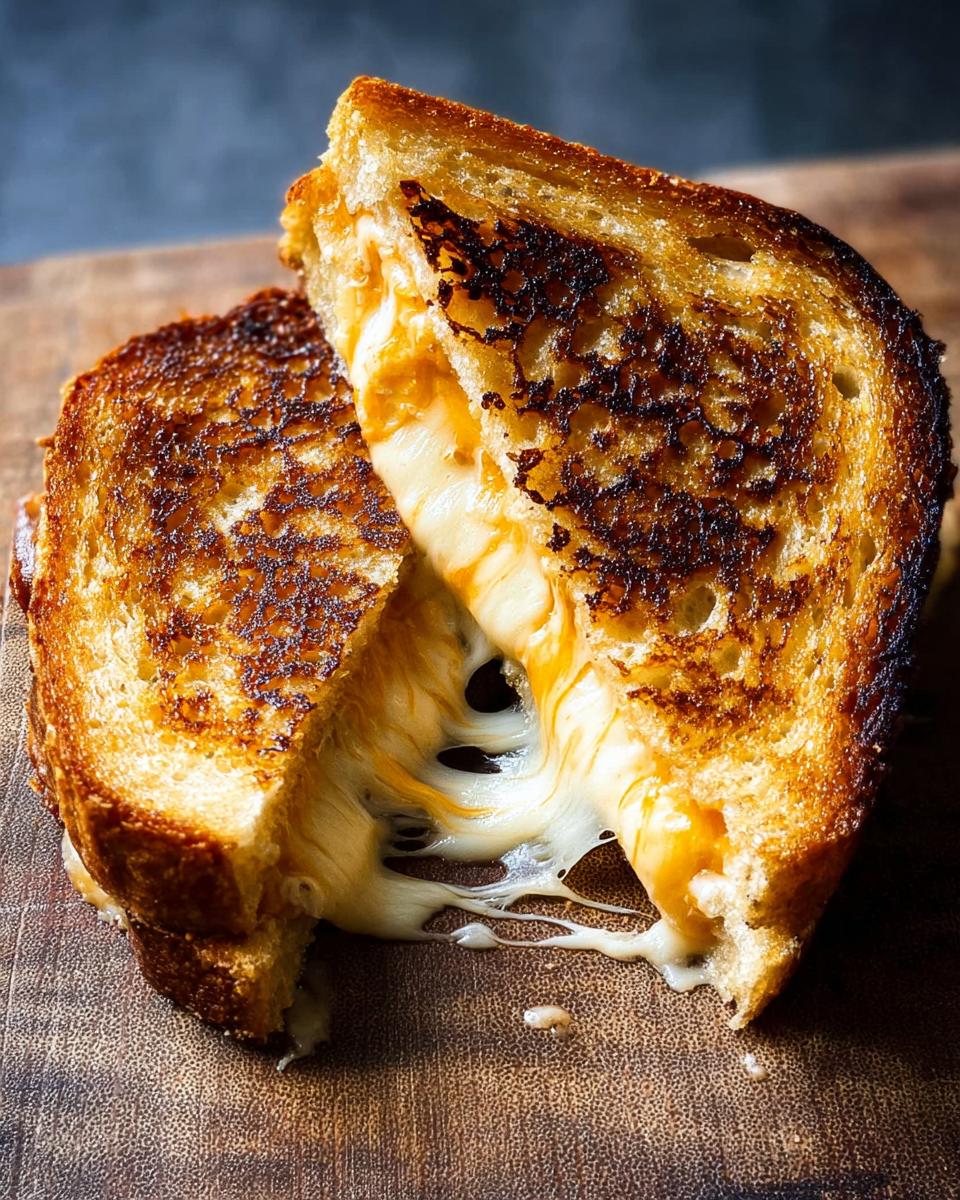
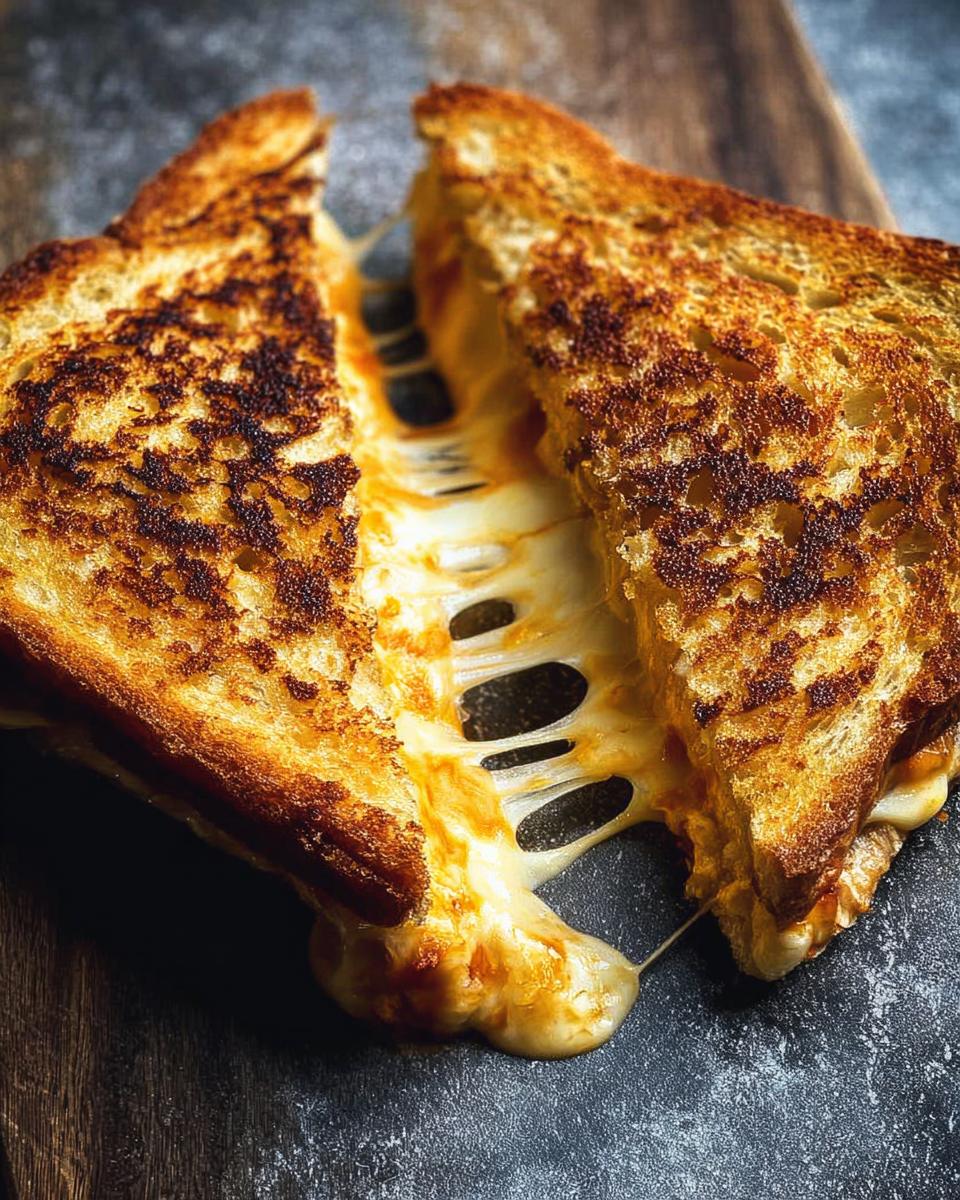
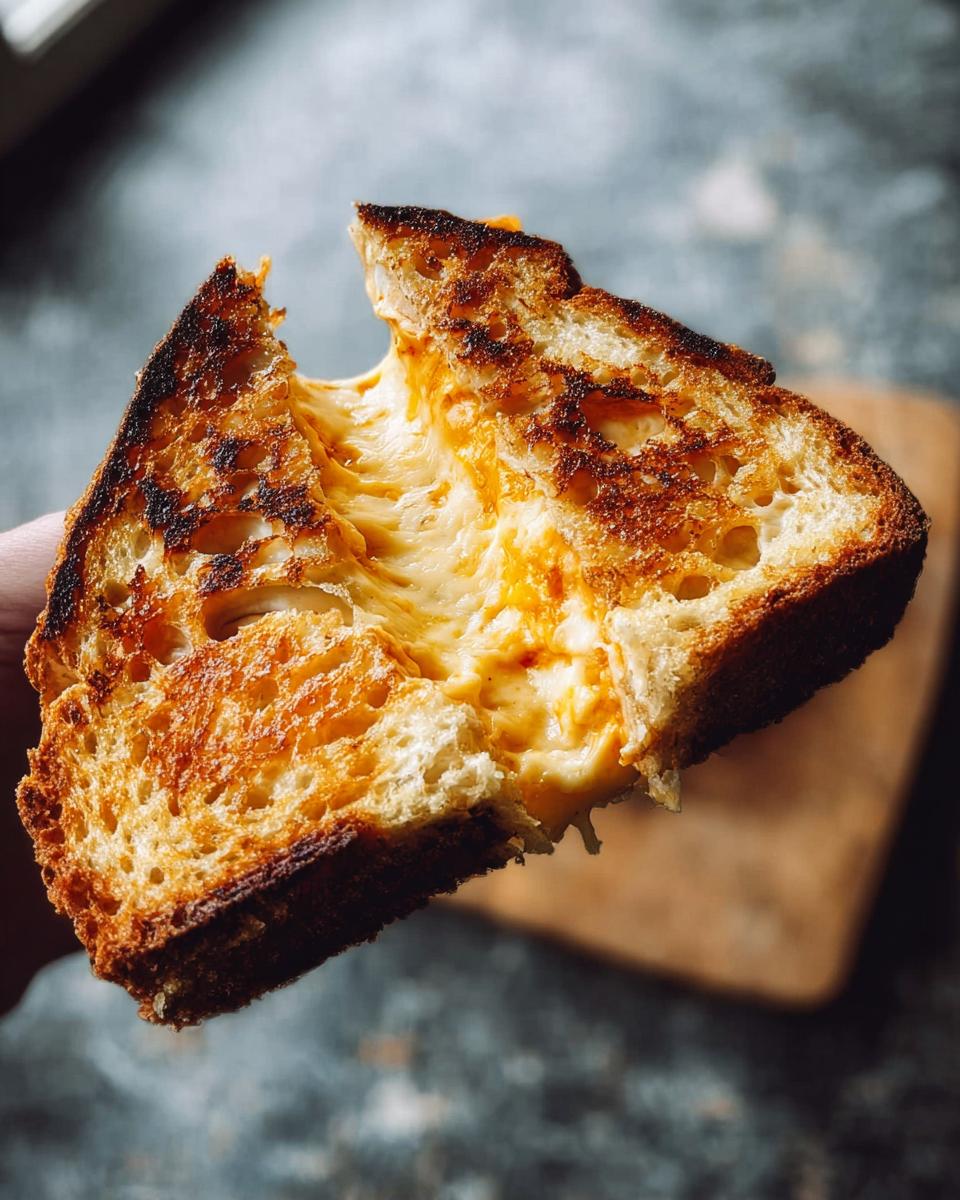
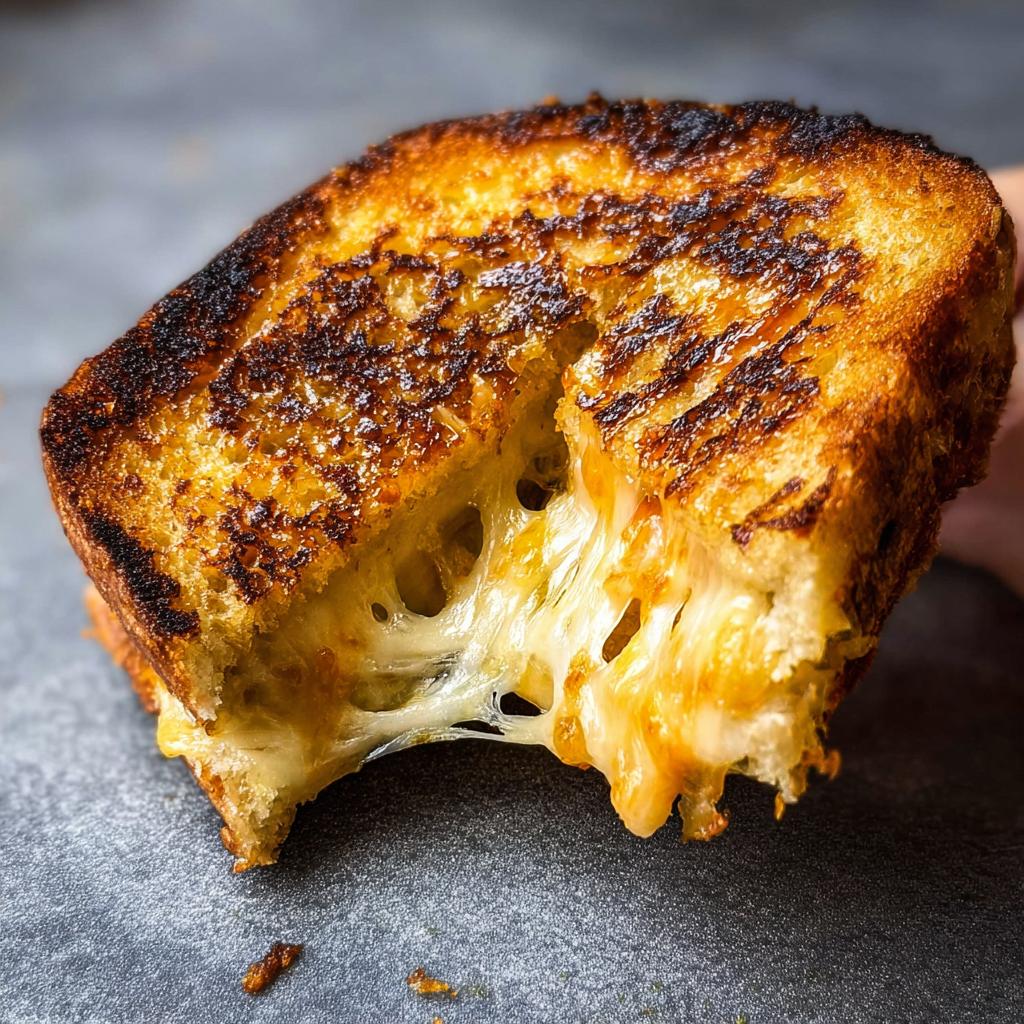
You know that moment when you pull a grilled cheese apart and the cheese stretches for miles? That’s what we’re aiming for! The sharp cheddar brings that classic, tangy bite, while the Gruyère or raclette adds this wonderfully creamy, nutty depth. Together, they create a seriously gooey, satisfying melt that’s miles better than just one cheese alone. It’s simple, but oh-so-effective!
Essential Ingredients for Your Grilled Cheese
Alright, let’s talk about what goes into making this magical sandwich. It’s super simple, and you probably have most of it hiding in your kitchen already!
- For the Sandwich
- 2 slices sourdough bread
- Mayonnaise, for spreading
- Dijon mustard, for spreading
- 1 to 2 ounces grated sharp cheddar cheese (depending on your bread size!)
- 1 to 2 ounces grated Gruyère or raclette cheese (again, depending on your bread size)
- Butter, for the pan
Ingredient Notes and Substitutions
Sourdough is my go-to because it has that lovely tang and gets wonderfully crispy, but don’t feel stuck! A good challah, brioche, or even a hearty whole wheat works beautifully. If you’re eating gluten-free, there are some fantastic GF breads out there now that toast up like a dream. For the cheese, feel free to mix it up! Monterey Jack, provolone, or even a mild gouda would be delicious. Just make sure they’re good melters. And that mayo? It’s my secret weapon for a perfectly golden crust –way better than just buttering the outside of the bread!
Quick and Easy Grilled Cheese Preparation
Okay, let’s get this cheesy masterpiece made! It’s ridiculously simple, I promise. First thing’s first, grab your cutting board and lay out those two beautiful slices of sourdough bread. Now, here’s a little trick I love: spread a thin layer of mayonnaise on the *outside* of each slice. This is going to give us that amazing golden-brown, crispy crust. On the inside of one slice, give it a little swipe of Dijon mustard – don’t go crazy, just enough for a tiny zing. Then, pile on that gorgeous mix of grated cheddar and Gruyère cheese. Slap the other bread slice on top, mayo-side out, and get ready for the magic.
Pop a nonstick or cast-iron skillet on the stove over medium-low heat. You want it warm enough to get that bread toasty, but not so hot that it burns before the cheese melts. Add a nice pat of butter to the pan – just enough to coat the bottom. Carefully place your assembled sandwich into the warm skillet. Cover it up with a lid, and let it cook for about 2 to 3 minutes. You’re looking for that bottom slice to get beautifully golden and crisp.
Now for the flip! Slide your spatula underneath and carefully turn that sandwich over. Pop the lid back on and let it cook for another 1 to 3 minutes on the second side. Keep an eye on it! If the bread starts getting too dark before the cheese is all melty and gooey, just turn the heat down a tiny bit. Patience is key here for that perfect melt! Once both sides are golden brown and the cheese is oozing happily, slide it onto your cutting board. Give it a quick slice, and voila! Lunch is served. Check out these other quick lunch ideas if you need more speedy meal inspiration!
Make-Ahead Tips for Busy Days
Okay, so you know how I mentioned those rainy afternoons and how I can have that nostalgic comfort ready anytime? That’s all thanks to these make-ahead tips! Seriously, planning ahead here is a total game-changer, especially when you’re juggling a million things. It means you can still have that perfectly melty, golden-brown grilled cheese without the last-minute fuss. This is a huge part of Why Everyone Loves This Grilled Cheese Recipes (+ Make-Ahead Tips) – it fits right into our crazy lives!
My secret is to assemble the sandwiches completely, but here’s the catch: *don’t* butter the bread yet. Just get your bread, mayo on the outside, mustard on the inside, and all that glorious cheese layered in between. Wrap each one up snugly in plastic wrap or put them in an airtight container. You can totally prep a whole batch at the beginning of the week for grab-and-go lunches or quick dinners. For more awesome make-ahead lunch ideas, check out these easy gluten-free lunch box ideas!
Storage and Reheating Instructions
When it’s time to cook your pre-assembled beauties, just unwrap them. Add your butter to the pan over medium-low heat, just like usual. You might need to let them cook just a tiny bit longer than fresh ones, maybe an extra minute or two per side, to make sure that cheese gets perfectly oozy and the bread gets its golden crispness. Keep an eye on the heat so you don’t burn it! This little bit of planning means you can have amazing grilled cheese almost instantly!
Why Everyone Loves This Grilled Cheese Recipes (+ Make-Ahead Tips): Variations
Okay, my friends, here’s where we really get to play! While the recipe as is is pure magic, that’s the beauty of Why Everyone Loves This Grilled Cheese Recipes (+ Make-Ahead Tips) – it’s a fantastic canvas for your own creativity! Want to kick it up a notch? Try swapping in some Monterey Jack for extra creaminess, or maybe a sprinkle of smoked paprika for a little warmth. You could even add a thin layer of pesto for a burst of fresh flavor, or some thinly sliced tomato or even a bit of crispy bacon inside for a real treat! For even more recipe adventures, be sure to check out our other ideas!
Expert Tips for the Ultimate Grilled Cheese
Alright, let’s talk about the little secrets that take your grilled cheese from yummy to absolutely legendary. It’s all about getting that perfect golden crust and a center that’s just oozing with melty goodness. First, heat control is key! Medium-low is your best friend here. It gives the cheese time to melt beautifully without burning the bread. And my favorite trick? I use mayonnaise on the outside of the bread instead of just butter. It creates this unbelievably even, golden-brown crispiness that is just divine! For the pan, a good nonstick skillet is great, but if you have a cast-iron, it gives it this amazing char that’s hard to beat. Just make sure it’s well-seasoned!
Frequently Asked Questions About This Grilled Cheese
Got questions about crafting the ultimate grilled cheese? I’ve got answers!
Can I use different types of bread for my grilled cheese?
Absolutely! While sourdough is my personal fave for its tang and perfect crispiness, don’t hesitate to experiment. A nice thick-cut challah or brioche makes for a wonderfully rich sandwich, and a hearty whole wheat holds up beautifully. If you’re looking for gluten-free options, many of the newer GF breads toast up like a dream and are perfect for a melty grilled cheese!
What’s the best cheese for a super melty grilled cheese?
For that glorious cheese pull, you really want cheeses that melt well. Sharp cheddar and Gruyère are fantastic because they bring both flavor and amazing meltability. Monterey Jack, provolone, and fontina are also excellent choices. A good blend is often best – it gives you complexity and that satisfying gooey factor. Just make sure your cheese is grated; it melts much more evenly than slices!
How do I prevent my grilled cheese bread from burning before the cheese melts?
This is the million-dollar question! The secret is all about heat control. Make sure your pan is set to medium-low. If it gets too hot, the bread will brown way too fast. Also, covering the pan for a minute or two after you flip it helps trap steam, encouraging the cheese to melt gently without scorching the bread. And remember that mayo trick? It helps create a more even golden crust, reducing the chances of dark spots!
Can I make these grilled cheese sandwiches ahead of time?
Yes, you totally can! This is one of my favorite things about this recipe. Assemble the sandwiches with the cheese, but hold off on buttering the bread until you’re ready to cook. Wrap them well and store them in the fridge. When you’re ready for a quick and delicious meal, just butter the pan and cook them up – they might take a minute or two longer to get perfectly melty, but it’s so worth it for the convenience! Feel free to reach out with any other questions on our contact page!
Nutritional Information
Please keep in mind that nutritional information can vary quite a bit based on the exact ingredients and brands you use. For this grilled cheese, a rough estimate per sandwich is around 400-500 calories, with about 25-35g of fat, 20-25g of protein, and 25-35g of carbohydrates. It’s a delicious and satisfying treat!
Share Your Grilled Cheese Creations!
Okay, now it’s your turn to spread the cheesy joy! I’d absolutely LOVE to hear what you think of this recipe. Did you try it? Did you switch up the cheeses or bread? Drop your comments below – your feedback makes all the difference! And if you snap a pic of your amazing grilled cheese masterpiece, be sure to share it on social media and tag us! You can learn more about our journey here!
Why Everyone Loves This Grilled Cheese Recipes (+ Make-Ahead Tips)
Ingredients
Equipment
Method
- Place the bread slices on a cutting board. Spread the top side of each slice with mayonnaise. Flip one slice of bread and spread its other side with Dijon mustard.
- Layer the cheddar and Gruyère or Raclette cheeses on top of the mustard. Place the other slice of bread on top of the cheese, mayonnaise side out.
- Heat a nonstick or cast-iron skillet over medium-low heat. Melt enough butter in the pan to coat the bottom.
- Place the sandwich in the pan, cover, and cook for 2 to 3 minutes, or until the bottom slice of bread is golden brown and crisp.
- Flip the sandwich, replace the lid, and cook until the other slice of bread is golden brown and the cheese is melted, 1 to 3 minutes. Reduce the heat to low if the bread browns too quickly before the cheese melts.
- Slice and serve.
Notes
Tried this recipe?
Let us know how it was!
Certified Nutritional Science Authority
The intersection of celiac disease and metabolic health fascinated me from my first dietetic internship. Watching patients struggle to find foods supporting both their autoimmune condition and weight goals launched my career mission: proving medically necessary diets can be nutritionally optimal.
For twelve years, I’ve specialized in gluten-free living while achieving metabolic health objectives. My published research demonstrates that properly planned gluten-free, low-carb eating provides superior nutrition compared to standard approaches.
The hidden trap? Most commercial gluten-free products are carb bombs – rice flour and potato starch masquerading as healthy alternatives. My frameworks avoid this completely, using nutrient-dense ingredients like almond flour and flaxseed that enhance rather than just replace.
Every recipe I review meets rigorous standards: adequate protein for metabolic support, healthy fats for satiety, proper fiber levels for digestive health – all maintaining strict gluten-free protocols for celiac management. I’ve guided over 500 individuals through this optimization process.
My personal gluten-free, low-carb lifestyle fuels my long-distance cycling and triathlon training – proof that these approaches deliver sustained energy and mental clarity. Medical necessity doesn’t mean nutritional compromise.