
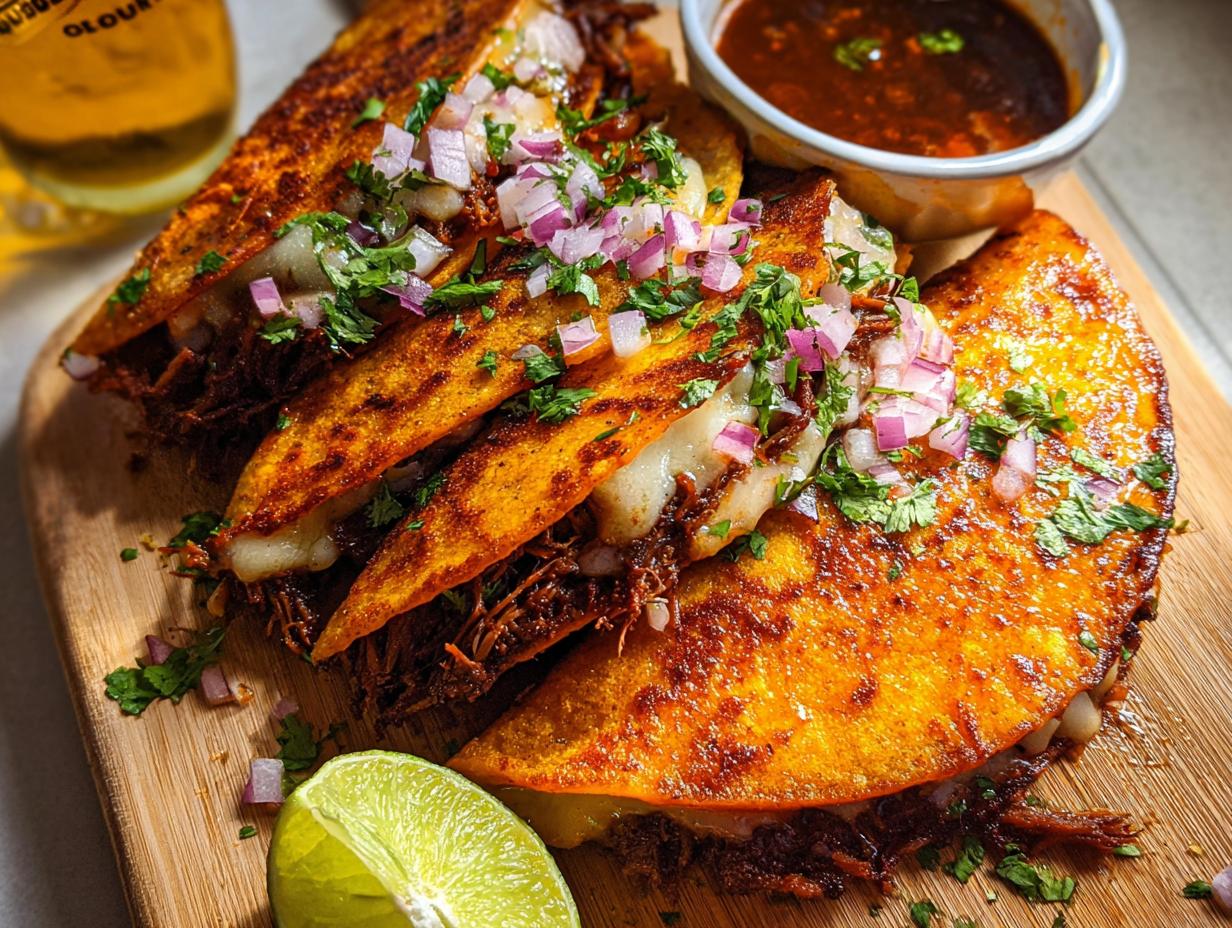
Oh, you guys! Let me tell you about birria tacos. If you haven’t experienced these magical little parcels of joy, you are seriously missing out! The first time I tasted birria tacos was at this tiny, unbelievably delicious little spot I stumbled upon in Mexico. Wowza! That rich, slow-simmered broth and the impossibly tender beef just hooked me. I came back home dreaming about those flavors, and let me tell you, countless kitchen trials later, I finally perfected My Fave Birria Tacos. This recipe is all about bringing that authentic, comforting, melt-in-your-mouth goodness right into your own kitchen. It’s a journey, for sure, but so, so worth it!
Trust me, making these bad boys isn’t just about cooking; it’s about creating a whole delicious experience. We’re talking tender, spiced beef, ooey-gooey cheese, and that crispy tortilla shell dipped in the most amazing, chile-infused broth. It’s the kind of food that just wraps you up in a hug. This is the recipe I’ve spent ages tweaking to get just right, and it’s the closest I can get to reliving that amazing trip. Because sharing good food with people you love is just the best, right? You can find more super tasty ideas here!
Why You’ll Love My Fave Birria Tacos
Seriously, what’s not to love about these tacos? They’re:
- Packed with Flavor: That rich, slow-simmered birria and spicy consomé are out of this world!
- Super Satisfying: Perfectly crispy tortilllas, melty cheese, and tender beef – pure comfort food.
- Easier Than You Think: While the stew takes time, assembling the tacos is a breeze!
- A True Taste of Mexico: Get that authentic street taco experience right in your own kitchen.
Ingredients for My Fave Birria Tacos
Alright, let’s get down to the good stuff – gathering what you need for these incredible tacos. Remember, the star here is that amazing birria stew you (hopefully!) made ahead of time. If you haven’t made the birria yet, no worries, you can grab the full recipe for that here! For assembling the tacos themselves, you’ll need:
For the Birria Tacos:
- Your prepared, warm Mexican Birria (make sure that rich beef fat/consommé is on top!)
- Corn tortillas (the fresher, the better!)
- About 2 cups of Oaxacan cheese, shredded (or mozzarella if you can’t find Oaxacan – it’s still delicious!)
- Freshly chopped cilantro, for that pop of freshness
- Finely chopped red onion, adding a nice little bite
- A few lime wedges, ready for squeezing over the top
Essential Equipment for Making Birria Tacos
To make My Fave Birria Tacos, you won’t need a whole fancy kitchen setup, but a few key tools really make the magic happen. Make sure you have a good non-stick skillet for getting those tortillas perfectly crispy. A sturdy spatula is a must for pressing down those tacos and flipping them. Towards the end, having a baking sheet or a nice platter ready will be helpful for keeping your finished tacos warm while you fry up the rest. Easy peasy!

How to Prepare My Fave Birria Tacos: Step-by-Step
Alright, get ready to turn that gorgeous birria stew into the most amazing tacos you’ve ever had! This is where the real magic happens. First things first, make sure your birria is nicely warmed up. You want it hot and ready to go. And don’t forget that glorious rendered fat mingling with the consomé – that red, spicy broth is our secret weapon for getting those tortillas perfectly crispy!
Now, grab your non-stick skillet and get it over medium-high heat. Dip both sides of a corn tortilla quickly into that beautiful consomé (yep, the fatty part on top!). Lay that dipped tortilla right into the hot skillet. Sprinkle a generous amount of shredded Oaxacan cheese all over one half, then spoon a few dollops of your warm birria meat onto the cheese. Fold the other half of the tortilla over to make a taco shape, and gently press it down with your spatula. You want it to hold its shape!
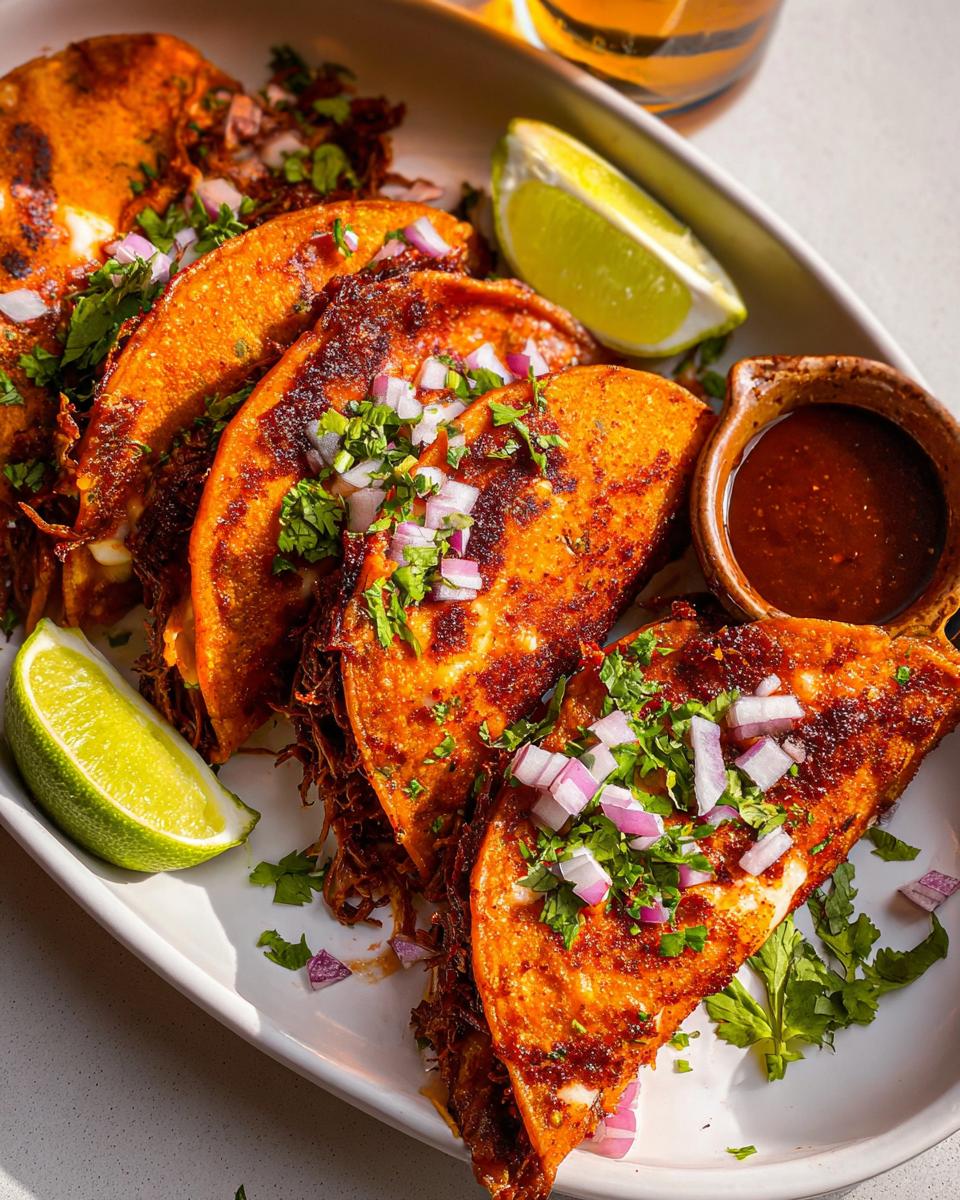
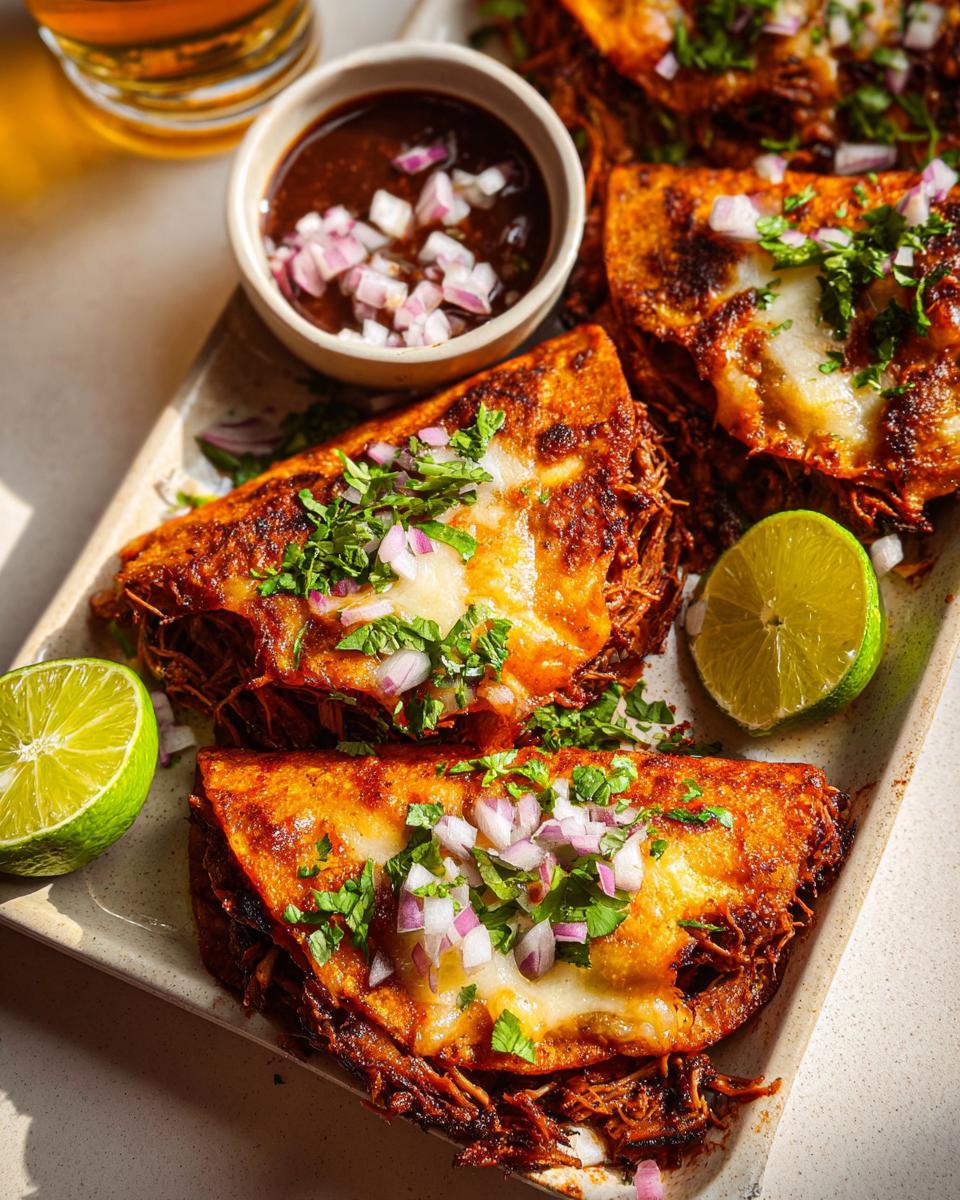
Let that taco sizzle away for about 1-2 minutes per side. Keep spooning a little more consomé over the top as it cooks – it helps crisp it up and adds amazing flavor. You’re looking for that perfect golden-brown crispiness and beautifully melted, gooey cheese. Once it’s just right, carefully transfer your taco to a baking sheet or a serving platter. Repeat this whole dipping, filling, folding, and frying process with the rest of your tortillas and birria. You can try to keep them warm in a low oven while you finish the batch. For more taco-tastic ideas, check out how to make taco Tuesday recipes!
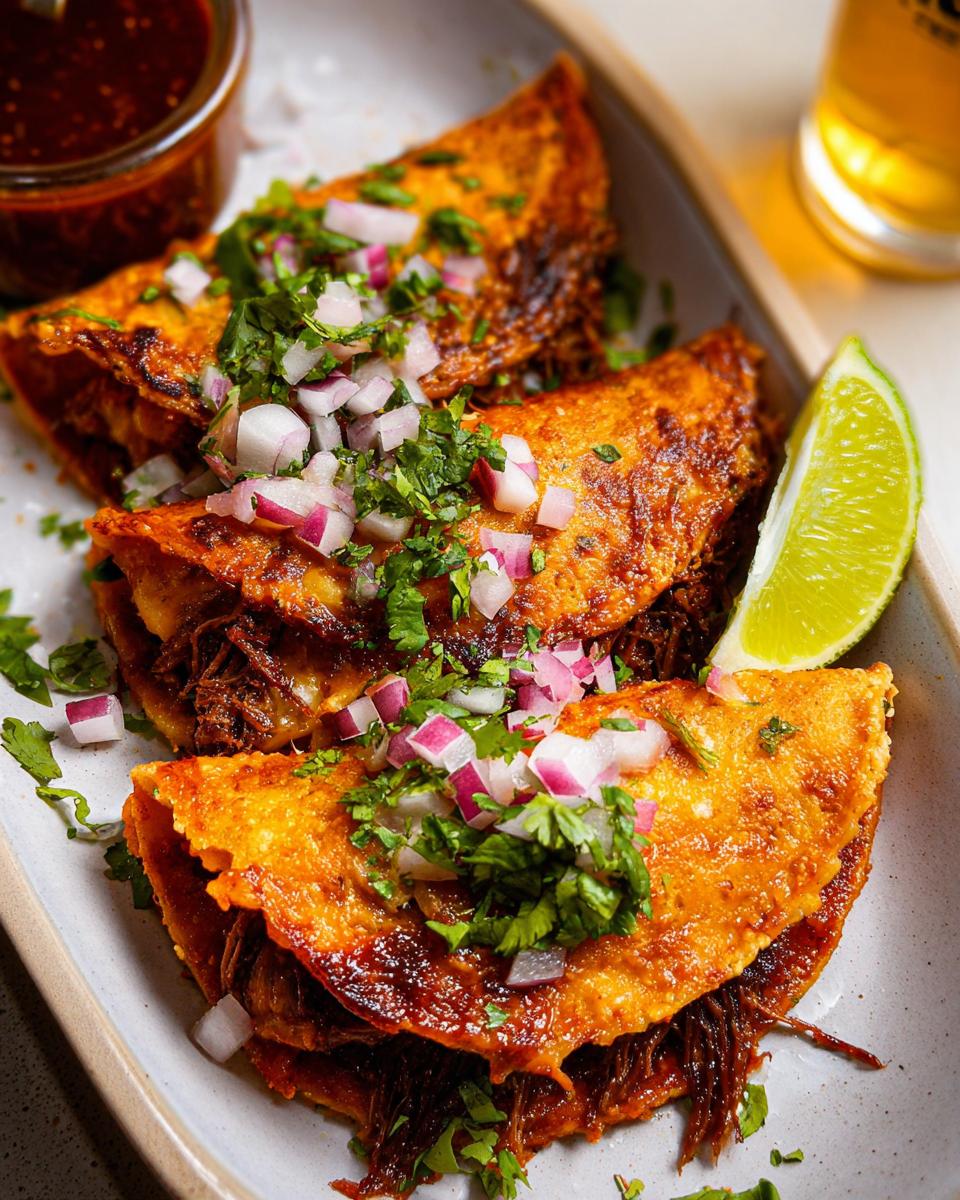
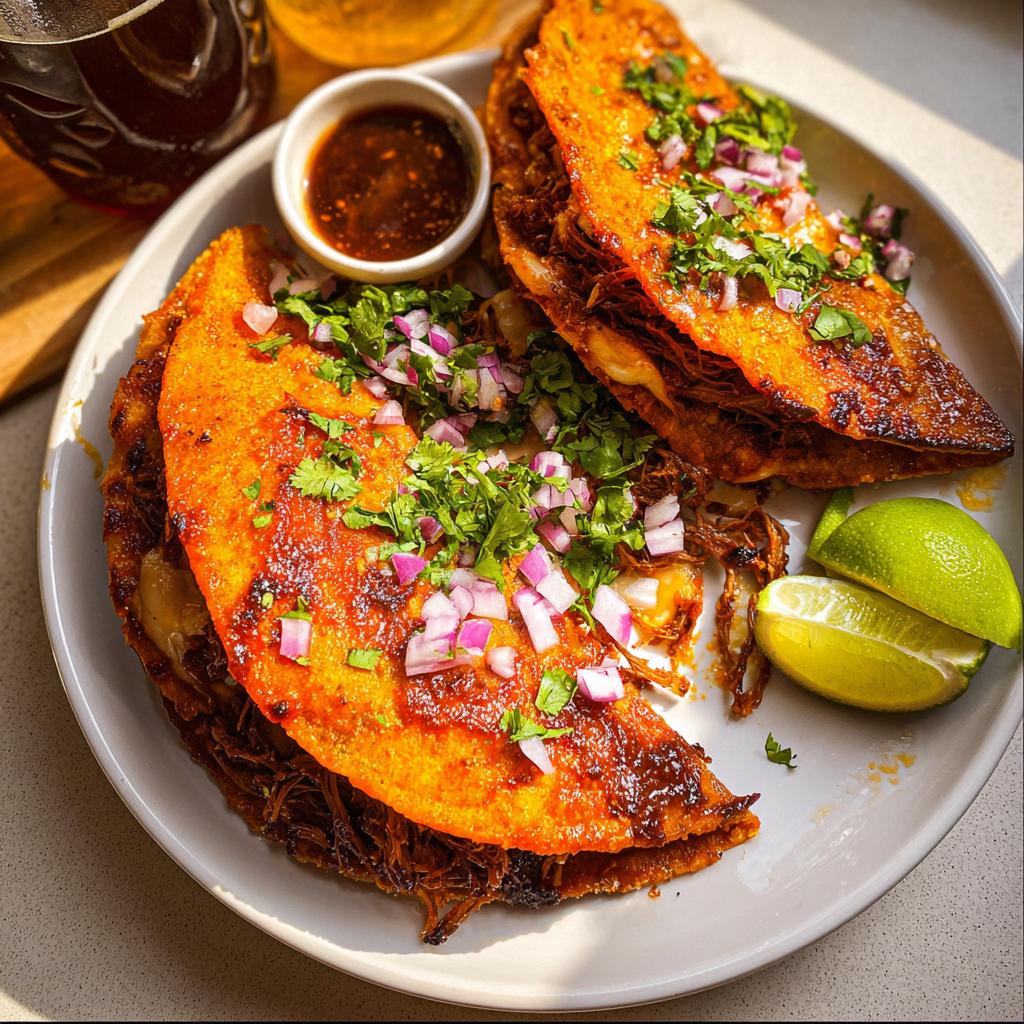
Finally, serve these beauties up hot! Garnish them generously with that fresh cilantro and finely chopped red onion. Don’t forget to serve them with extra consomé for dipping – this is crucial! And of course, have those lime wedges ready for a squeeze of bright, zesty goodness. Want to see how the pros do it? Take a peek at this birria taco recipe for more inspiration!
Tips for Perfect My Fave Birria Tacos
Getting My Fave Birria Tacos just right is all about a few little tricks I’ve picked up. First off, don’t skimp on that rendered fat in the consomé! It’s pure liquid gold for making your tortillas perfectly crispy and deeply flavorful. When you’re frying them, really let them get a good golden-brown color; that’s where the magic happens. Watch your cheese like a hawk so it melts beautifully without burning the tortilla. If you want them *extra* crispy, press down with your spatula a bit more, but be gentle so you don’t smash your beautiful taco! And speaking of tacos, using good quality corn tortillas makes a world of difference. If yours seem a bit stiff, warm them up in a damp paper towel for a few seconds before dipping. Trust me, these little tips take your tacos from great to absolutely unforgettable!
Serving Suggestions for My Fave Birria Tacos
Now that you’ve made these amazing My Fave Birria Tacos, what should you serve them with? Glad you asked! First off, don’t forget that extra bowl of warm consomé for dipping – it’s non-negotiable! You could also whip up some simple Mexican rice or some creamy esquites (Mexican street corn salad). And for drinks? A cold Mexican beer or some agua fresca, like horchata or jamaica, would be just perfect. You can find some really delicious soup recipes that would make a great starter, too!
Storage and Reheating My Fave Birria Tacos
Okay, so sometimes you just can’t eat *all* of these amazing My Fave Birria Tacos in one sitting (though I totally recommend trying!). If you have any leftovers, don’t you worry. The best way to store them is in an airtight container in the fridge. You can keep them for about 2-3 days. For reheating, I like to crisp them back up in a non-stick skillet over medium heat – kind of like how we made them, but just to warm through and get that tortilla nice and warm again. You can also pop them on a baking sheet in the oven for a few minutes. If you’re looking for more meal prep ideas, check out these soup recipes!
Frequently Asked Questions About Birria Tacos
Got questions about making My Fave Birria Tacos? I totally get it! Birria can seem a little intimidating at first, but trust me, it’s all about breaking it down. Here are some things people often ask:
What makes birria tacos so special?
Oh, the flavor! It’s the slow-cooked beef that’s been simmered for hours in a rich blend of chiles and spices. That, combined with the crispy, cheese-filled tortilla dipped in that amazing consomé (the broth!), is what makes them totally addictive. It’s a flavor explosion that you just can’t find anywhere else!
Can I use a different kind of cheese?
Absolutely! While Oaxacan cheese is traditional and melts like a dream, mozzarella is a fantastic substitute if you can’t find it. Some people even like a mix! The goal is just to get that gooey, melty factor that holds everything together.
What’s the deal with the consomé for dipping?
The consomé is that glorious, chile-infused broth that the birria meat cooks in. It’s SO flavorful! Dipping your crispy taco into it just takes things to a whole new level. Make sure you have a little bowl of it on the side for dipping – it’s honestly the best part!
I don’t have several hours to cook the birria meat. What can I do?
I hear you! While slow cooking is best, you can speed things up a bit. Using a pressure cooker or Instant Pot will significantly cut down the cooking time for the birria meat. Just adjust the cooking time according to your appliance’s instructions. It might not have quite the same depth of flavor as slow-cooked, but it’ll still be delicious! For more quick meal ideas, check out these recipe ideas!
Nutritional Information
Alright, let’s talk about the yummy stuff! While the exact numbers can wiggle around a bit depending on your specific birria prep and how much cheese you pile on (no judgment here!), here’s a general ballpark for My Fave Birria Tacos per serving. Expect around 450-550 calories, with roughly 25-35g of fat, 30-40g of protein, and about 20-30g of carbs. Remember, these are estimates and totally worth every single bite!
My Fave Birria Tacos
Ingredients
Equipment
Method
- Heat your prepared Birria until warm. Ensure the rendered fat from the beef is on top; you will use this to coat and pan-fry the tortillas.
- Dip both sides of a corn tortilla into the consomé (the red chile broth with fat on top) using a non-stick skillet over medium-high heat. Place the dipped tortilla in the heated skillet. Top the tortilla with shredded cheese, then add a few spoonfuls of Birria to one end. Fold the other end over to create a taco shape. Press gently with a spatula until it holds.
- Pan-fry the taco for 1-2 minutes per side until crispy and the cheese is melted. Add spoonfuls of consomé over the taco as needed. Continue frying until you reach your desired crispiness. Transfer the taco to a baking sheet or platter. Repeat with remaining ingredients.
- Serve the Birria Tacos warm. Garnish with chopped cilantro, red onion, and lime wedges. Serve with a small bowl of consomé for dipping.
Notes
Tried this recipe?
Let us know how it was!
Certified Gluten-Free Culinary Master
Everything changed in 2017 when I received my celiac diagnosis. After ten years as a traditional pastry chef creating elaborate wedding cakes and French pastries, I suddenly couldn’t even taste my own work. It felt like the end of my culinary world.
Instead, it became my greatest challenge. I had to completely relearn baking – understanding how gluten-free flours behave differently, how they bind, how they absorb moisture. Adding the low-carb requirement? That was like solving a puzzle with half the pieces missing.
My breakthrough came with what I now call my “foundation flour blend system” – different combinations that seamlessly replace wheat flour while maintaining low-carb macros. These techniques have been adopted by culinary schools and have helped countless bakers who thought their favorite treats were gone forever.
That first successful batch of gluten-free, low-carb chocolate chip cookies? Watching my husband close his eyes and smile told me I’d found my true calling. Now, with over 300 tested recipes, I prove daily that dietary restrictions don’t mean culinary limitations.
When I’m not experimenting in my Austin test kitchen, I’m teaching weekend workshops or tending my herb garden with Biscuit, my rescue beagle who’s become an expert at detecting oven timers.