
You know that feeling? That warm, fuzzy, absolutely comforting bite of stuffing that just screams holiday magic and cozy restaurant vibes? I’m talking about the kind that’s perfectly seasoned, has that wonderful mix of soft interior and crispy edges, and just makes your whole meal sing. I remember the first time I was utterly captivated by stuffing at a local restaurant during a holiday family dinner – I could have eaten the entire bowl myself! The blend of herbs, butter, and those crispy edges had me dreaming of recreating that dish at home. That inspiration led me to spend countless weekends experimenting with recipes, and today, I’m so excited to share my secrets for glorious Restaurant-Style Stuffing Recipes at Home (2025). Trust me, these tips will help you capture those classic flavors and comforting textures right in your own kitchen, making your holiday table absolutely unforgettable.
Why You’ll Love These Restaurant-Style Stuffing Recipes at Home (2025)
So, why should you ditch the boxed stuff and dive into making stuffing from scratch? Well, let me tell you, these Restaurant-Style Stuffing Recipes at Home (2025) are a total game-changer!
- Seriously Easy: Don’t let the “restaurant-style” scare you! This recipe is surprisingly simple, perfect even if you’re not usually a baker.
- Incredible Flavor: We’re talking a depth of savory goodness with just the right herbs that you just can’t get from a mix.
- Perfect Texture: That ideal balance of moist, fluffy inside and those super-satisfying crispy bits on top? Yep, we’ve nailed it.
- Impress Your Guests: Whip this up, and everyone will think you’ve been secretly training in a fancy kitchen!
Gather Your Ingredients for Restaurant-Style Stuffing
Alright, let’s get down to business! To create that amazing stuffing you dream about, you’ll need a few key players. Don’t worry, we’re not asking you to source anything too wild! The magic really comes from quality basics treated right.
First up, we’ve got 30 slices of white bread. Now, this isn’t just any bread; you’ll want it lightly toasted and really dried out. Seriously, let it sit out overnight – that’s the secret to getting that perfect, slightly chewy but not soggy texture. Resist the urge to use fresh bread; it’s a texture killer!
For flavor town, grab 1 large onion and 2 celery stalks, both finely chopped. These guys are the aromatic backbone, softening up and infusing everything with that classic savory base. And, of course, we need 2 tablespoons of butter, melted, to get those veggies singing! Then, for moisture and binding, we’ll use 2 large eggs, just lightly beaten, and 2 cups of chicken broth. The broth really brings all those delicious flavors together.
And for the real personality? We’re talking 2 teaspoons of rubbed sage and 1 teaspoon of garlic powder. Sage is the star herb here, giving it that unmistakable holiday feel. A little salt and pepper, of course, “to taste,” because you’re the boss of your seasoning! Sometimes, if things seem a bit dry, a splash of 2 tablespoons of water can be your friend. It’s all about getting that perfect consistency!
Expert Tips for Perfect Restaurant-Style Stuffing at Home
Okay, so you’ve got your ingredients, and you’re ready to make some magic! To really get that “wow” factor – that true restaurant-style stuffing at home – there are a few little tricks I swear by. It’s not complicated, but these steps make ALL the difference, trust me!
First off, about that bread: drying it out properly is non-negotiable. I know I mentioned it, but seriously, spread those slices on a baking sheet and let them air out for a good 24 hours. This ensures your stuffing doesn’t turn into a mushy mess. You want texture, right? That crispiness is key! For more amazing holiday side dish ideas, check out our recipe collection!
Another big one for texture is how you mix everything. Don’t go crazy stirring once you add the broth and eggs. You want to moisten the bread crumbs evenly, but overmixing can make it dense. Just gently combine until it’s all moistened, then fold in your veggies and seasonings. And for that beautiful golden crust? Make sure your oven is fully preheated to 325°F (165°C) and don’t even think about peeking for the first 45 minutes! If you’re looking for more inspiration, this classic stuffing recipe has some great ideas too.
Finally, don’t be afraid to taste as you go! Once the bread and wet ingredients are combined but before you add the cooked veggies, give it a little taste. Adjust your salt and pepper then. Everyone’s broth has a different salt level, and this is your chance to make it perfect for *your* palate. It’s these little things that elevate Restaurant-Style Stuffing Recipes at Home (2025) from good to absolutely spectacular!
Step-by-Step Guide to Making Restaurant-Style Stuffing
Alright, ready to bring that restaurant magic home? Making incredible stuffing is totally doable, and it all starts with a few simple, well-timed steps. Follow along, and you’ll be serving up a stuffing that’ll have everyone asking for seconds. It’s all about treating those humble ingredients right!
Preparing the Bread Base
First things first, let’s talk bread. Those 30 slices of white bread? You gotta dry ’em out! Spread them on baking sheets and just let them sit at room temperature for about 24 hours. This is HUGE for texture. It makes sure your stuffing isn’t a soggy mess and gives it that lovely, slightly chewy base that’s perfect for soaking up all the yummy flavors.
Sautéing Aromatics for Flavor
Next, we build that flavor foundation. Melt that butter in a saucepan over medium heat. Toss in your finely chopped onion and celery. Cook them until they’re nice and soft – we’re talking about 5 to 7 minutes. You want them tender and fragrant, not browned or crispy at this stage. This gentle cooking brings out their natural sweetness and makes them melt into the stuffing beautifully.
Combining and Seasoning the Stuffing Mixture
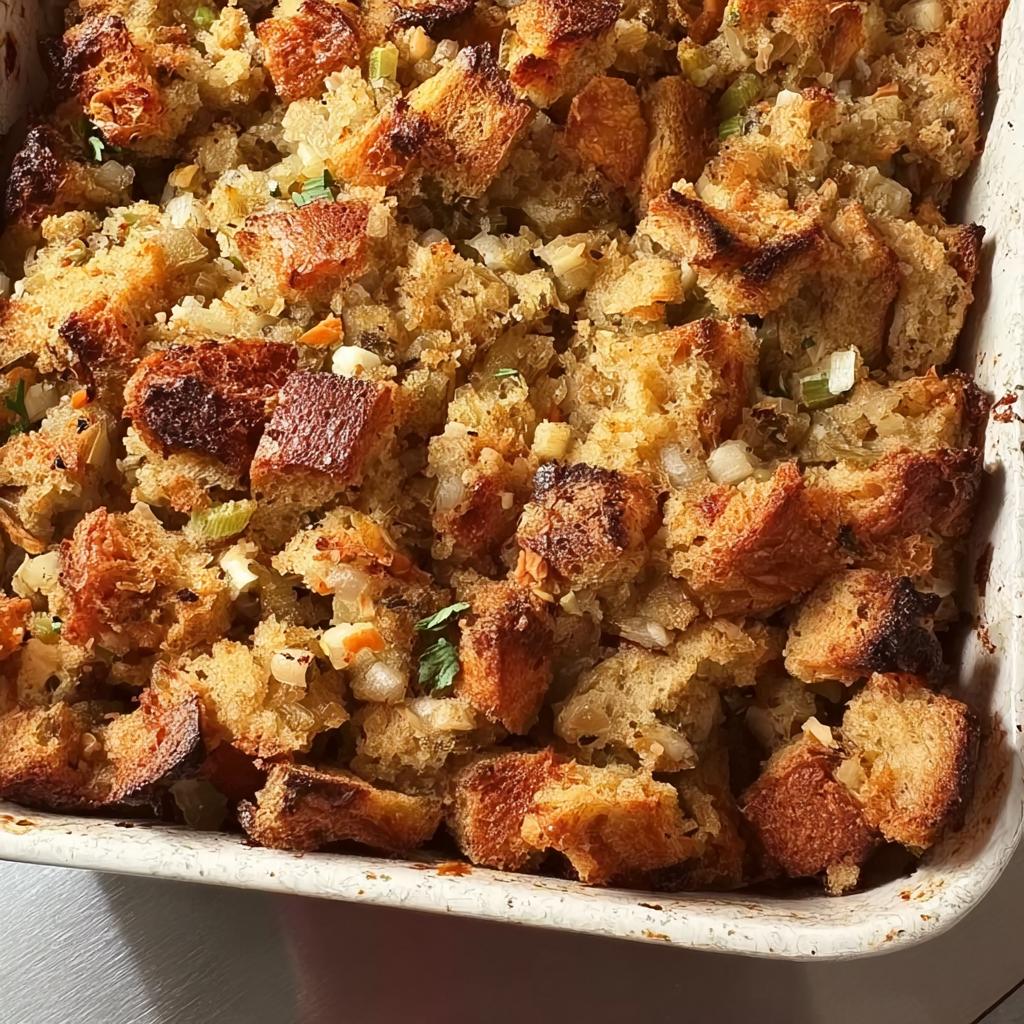
Now for the grand assembly! Gently crush those dried bread slices into crumbs – a rolling pin works wonders here. Dump them into a big bowl. Pour in the chicken broth and lightly beaten eggs, and mix until everything is just moistened. Don’t go wild here; we want it evenly damp, not totally saturated. If it feels a little dry, add a tablespoon or two of water. Then, fold in that soft onion and celery mix, along with the sage and garlic powder. Season generously with salt and pepper to taste. This is where it all comes together for those amazing Restaurant-Style Stuffing Recipes at Home (2025)!
Baking to Golden Perfection
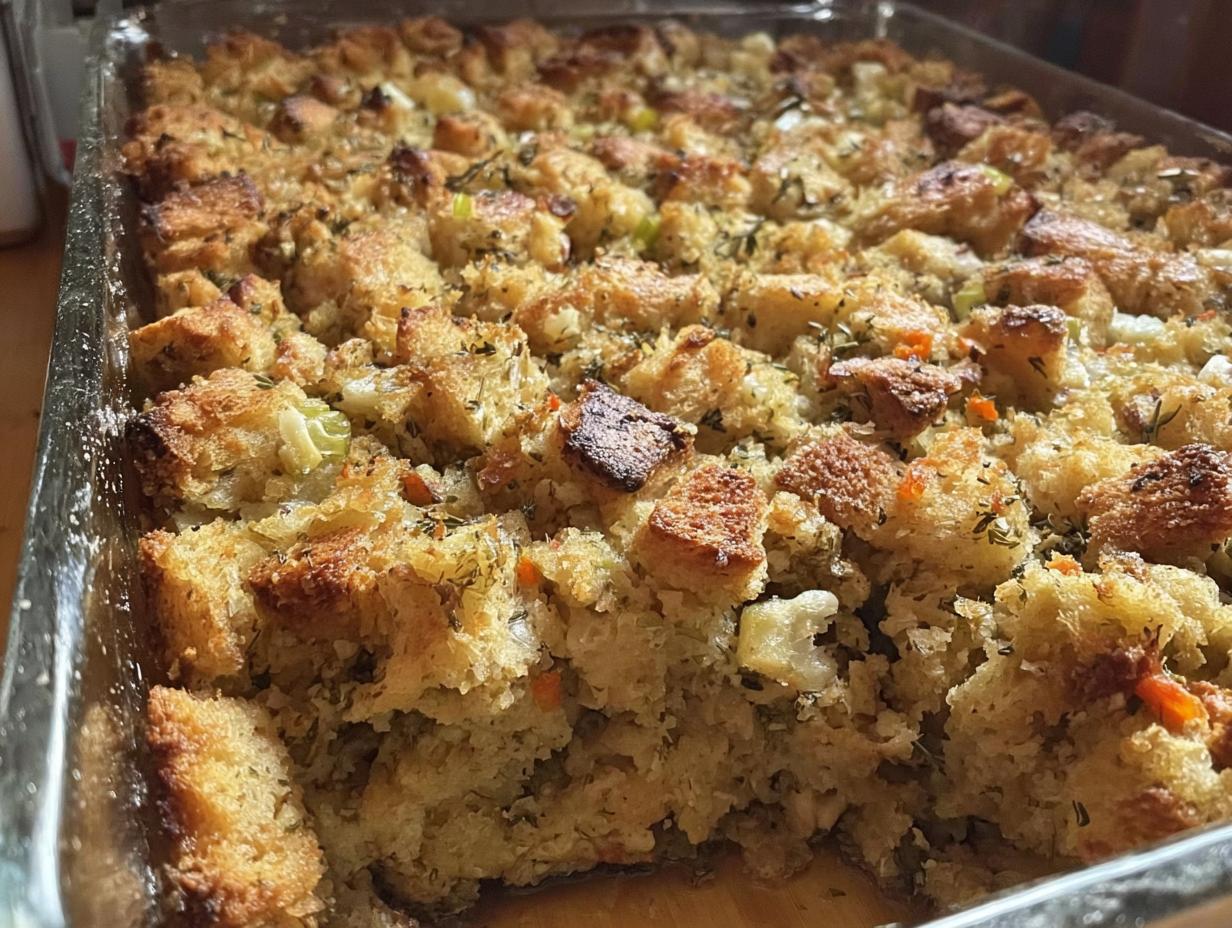
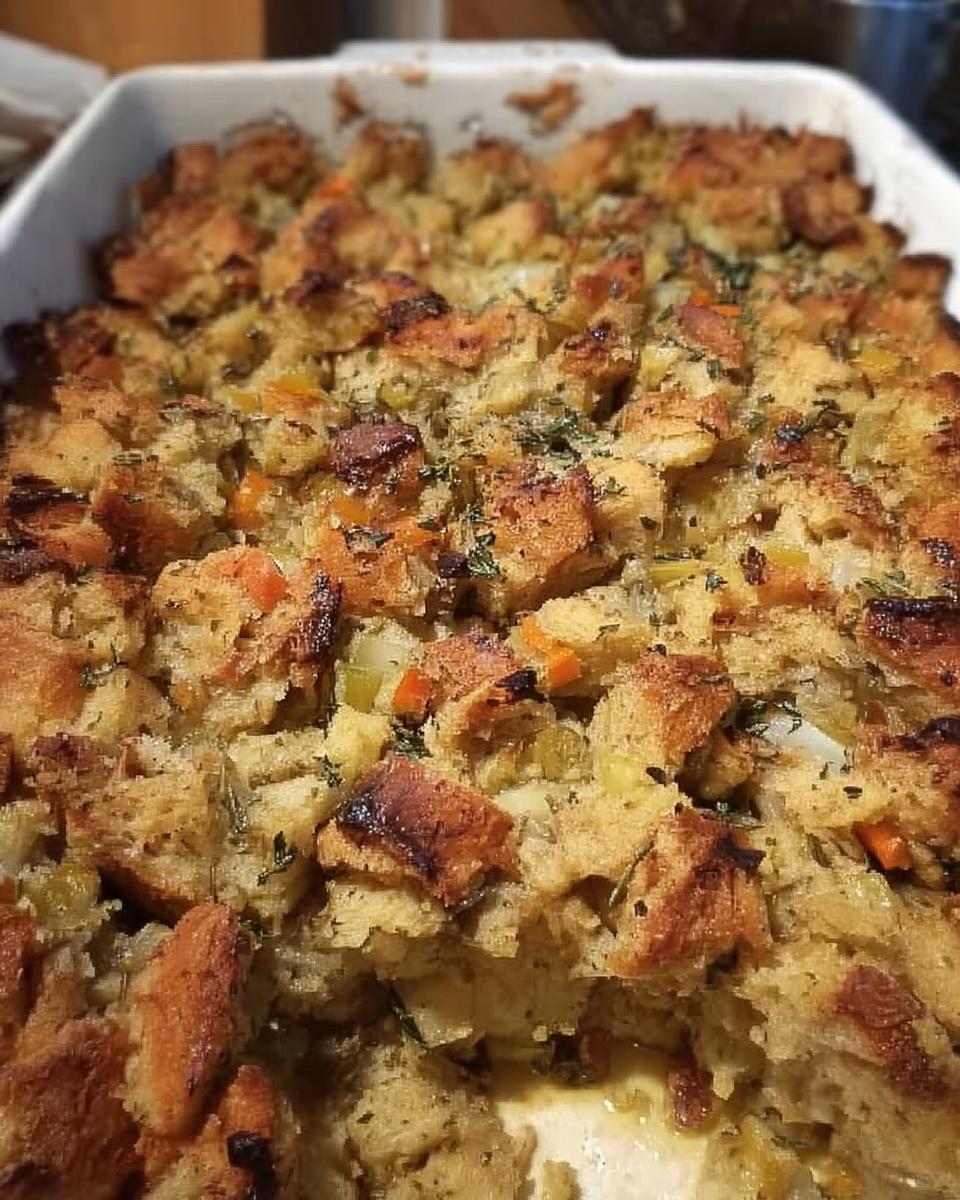
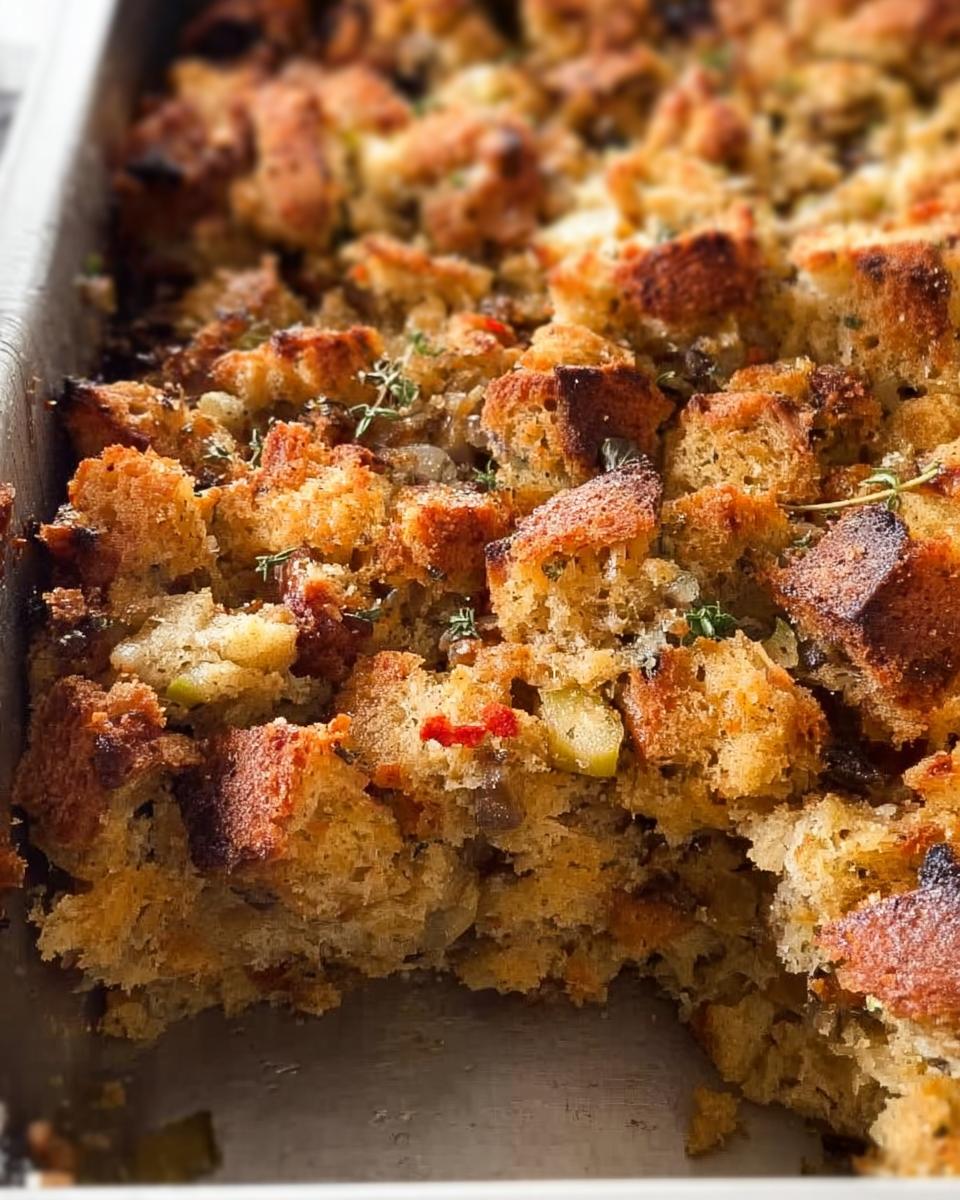
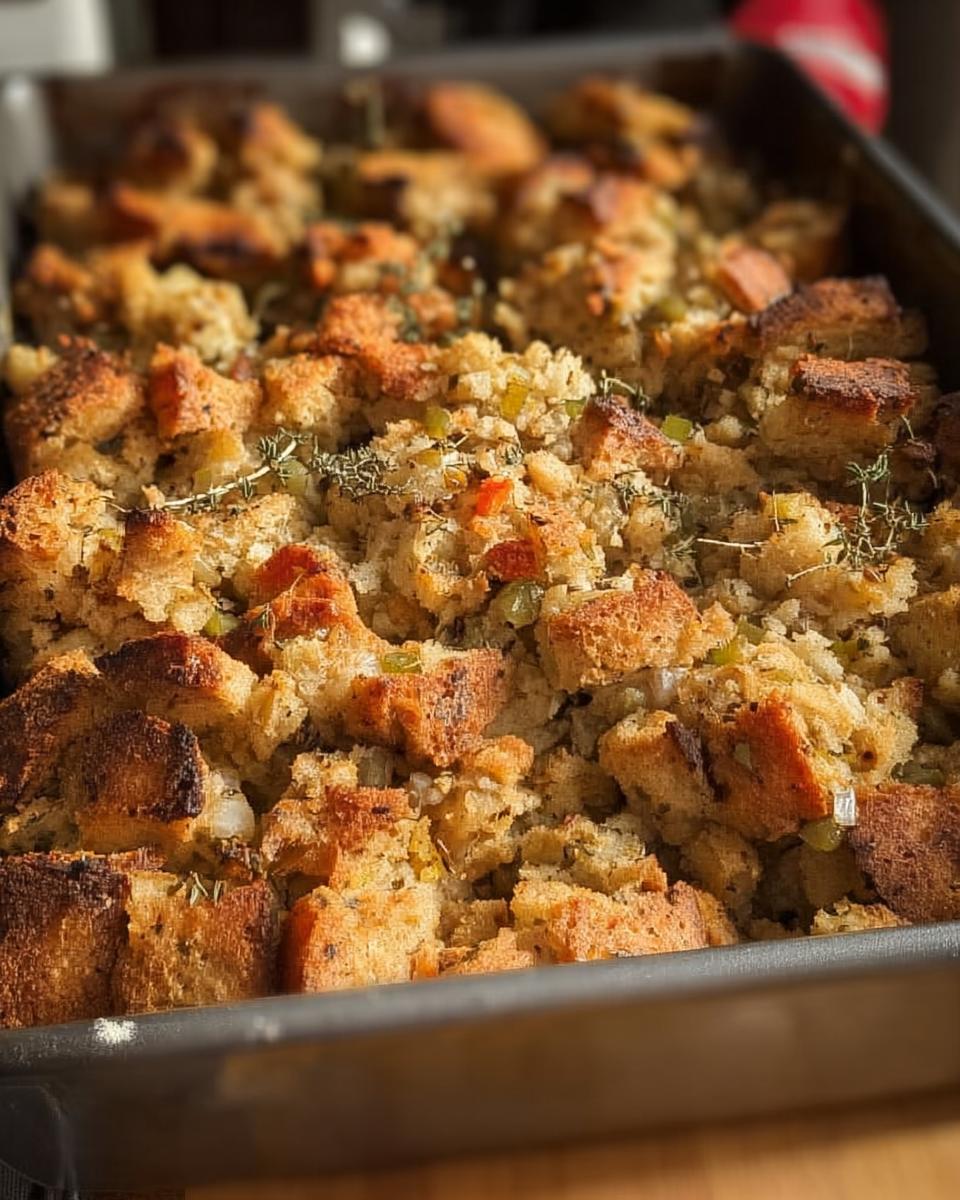
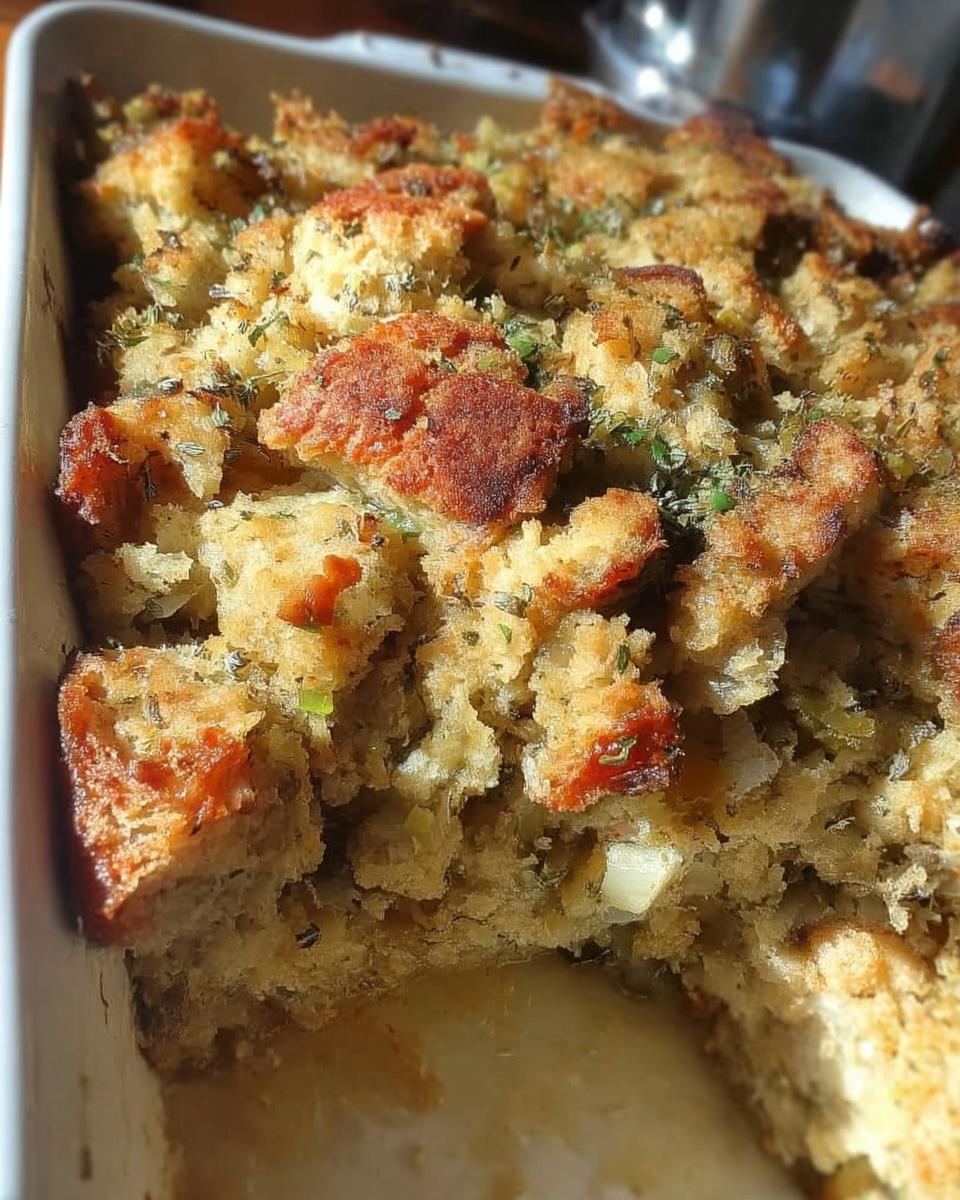
Finally, the moment of truth! Give your 9×13-inch baking dish a light greasing. Press that glorious stuffing mixture evenly into the dish. Pop it into your preheated oven at 325°F (165°C). Let it bake for about an hour, or until the top is beautifully golden brown and wonderfully crisp. That crisp top is another hallmark of truly fantastic stuffing!
Ingredient Notes and Substitutions for Your Stuffing
A lot of the magic in these Restaurant-Style Stuffing Recipes at Home (2025) comes down to using the right ingredients and knowing a few little tricks! That white bread I mentioned? It’s crucial for texture, giving us that perfect balance. But if you can’t find plain white bread, don’t stress! Stale challah or even a hearty sourdough can work, just make sure you dry them out really, really well. You want cubes, not mush!
Chicken broth is my go-to for that savory depth, but if you’re leaning towards vegetarian or just want a different flavor profile, vegetable broth is a fantastic substitute. It adds moisture and flavor without overpowering the herbs. And while sage is the classic hero here, feel free to play around! A little thyme, rosemary, or even a pinch of poultry seasoning can add a unique twist. For more fantastic make-ahead ideas, check out these gluten-free lunchbox ideas – they’re great for busy days and show how versatile ingredients can be!
Frequently Asked Questions About Restaurant-Style Stuffing
Got questions about nailing that perfect stuffing? I get it! It’s the heart of so many holiday meals, and you want it to be just right. Here are a few things folks often ask, and don’t forget, you can find even more amazing recipes like this restaurant-style gluten-free chicken to round out your feast!
Can I make this stuffing ahead of time?
You sure can! It’s actually a lifesaver for busy holiday schedules. You can mix the dry ingredients together and store them in an airtight container. Then, just combine everything with the wet ingredients and bake shortly before serving. Or, bake it completely, let it cool, cover, and reheat gently in the oven.
What kind of bread is best for stuffing?
My absolute favorite is a good old-fashioned white bread, like a hearty sandwich loaf. Day-old or slightly stale is perfect because it dries out better. You want that texture that’s going to hold up. Sourdough or even a brioche can work in a pinch, but always make sure it’s good and dry first!
How do I make my stuffing crispy?
The key to crispy stuffing is all about that bread base and the baking! Make sure your bread is super dry. Then, when you’re mixing, don’t make it too wet. When you bake it, use a wider pan like a 9×13-inch dish. This gives the stuffing more surface area exposed to the heat, which helps create those irresistible crispy edges. Sometimes, just a few minutes under the broiler at the very end does wonders too!
Serving and Storing Your Homemade Stuffing
Alright, your amazing homemade stuffing is out of the oven, golden brown and smelling incredible! It’s fantastic served piping hot right alongside your turkey, roasted chicken, or pretty much any cozy meal you can dream up. It’s especially good spooned over mashed potatoes or gravy – pure comfort food heaven! If you’re looking for quick side ideas, check out these quick gluten-free lunches; they’ll give you some inspiration for building a full, delicious meal!
Got leftovers? Lucky you! Store any cooled stuffing in an airtight container in the refrigerator for up to 3-4 days. When you’re ready to reheat, I find it’s best to spread it out a bit on a baking sheet and warm it in a moderate oven (around 350°F or 175°C) until heated through. This helps revive some of that lovely crispiness. You can also microwave it, but it might be a little softer.
Estimated Nutritional Information
Just a heads-up, these numbers are estimates, okay? Your actual nutritional info can totally change depending on exact ingredients and brands you use. But generally, a serving of this delicious stuffing is around 101 calories, with about 2 grams of fat and 3 grams of protein. You’re also looking at roughly 17 grams of carbohydrates per serving. For more weeknight meal ideas, check out these easy one-pot low-carb meals!
Share Your Restaurant-Style Stuffing Creations!
Now that you’ve got the secrets to amazing stuffing, I can’t wait to hear about it! Did you try it for Thanksgiving? Or maybe just a cozy weeknight dinner? Please, let me know how it turned out in the comments below! I love seeing your creations, and don’t forget to rate the recipe if you enjoyed it. You can also reach out through my contact page – I’m always happy to chat about all things delicious!
Restaurant-Style Stuffing Recipes at Home (2025)
Ingredients
Equipment
Method
- Spread toasted bread slices on baking sheets and let sit out at room temperature until hard, about 24 hours.
- Once bread slices are ready, gather all ingredients. Preheat the oven to 325 degrees F (165 degrees C). Lightly grease a 9×13-inch baking dish.
- Crush bread slices into crumbs with a rolling pin. Transfer crumbs to a large bowl.
- Melt butter in a medium saucepan over medium heat. Stir in onion and celery; cook and stir until soft, 5 to 7 minutes. Remove from heat and drain.
- Stir chicken broth and eggs into bread crumbs; mix until evenly moistened, but not soggy. Add water, if needed. Mix in cooked onion and celery, sage, garlic powder; season with salt and pepper.
- Press dressing mixture into the prepared baking dish.
- Bake in the preheated oven until the top is brown and crisp, about 1 hour.
- Serve hot and enjoy!
Nutrition
Notes
Tried this recipe?
Let us know how it was!
Master Recipe Testing Coordinator
Honestly? I got into recipe testing because I was tired of expensive failures. My gluten sensitivity meant constantly modifying recipes, only to watch them fall apart in my kitchen. After earning my food science degree, I realized the problem wasn’t the recipes – it was the lack of real-world testing.
So I built what became our signature system: every recipe gets tested by fifteen different home cooks. Grandmother with a 1970s oven? Check. College student with only a hot plate? Double check. Denver altitude versus Miami humidity? We’ve got it covered.
My food science background explains why certain substitutions work, but my gluten sensitivity keeps it real. I know the disappointment of reading “just like the original” and ending up with wasted ingredients and ruined dinner plans.
Our network now includes over 200 volunteer testers across different regions, skill levels, and dietary needs. I track everything – ingredient availability, altitude performance, equipment variations – until each recipe achieves “foolproof reliability.”
Leading our social media community is equally rewarding. Whether troubleshooting a recipe gone wrong or celebrating someone’s first successful gluten-free bread, I’m there for every step of their journey.
When I’m not coordinating test kitchens, I’m hiking with Scout, my border collie mix, mentally planning the next round of testing protocols. Reliable recipes aren’t just nice to have – they’re essential for sustainable dietary change.