

Oh, parties! I swear, the stress of whipping up a show-stopping dessert can sometimes feel like planning the whole event. But trust me, I’ve got a secret weapon in my recipe arsenal that always saves the day: my No Bake Oreo Cheesecake. It’s seriously one of my go-to Dessert Recipes With No Bake Oreo Cheesecake for Easy Parties because it’s ridiculously simple and everyone devours it. I remember making this for my nephew’s birthday last minute, and the kids (and adults!) went totally nuts for it. It’s the ultimate crowd-pleaser when you want something amazing without turning on the oven.
Why You’ll Love This Dessert Recipes With No Bake Oreo Cheesecake for Easy Parties
Seriously, this no-bake Oreo cheesecake is a lifesaver:
- Super Easy: No oven required means less fuss and less heat in the kitchen.
- Quick to Make: You can whip it up in about 20 minutes!
- Deliciously Rich: That classic Oreo and cream cheese combo is pure magic.
- Party Perfect: It looks gorgeous and always goes down a treat with everyone.
Essential Ingredients for Your No Bake Oreo Cheesecake
Okay, gathering your ingredients is half the fun! You only need a few simple things to make this dreamy cheesecake. Trust me, the magic really happens with these components.
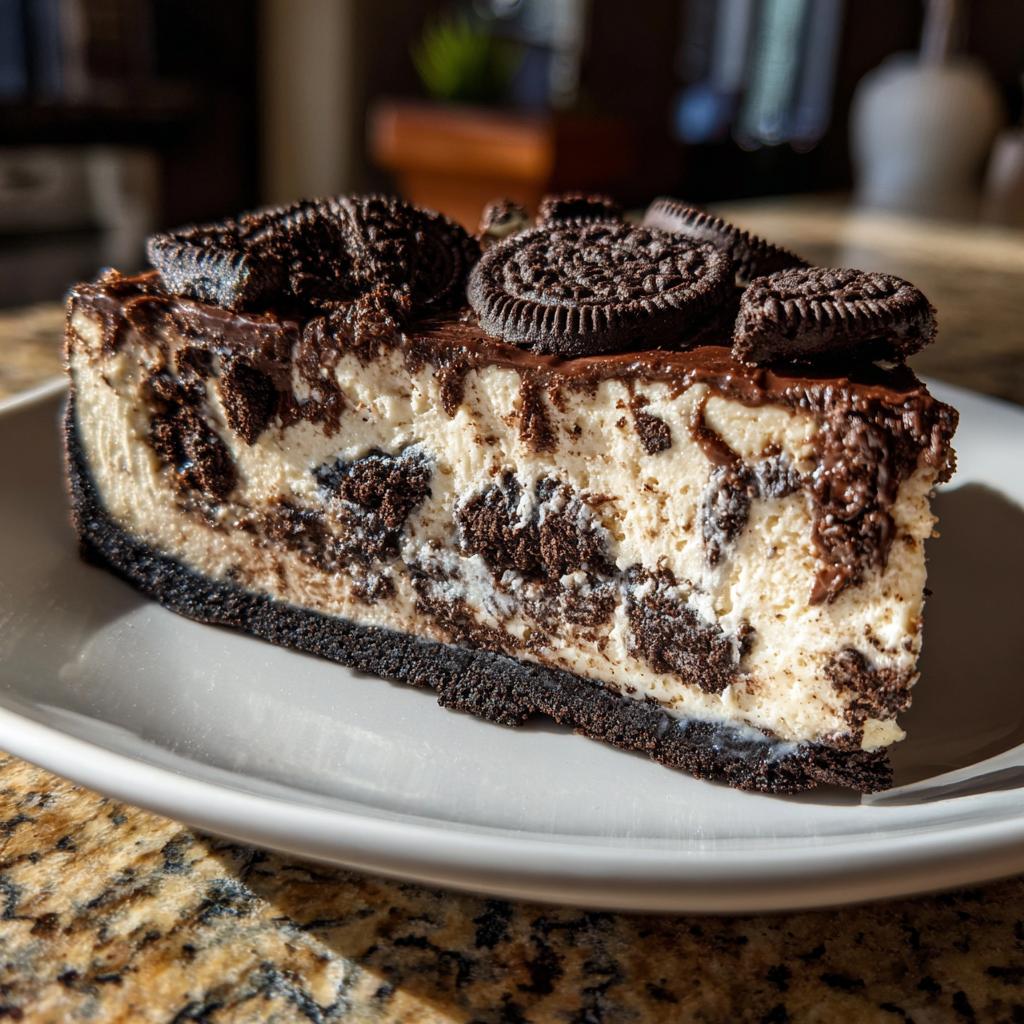
For the Oreo Crust
First up, the crust! You’ll need about 2 cups of Oreo cookie crumbs – that’s roughly 24 whole cookies crushed up. And you’ll also need 6 tablespoons of unsalted butter, melted until it’s nice and smooth. That’s it for the crumbly base!
For the Creamy Cheesecake Filling
Now for the creamy part! Grab 24 ounces of cream cheese, and make sure it’s softened so it mixes up beautifully. Then, about 1 cup of powdered sugar for sweetness, and 1 teaspoon of vanilla extract – my secret for extra flavor! Finally, you’ll need 1 cup of heavy cream that you’ll whip up until it forms stiff peaks. Oh, and don’t forget about 10 chopped Oreo cookies to swirl into the filling for that extra cookie crunch!
Equipment Needed for Your No Bake Oreo Cheesecake
To make this amazing cheesecake, you don’t need a whole lotta fancy gadgets. Just a few basics will do the trick! You’ll definitely want a good 9-inch springform pan – that’s crucial for getting the cheesecake out in one perfect piece. A food processor makes crushing those Oreos a breeze, but you can totally do it in a zip-top bag with a rolling pin if you don’t have one. And of course, you’ll need an electric mixer (handheld or stand mixer works!) to get that filling super smooth, along with a couple of mixing bowls.
Step-by-Step Guide to Making No Bake Oreo Cheesecake
Alright, let’s get this party started! Making this No Bake Oreo Cheesecake is seriously one of the easiest things you’ll do all week, especially if you’re prepping for a big event. We’ll walk through it step-by-step so you get that perfect creamy texture every single time. It’s so rewarding to see it all come together! If you’re curious about other easy no-bake options, you might want to check out these healthy no-bake Oreo cheesecake bites.
Preparing the Oreo Crust
First things first, let’s get that crust ready. Just mix those Oreo cookie crumbs with the melted butter until everything is nicely moistened. Then, press this mixture down really firmly into the bottom of your springform pan. You want it nice and solid, so it holds up when you cut into it later!
Making the Creamy Cheesecake Filling
Now for the best part – the filling! Grab your softened cream cheese, powdered sugar, and vanilla extract and beat them all together until they’re super smooth and creamy. Honestly, give it a good minute or two with your electric mixer; you don’t want any little lumps hanging around. Next, gently fold in that whipped heavy cream. Be gentle here – you want to keep all that lovely airiness! Once that’s combined, toss in your chopped Oreos. Just a little stir to distribute them so you get a little cookie surprise in almost every bite.
Assembling and Chilling Your No Bake Oreo Cheesecake
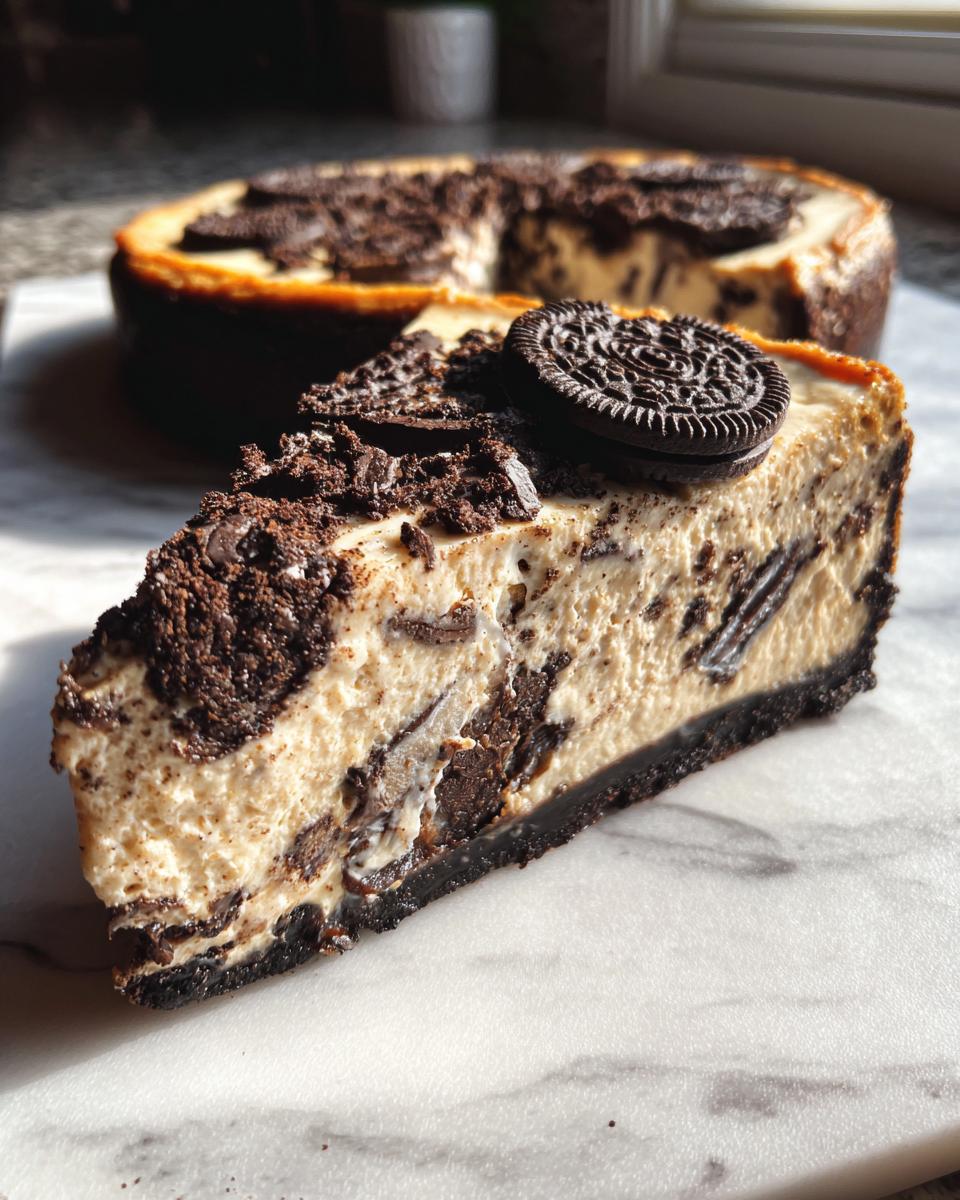
Time to bring it all together! Spread that luscious filling evenly over the prepared Oreo crust. Make sure it’s nice and smooth on top. Now comes the hardest part: waiting! Pop this beauty into the fridge for at least 2 hours. This chilling time is so important; it lets everything set up perfectly, giving you those clean slices you’re dreaming of. You can totally sneak a peek after 2 hours, but I usually give it a bit longer just to be sure it’s firm.
Tips for the Perfect No Bake Oreo Cheesecake
Okay, so you’ve got the recipe, but here are my little secrets to make sure your cheesecake is absolutely perfect every single time. First off, ingredient temperature is key! Make sure your cream cheese is *truly* softened. If it’s too cold, you’ll end up with lumps, and nobody wants that. I usually leave mine out on the counter for at least an hour, sometimes two if my kitchen is chilly. And for the heavy cream, it needs to be nice and cold when you whip it – that’s how you get those glorious stiff peaks that make the filling so light and fluffy. If you’re looking for more cheesecake deliciousness, you should totally peek at these high-protein cheesecake jars; they’re a fun twist!
Serving and Storage for Your Dessert Recipes
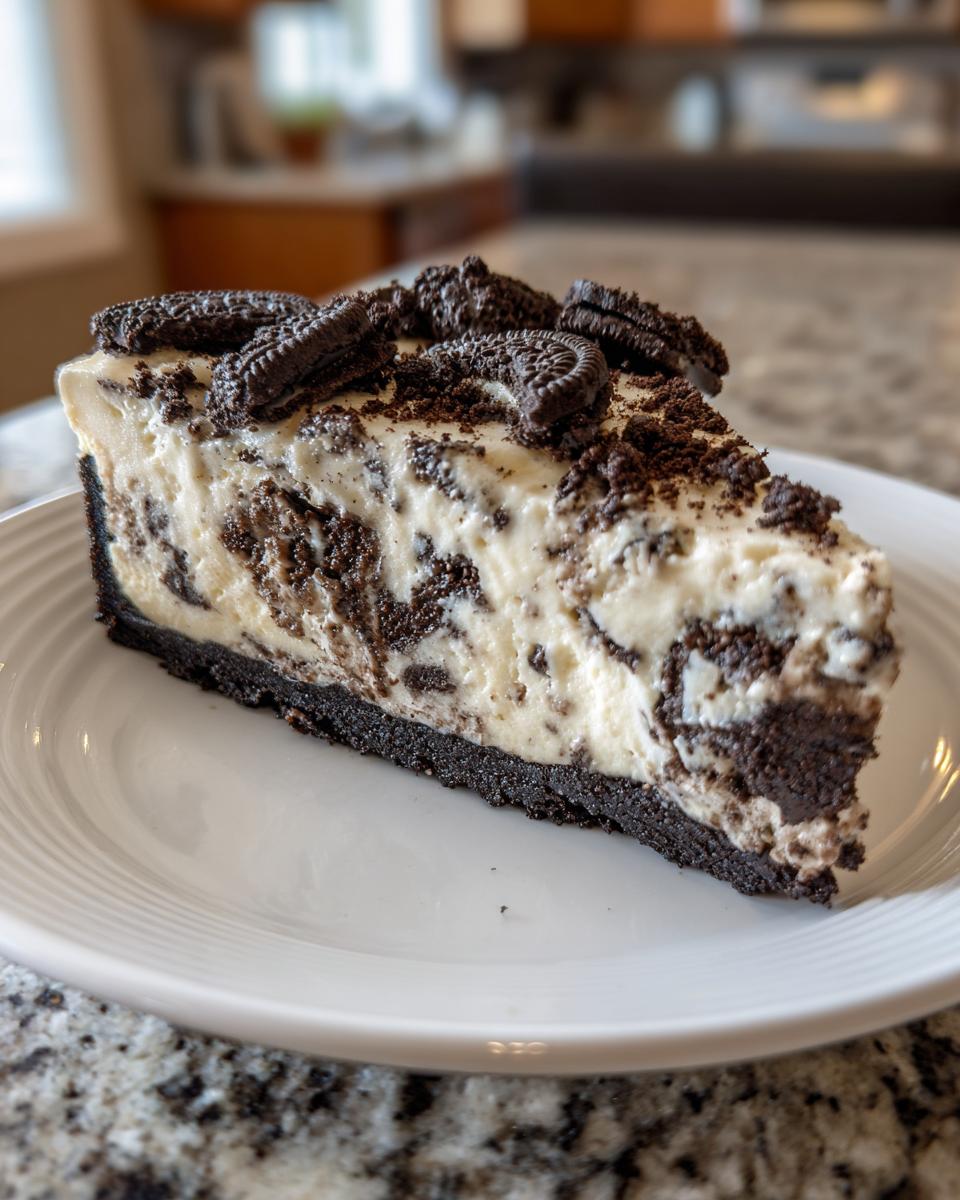
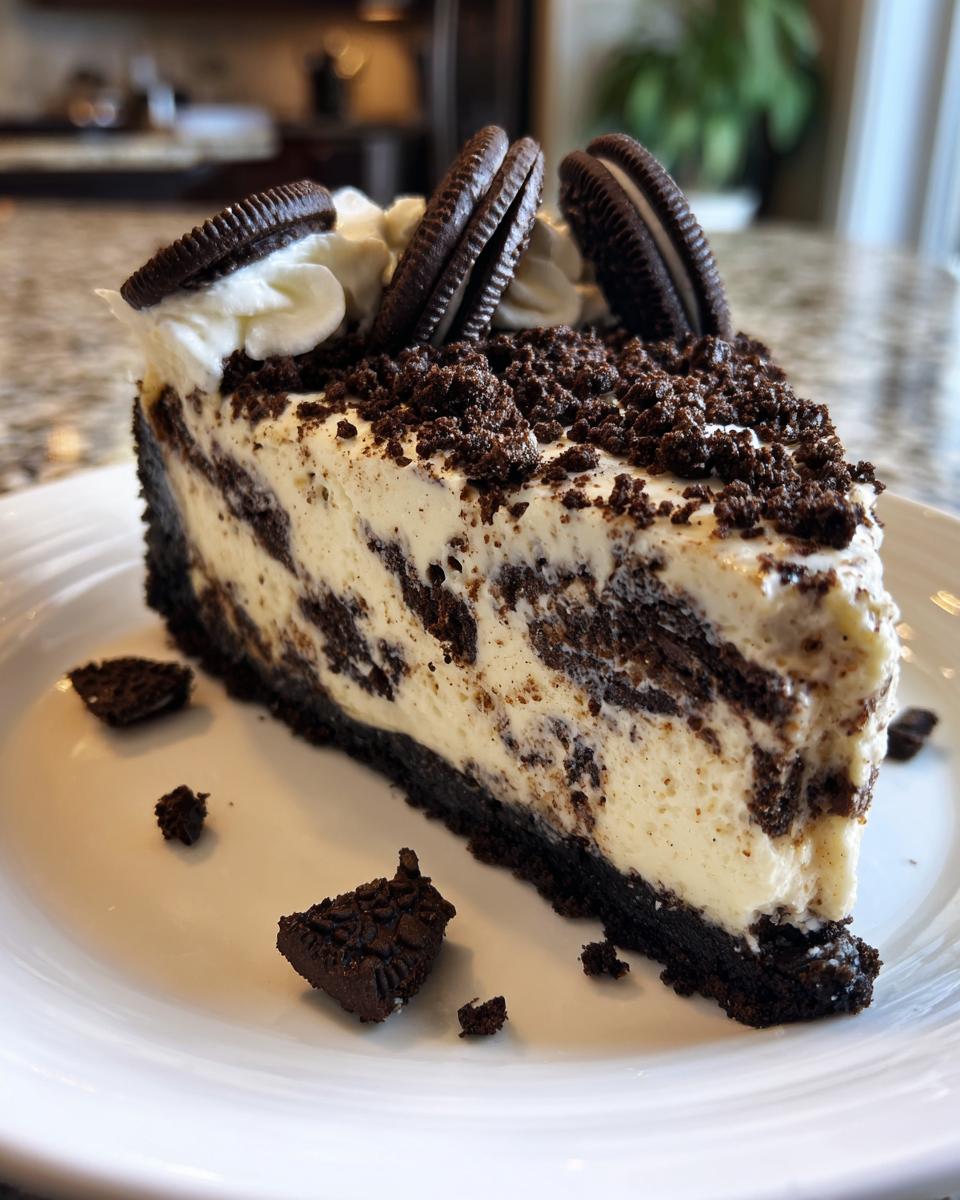
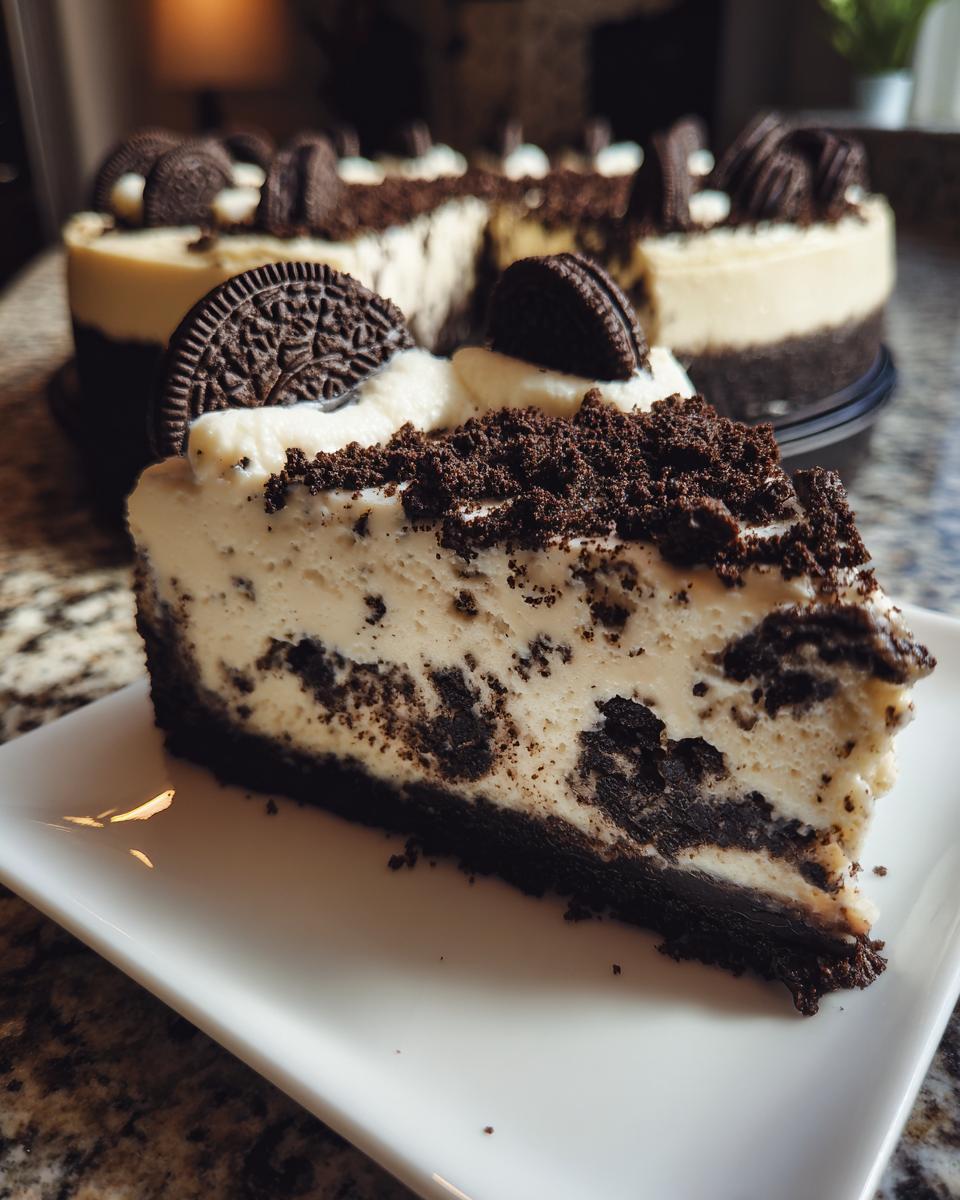
This no-bake Oreo cheesecake is best served chilled, so make sure it’s had ample time to set up in the fridge! I love to garnish mine with a few extra crushed Oreos or a dollop of whipped cream right before serving. If you happen to have any leftovers (which is pretty rare in my house!), just cover it tightly with plastic wrap and store it in the refrigerator. It’ll keep its amazing texture and flavor for about 3-4 days. It’s perfect for enjoying a slice the next day with your coffee!
Frequently Asked Questions About No Bake Oreo Cheesecake
Got questions about this dreamy cheesecake? I’ve got answers! This recipe is pretty foolproof, but sometimes little things pop up.
Can I use a different kind of cookie for the crust?
Absolutely! While Oreos are classic, you can totally swap them out. Chocolate graham crackers or even chocolate wafer cookies would work wonderfully to create a delicious crust. Just follow the same steps: crush ’em up, mix with melted butter, and press into the pan!
What if I don’t have a springform pan?
No springform pan, no problem! You can use a regular 8×8 inch or 9×9 inch baking pan. Just make sure to line it really well with plastic wrap or parchment paper, leaving some overhang. This way, you can lift the whole cheesecake out easily once it’s set. It might not look as fancy for slicing, but it’ll taste just as amazing. For other fun cheesecake ideas, check out my no-bake strawberry cloud cake or these mini pineapple upside-down cheesecakes!
Can I add more mix-ins to the filling?
Oh, go for it! This cheesecake is your playground. You could swirl in some chocolate ganache, add a handful of mini chocolate chips, or even some extra chopped Oreos if you’re feeling extra decadent. Just remember not to go too wild with the additions, as they can sometimes affect the setting time.
My cheesecake isn’t firming up, what did I do wrong?
The most common culprits here are the cream cheese or heavy cream not being cold enough when you started whipping, or not chilling it long enough. Make sure your cream cheese was really soft for the base, but your heavy cream was super cold for whipping! And don’t rush that chilling time – at least 2 hours is key for it to set properly. Patience is a virtue with no-bake desserts!
Estimated Nutritional Information
Just a heads-up, the nutritional info for this glorious cheesecake is an estimate! Since everyone uses slightly different ingredients and brands (and let’s be honest, portion sizes can vary!), the exact numbers will differ. But generally, you’re looking at around 400-500 calories per slice, with a good amount of fat and carbs, and a decent protein boost from the cream cheese. It’s a decadent treat, for sure!
No Bake Oreo Cheesecake
Ingredients
Equipment
Method
- Combine Oreo crumbs and melted butter in a bowl. Press into the bottom of a 9-inch springform pan.
- In a large bowl, beat cream cheese, powdered sugar, and vanilla extract until smooth.
- Gently fold in the whipped heavy cream.
- Stir in the chopped Oreo cookies.
- Spread the filling evenly over the crust.
- Chill for at least 2 hours, or until firm.