
You know those mornings, right? When you wake up and not just hungry, but *craving* something truly delicious for breakfast? It’s more than just needing fuel; it’s about that comforting warmth, that little bit of indulgence to kickstart your day. Hi, I’m Lisa Park, and as the Community Engagement & Recipe Testing Coordinator, I live for those moments! That’s exactly why I created my collection of What I Cook When I Crave Breakfast Ideas Recipes. I still remember those weekend mornings, the smell of pancakes filling the air as my kids ran into the kitchen, sleepy smiles on their faces – pure magic! These recipes aren’t just about the food; they’re about creating those cherished memories, transforming an ordinary day into something really special with simple, delightful creations.
What I Cook When I Crave Breakfast Ideas Recipes: Fluffy Pancakes
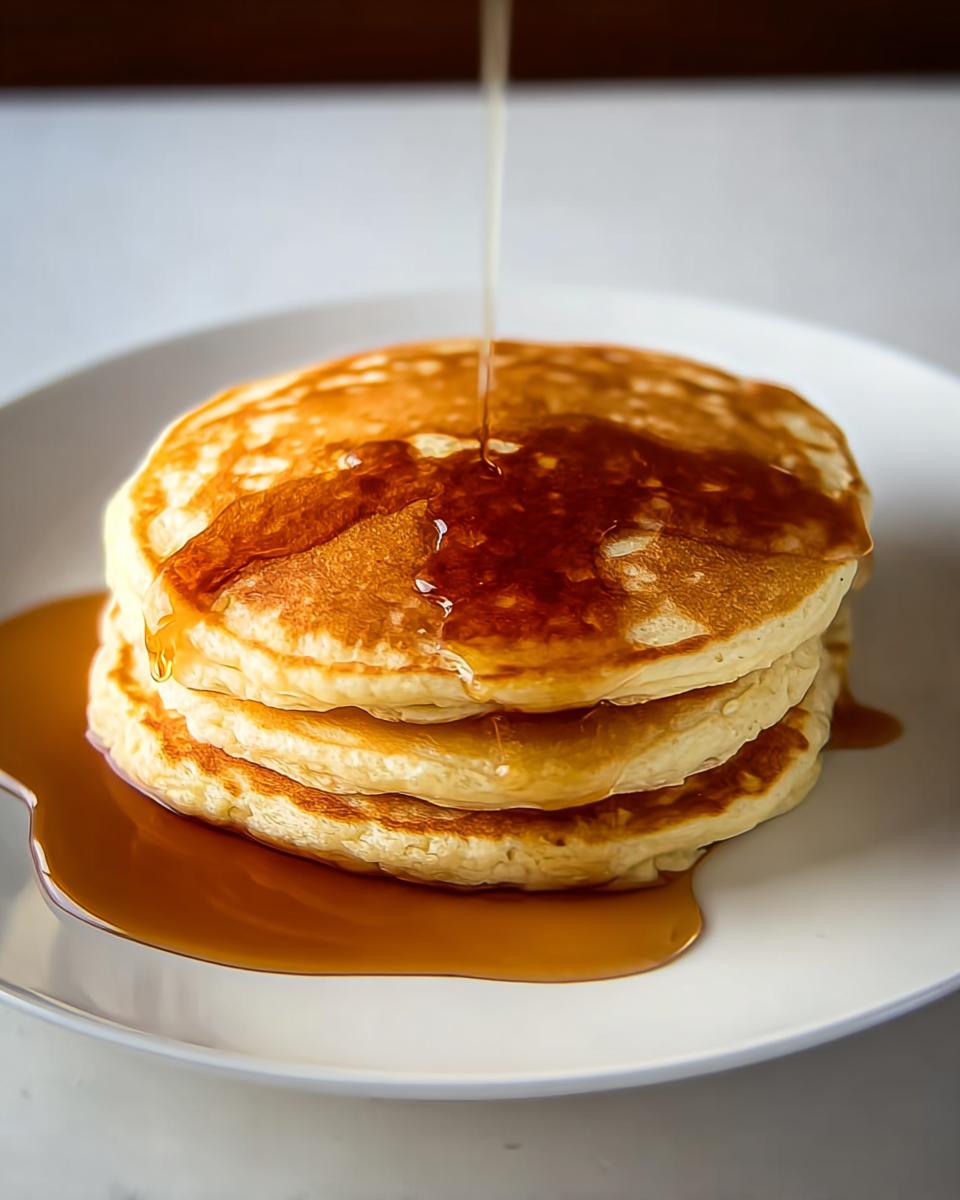
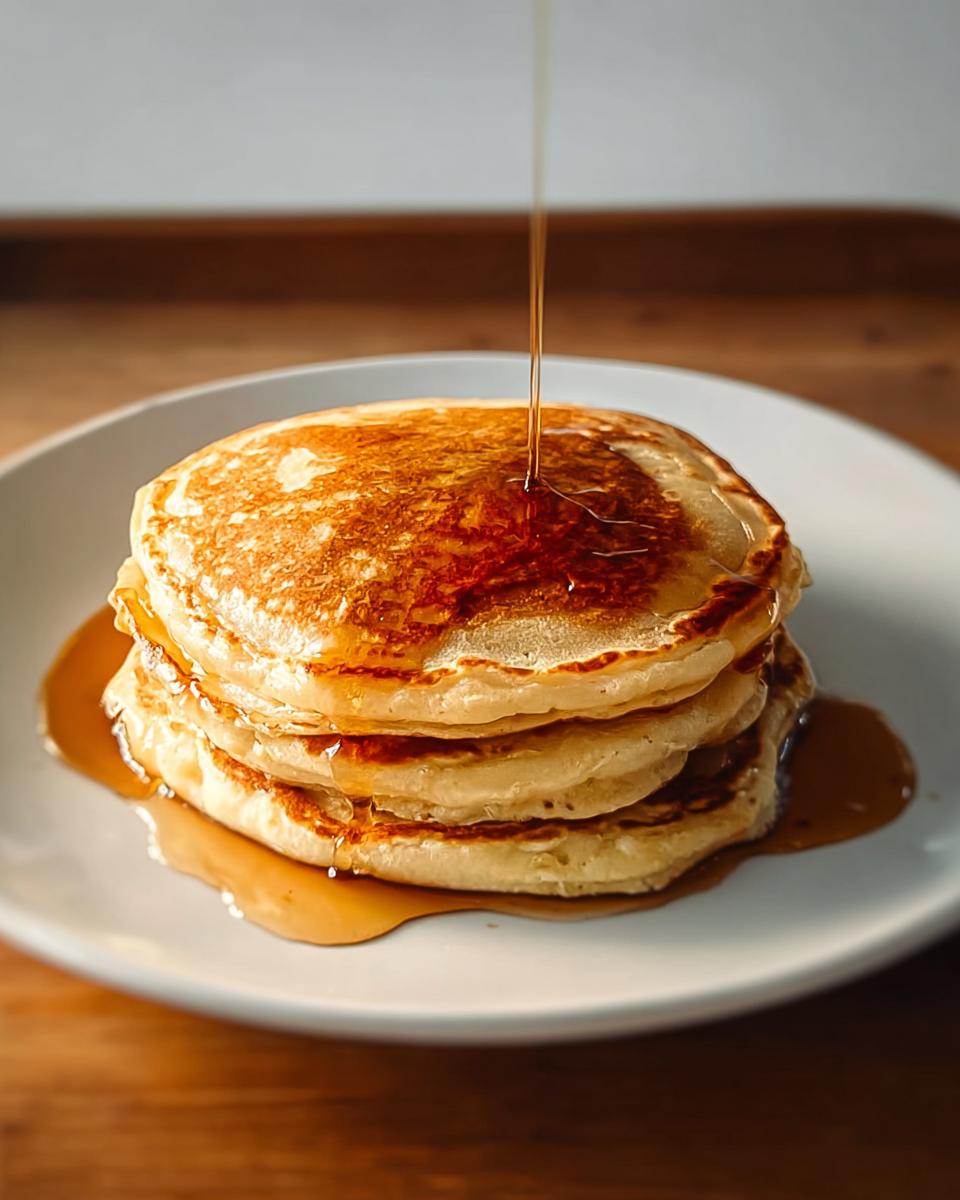
When those morning cravings hit, and I’m dreaming of a perfect breakfast, fluffy pancakes are almost always at the top of my list! This recipe is seriously my go-to because it’s just so reliable and, well, *super* fluffy. I’ve tested this one so many times, and it always delivers that perfect, light texture that makes you feel like you’re having a real treat. If you’re looking for easy and delicious breakfast ideas that taste amazing, you’ve gotta try these. Plus, you can literally find the original inspiration for this amazing bake over at The Los Angeles Times recipe, which is a great starting point!
Ingredients for Fluffy Pancakes
Alright, let’s talk about what you’ll need to get these babies made. It’s a pretty standard list, nothing too fancy, which is exactly why I love it!
- 1 ⅔ cups all-purpose flour
- ¼ cup powdered sugar (or 2 tablespoons granulated sugar works too!)
- 3 tablespoons cornstarch (this is our secret for extra fluffiness!)
- 1 tablespoon baking powder
- 1 teaspoon kosher salt
- ⅛ teaspoon baking soda
- 1 ¼ cups whole milk
- 3 tablespoons unsalted butter, melted and cooled (plus a little extra for greasing the pan!)
- 1 teaspoon pure vanilla extract
- 2 large eggs, lightly beaten
How to Prepare Fluffy Pancakes
Okay, here comes the fun part! Making these pancakes is super straightforward, I promise. Just follow these steps and you’ll have a stack of perfection in no time.
First things first, grab a large bowl. Whisk together all your dry ingredients: the flour, powdered sugar, that magical cornstarch, baking powder, salt, and baking soda. Give it a good mix until everything looks evenly distributed. Now, in a separate liquid measuring cup or another bowl, whisk together your wet ingredients: the milk, that lovely melted butter, vanilla extract, and the lightly beaten eggs. Once those are combined, pour all the wet stuff right into the bowl with the dry ingredients. Here’s the key: stir *just* until they’re combined. Don’t you dare overmix! It’s totally okay, actually great, if there are still little lumps in the batter. Seriously, lumps are your friend here! Let that batter take a little breather and rest for about 5 minutes. Trust me, this rest makes a difference.
While the batter is resting, go ahead and get your oven ready. Line a large baking sheet with two kitchen towels – stack ‘em up. Pop that sheet into your oven and set it to its lowest temperature, usually around 180 degrees Fahrenheit. This is our warming station for the finished pancakes so they stay nice and hot.
Now, let’s get cooking! Place a large nonstick skillet or griddle on your stove over medium heat. If you’re using an electric griddle, just get that preheated nice and warm. Scoop out about a ⅓ cup of your rested batter and pour it right into the center of the skillet. Let it spread out on its own into a nice, round shape, about 6 to 7 inches across. You’ll know it’s time to flip when the pancake looks golden brown on the bottom and you see little bubbles starting to pop on the surface – this usually takes about 1 ½ to 2 minutes. Carefully flip it over with a large spatula and cook the other side for about 1 minute more, or until it’s golden and the batter is fully cooked through.
For the next pancakes, it’ll be even faster! Pour another ⅓ cup of batter into the skillet. Cook until the bottom is golden and the bubbles on top are just starting to set, usually around 45 to 60 seconds. Flip it again with your spatula and cook for another 30 to 45 seconds. They cook quicker now because the pan is nice and hot! As each pancake is ready, carefully slide it off the skillet and onto that towel-lined baking sheet in the warm oven. If your skillet starts to get too hot, just pull it off the burner for a moment to let it cool a bit before adding more batter. It helps keep the cooking consistent.
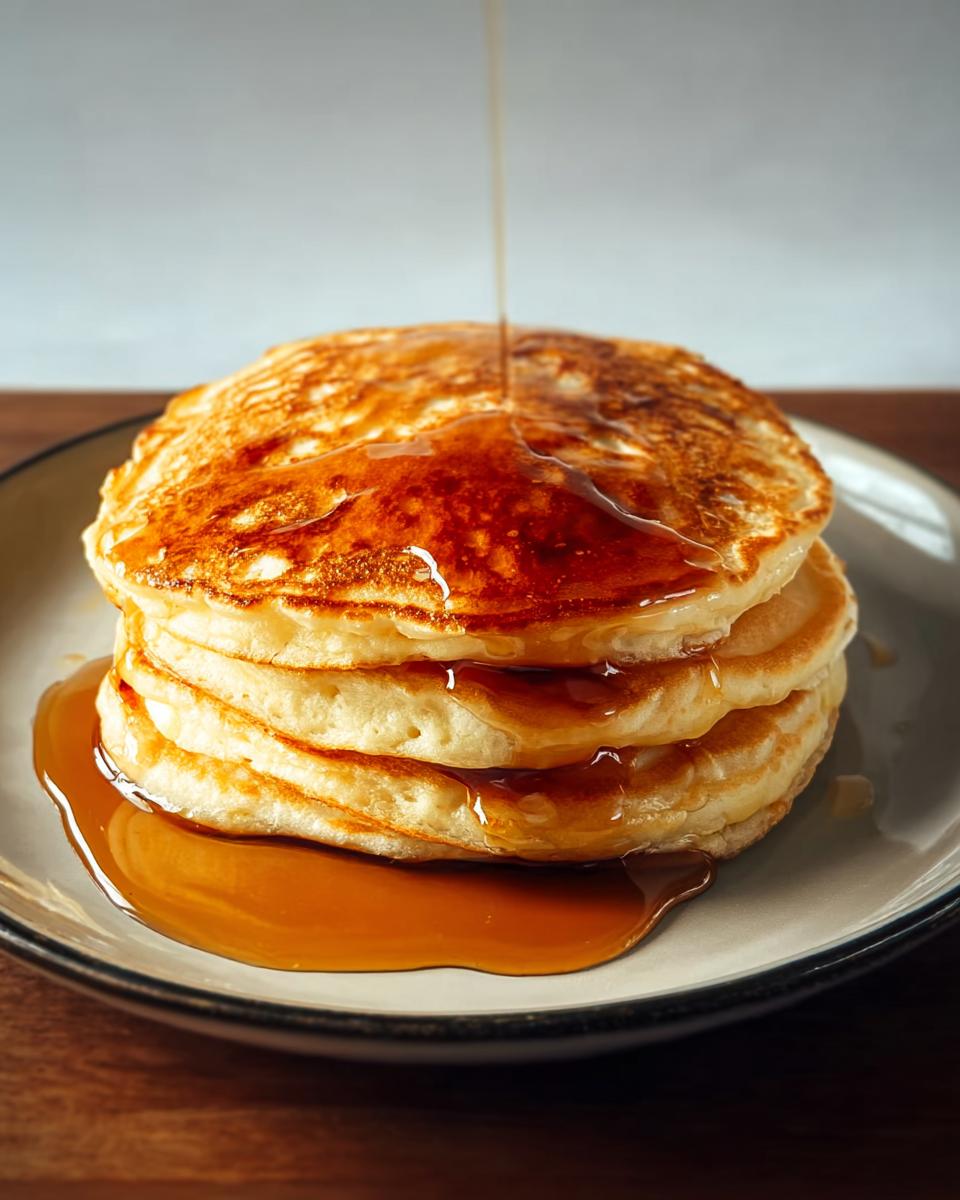
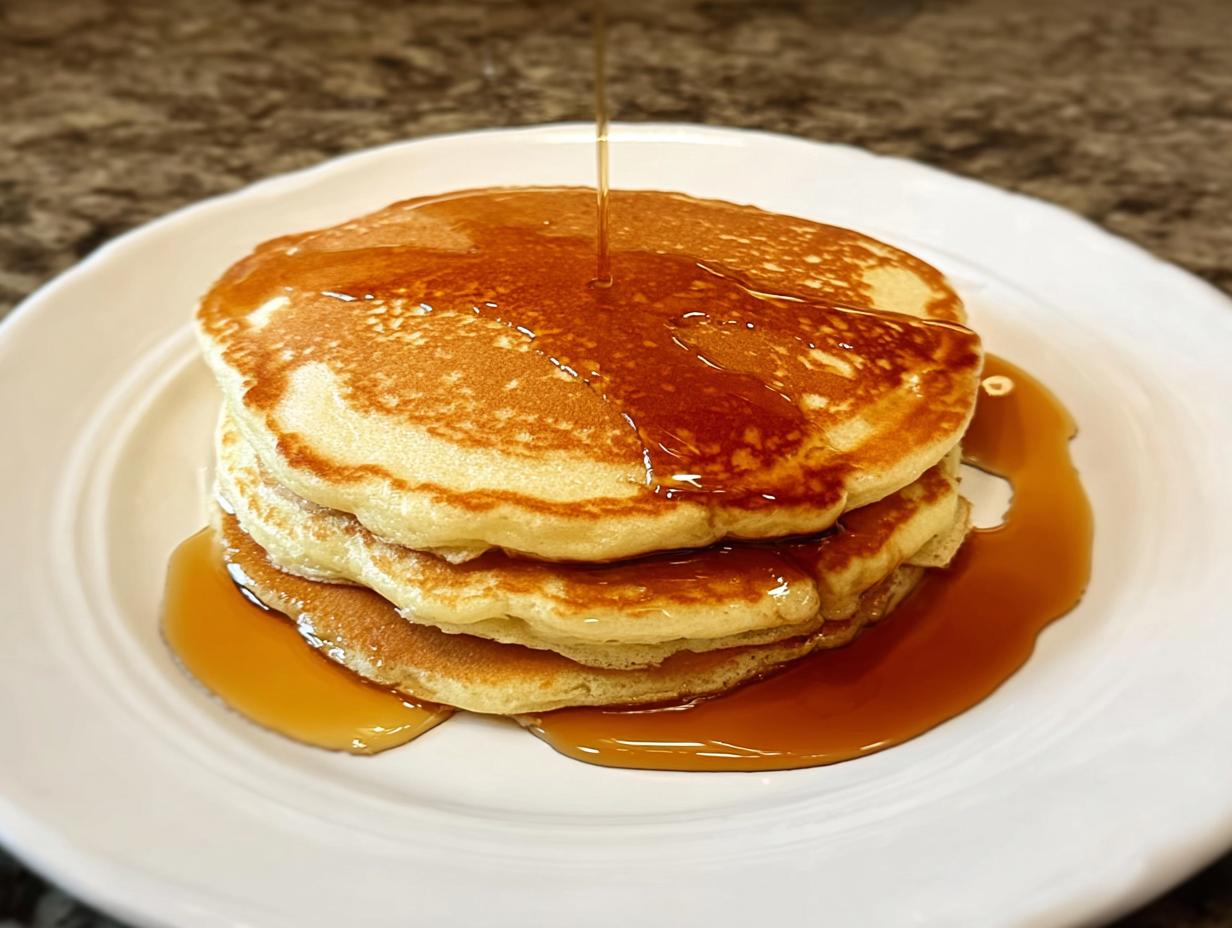
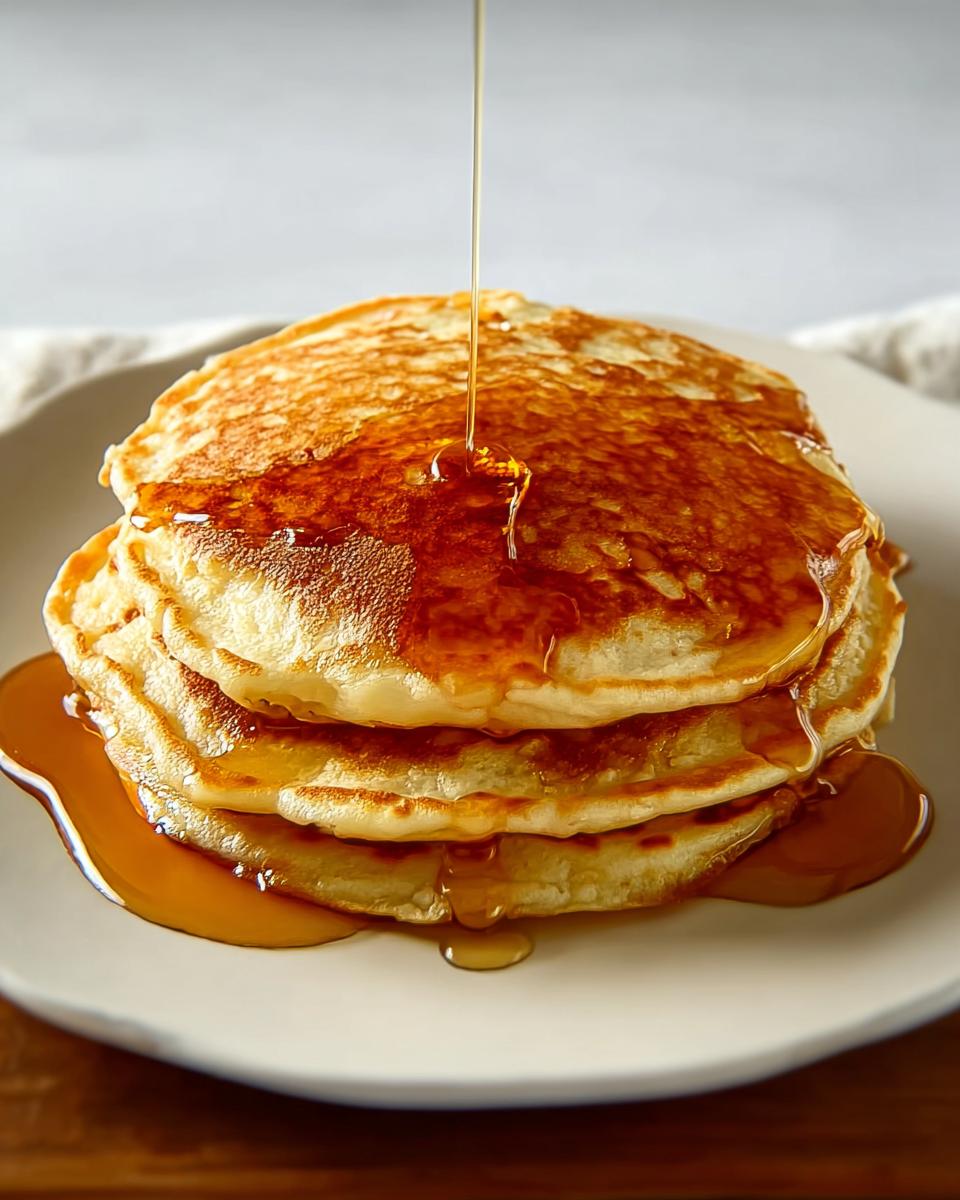
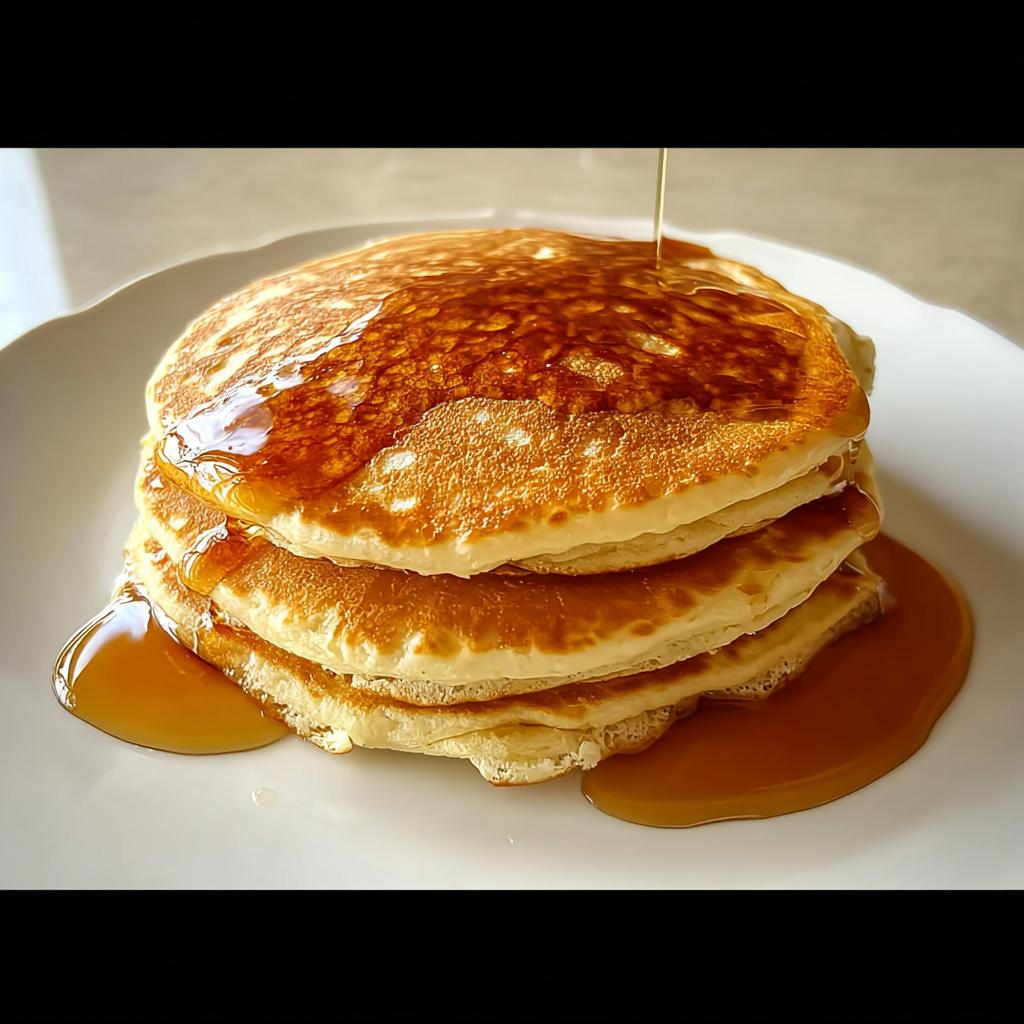
When you’ve made all six pancakes, serve them up right away! A stack of three per plate is perfect, with a little pat of butter and a drizzle of maple syrup. Enjoy that fluffy goodness!
Tips for Perfect Fluffy Pancakes
Making these pancakes is pretty straightforward, but like any good recipe, a few little tricks can make them *extra* special. If you want those truly sky-high, fluffy pancakes, pay attention to these little pointers!
First off, don’t overmix the batter! That’s probably the #1 rule. A few lumps are good; they mean you haven’t developed too much gluten, which can make pancakes tough instead of tender. Also, that resting time? Super important. It lets the flour hydrate and the baking powder start working its magic, giving you that lovely lift.
When you’re cooking, don’t keep the heat too high. Medium heat is your friend. Too hot and the outside burns before the inside is cooked. And that trick of pulling the pan off the heat between batches? It stops the pan from getting scorching hot and causing those last few pancakes to cook unevenly. These little things really do make a difference in getting that perfect fluffy texture every single time!
Ingredient Notes and Substitutions
So, you know how some recipes have that one ingredient that might make you pause? Let’s chat about those for a sec! That little bit of cornstarch in our pancake mix? It’s our secret weapon for getting that super fluffy texture. It really helps lighten things up. If you don’t have any, don’t stress too much – you can get away without it, but they might not be *quite* as cloud-like.
And for the milk, whole milk gives the richest flavor and texture, but if you need to swap it out, 2% milk will work just fine. You can even try non-dairy milks like almond or soy milk, though the flavor might be a little different. Just make sure whatever milk you use, it’s not too cold when you add it to the batter!
What I Cook When I Crave Breakfast Ideas Recipes: Serving Suggestions
Okay, so you’ve got this amazing stack of fluffy pancakes! Now comes the fun part: making them your own. Honestly, a few pats of butter and a good drizzle of maple syrup are pure perfection, and that’s how I usually start. But when I’m really in the mood for something special, or when the kids want to get creative, we go wild with toppings!
Think fresh berries – a handful of blueberries or raspberries adds a burst of color and freshness. Maybe some whipped cream for pure indulgence? Or chocolate chips melted right into the warm pancake? Don’t forget about a dollop of yogurt or a sprinkle of nuts for a little crunch. These pancakes are such a great base for whatever your heart desires. You can find even more yummy ideas on my recipe page!
Frequently Asked Questions About Breakfast Ideas
Got some lingering thoughts about your pancake game or breakfast in general? I totally get it! Here are a few things folks often ask, and my best takes on them. If you’re ever stuck, feel free to reach out!
Can I make pancake batter ahead of time?
You *can*, but it’s not my favorite way to go. If you make the batter the night before, you’ll want to store it in the fridge. Just know that it might not be quite as fluffy as when it’s fresh. The leavening agents in the batter start working as soon as they hit the liquid, so by morning, some of that oomph might be gone. If you have to, though, it’s better than no pancakes at all!
What’s the best way to keep pancakes warm while I finish cooking the batch?
This is where that warming oven trick comes in handy! I popped the finished pancakes onto a sheet pan lined with towels and kept them in a low oven (around 180°F) while I cooked the rest. They stay nice and warm in there without getting soggy or dried out. It’s perfect for when you’re making breakfast for a crowd!
Are these pancakes gluten-free?
Nope, these pancakes are made with regular all-purpose flour, so they aren’t gluten-free. But hey, if you’re looking for gluten-free breakfast ideas, there are tons of fantastic flours out there you can try swapping in! You might need to adjust liquids a bit, but it’s totally doable.
Can I use this recipe for a fun brunch?
Absolutely! These fluffy pancakes are *perfect* for brunch. They’re such a crowd-pleaser, and you can set up a whole topping bar with berries, whipped cream, chocolate chips, and different syrups. It turns a simple breakfast into a special occasion brunch in no time. If you need more easy recipes for your next get-together, I’ve got you covered!
Estimated Nutritional Information
Just a heads-up, these numbers are approximate! They can change depending on exactly what you use and how big your servings are. But generally, one of these fluffy pancakes is around 250-300 calories, with about 8-10g of protein, 40-45g of carbohydrates, and 8-10g of fat. It’s a pretty solid start to your day!
Share Your Breakfast Creations
I absolutely *love* seeing what you all whip up in your kitchens! Did you try these fluffy pancakes? Maybe you added some berries or got creative with toppings? Snap a pic and share it with me, or drop a comment below telling me all about it! Your baking adventures inspire me, and I can’t wait to hear about yours. You can also learn more about my journey and inspiration over on my About page!
Fluffy Pancakes
Ingredients
Equipment
Method
- In a large bowl, whisk together the flour, sugar, cornstarch, baking powder, salt and baking soda. In a large liquid measuring cup or bowl, whisk together the milk, butter, vanilla and eggs until smooth. Pour the liquid ingredients over the dry ingredients and stir just until combined, leaving all the lumps in the batter. Let the batter rest for 5 minutes.
- While the batter rests, line a large baking sheet with two kitchen towels stacked on top of each other. Place the sheet in the oven and heat the oven to 180 degrees or its lowest temperature setting.
- Place a large nonstick skillet or griddle on the stove and heat over medium heat or heat a nonstick electric griddle. Scoop a level 1/3 cup of the batter and pour into the center of the skillet, allowing it to spread out naturally into a 6- to 7-inch round. Cook until the pancake is golden on the bottom and bubbly on top, 1 1/2 to 2 minutes. Flip the pancake and cook until the underside is golden and the batter is just cooked through, 1 minute more.
- Pour another 1/3 cup batter into the skillet and cook until golden on the bottom and the bubbles on top just start to set, 45 to 60 seconds. Using a large spatula, flip the pancake and cook until the underside is golden and the batter is just cooked through, 30 to 45 seconds more. The decreased times here are because your skillet is now warmer than it was when you cooked that first pancake.
- As each pancake is cooked, remove the skillet fully from the burner (to prevent it overheating) and slide the pancake between the towels on the baking sheet in the oven. Return the skillet to the burner and repeat, making five more pancakes with the remaining batter. The pancakes will stay hot in the oven for at least 20 minutes with no loss of quality.
- When ready to serve, stack three to a plate and serve immediately with butter and syrup.
Notes
Tried this recipe?
Let us know how it was!
Master Recipe Testing Coordinator
Honestly? I got into recipe testing because I was tired of expensive failures. My gluten sensitivity meant constantly modifying recipes, only to watch them fall apart in my kitchen. After earning my food science degree, I realized the problem wasn’t the recipes – it was the lack of real-world testing.
So I built what became our signature system: every recipe gets tested by fifteen different home cooks. Grandmother with a 1970s oven? Check. College student with only a hot plate? Double check. Denver altitude versus Miami humidity? We’ve got it covered.
My food science background explains why certain substitutions work, but my gluten sensitivity keeps it real. I know the disappointment of reading “just like the original” and ending up with wasted ingredients and ruined dinner plans.
Our network now includes over 200 volunteer testers across different regions, skill levels, and dietary needs. I track everything – ingredient availability, altitude performance, equipment variations – until each recipe achieves “foolproof reliability.”
Leading our social media community is equally rewarding. Whether troubleshooting a recipe gone wrong or celebrating someone’s first successful gluten-free bread, I’m there for every step of their journey.
When I’m not coordinating test kitchens, I’m hiking with Scout, my border collie mix, mentally planning the next round of testing protocols. Reliable recipes aren’t just nice to have – they’re essential for sustainable dietary change.