

Okay, so you want to make pizza at home, right? Awesome! Don’t let anyone tell you it’s too hard. Seriously, making pizza from scratch can be SO much fun and way easier than you think. I still remember the first time I tried to make pizza for my friends. It was a super rainy Saturday, and I thought I’d totally impress them with store-bought dough. Spoiler alert: it was a total disaster! But you know what? We just laughed, got our hands messy, and decided to whip up our own dough right then and there. The whole kitchen filled up with this amazing smell of melted cheese and yummy toppings, and we ended up creating these hilariously decorated, but totally delicious, pizzas. That day taught me cooking is all about having a good time, and that’s exactly what The Ultimate Pizza Night Recipes Guide for Beginners is all about! My goal is to make your pizza nights stress-free and seriously fun, whether it’s just you or the whole family.
Why You’ll Love The Ultimate Pizza Night Recipes Guide for Beginners
This guide is your new best friend when it comes to homemade pizza. Forget those Pinterest fails you might have seen! Here’s why you’ll be obsessed:
- Super Easy to Follow: No fancy chef skills needed! We break down everything, from dough to toppings, so you can’t mess it up.
- Seriously Fun for Everyone: Pizza night just got an upgrade. Get the whole family involved and watch them create their own masterpieces!
- Endless Variety: Boring pizza be gone! We give you tons of ideas for sauces, cheeses, and toppings so you can mix and match to your heart’s content.
- Builds Confidence: You’ll go from pizza novice to pizzaiolo pro in no time. Seriously, you’ll be bragging about your homemade pies.
- Adaptable for All: Whether you’re going gluten-free, low-carb, or just want to sneak in some extra veggies, we’ve got you covered.
- Stress-Free Planning: We’ve thought of everything, so you don’t have to. From equipment to ingredients, we’ve got your pizza night sorted.
Essential Equipment for Your Pizza Night
Alright, gearing up for pizza night is half the fun! You don’t need a professional kitchen, but a few key players will make your life so much easier. First off, your oven is your best friend here – it’s where the magic happens. If you’ve got a pizza stone, bonus points! It helps get that super crispy crust we all love by distributing heat evenly. A pizza peel is super handy for sliding your creations onto that hot stone without burning your fingers (trust me, I’ve been there!). If you don’t have a stone, just grab a sturdy baking sheet. A rolling pin is great for getting your dough perfectly round, though your hands work just fine too! And for those fancy oil brushes on the crust, a little pastry brush is perfect. Oh, and don’t forget some fun “snackle boxes” to hold all your prepped toppings – makes it feel like a party! Planning your pizza night just got a whole lot simpler thanks to resources like this handy guide.
Gathering Your Ingredients for The Ultimate Pizza Night Recipes Guide for Beginners
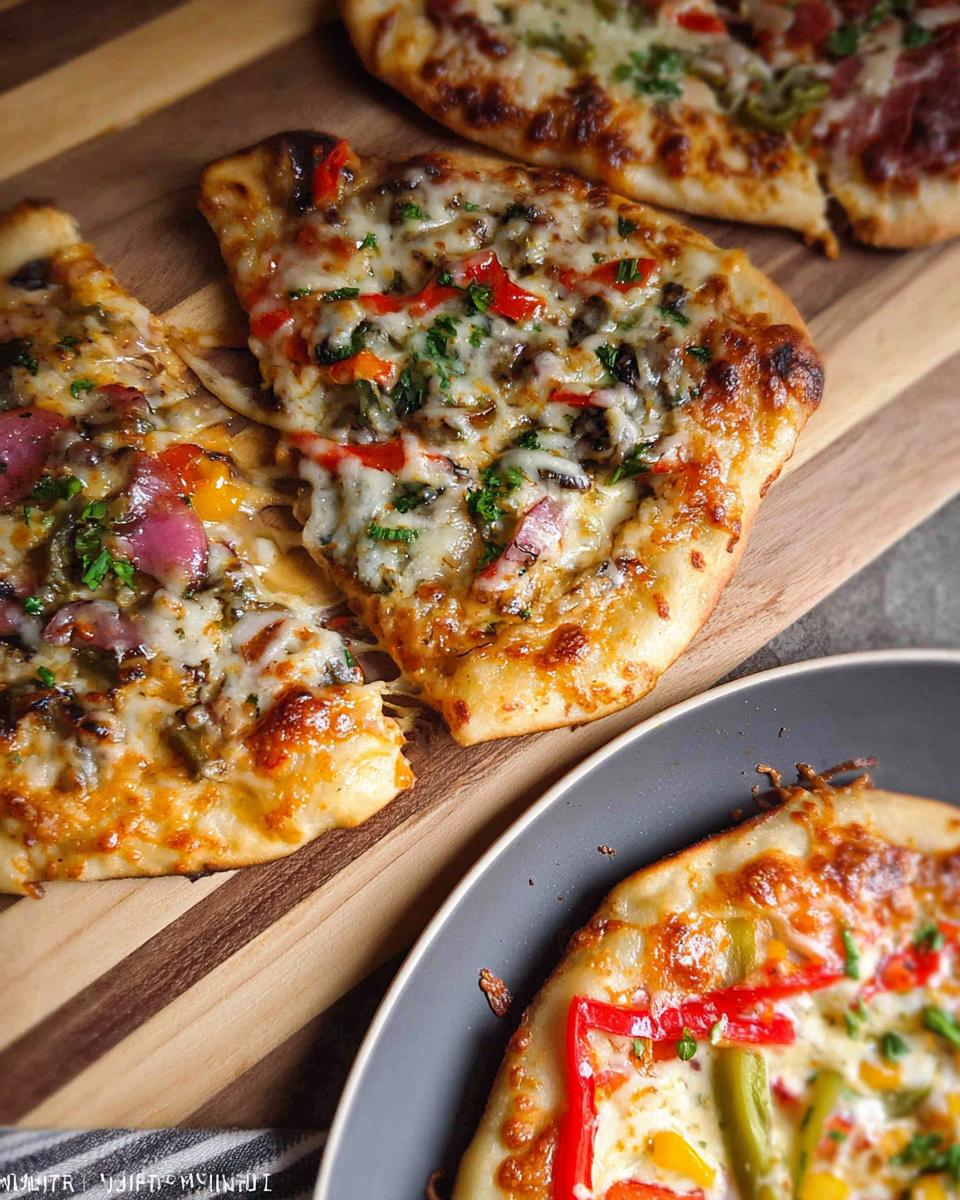
Now for the super fun part – picking your toppings! The beauty of homemade pizza is that you can throw on *anything* you love. Don’t be shy; get creative and mix and match! This guide is packed with ideas to get your culinary wheels turning. Remember, pizza is a canvas, so let’s fill it with deliciousness!
For the Perfect Pizza Crust
You’ll need about 1 pound of pizza dough for every two pizzas. We’ll also grab some olive oil, a pinch of kosher salt, and a sprinkle of semolina flour (or cornmeal if that’s what you have!) to keep things from sticking.
Delicious Sauce Ideas for Your Pizza
Forget boring old tomato sauce! Kick things up with about 1/4 cup per pizza (or to your liking). Try a classic pizza sauce, or get adventurous with minced garlic and olive oil, vibrant pesto, creamy alfredo, zesty buffalo sauce (Frank’s brand is the bomb!), or even a rich cheese sauce.
Creative Cheese Toppings
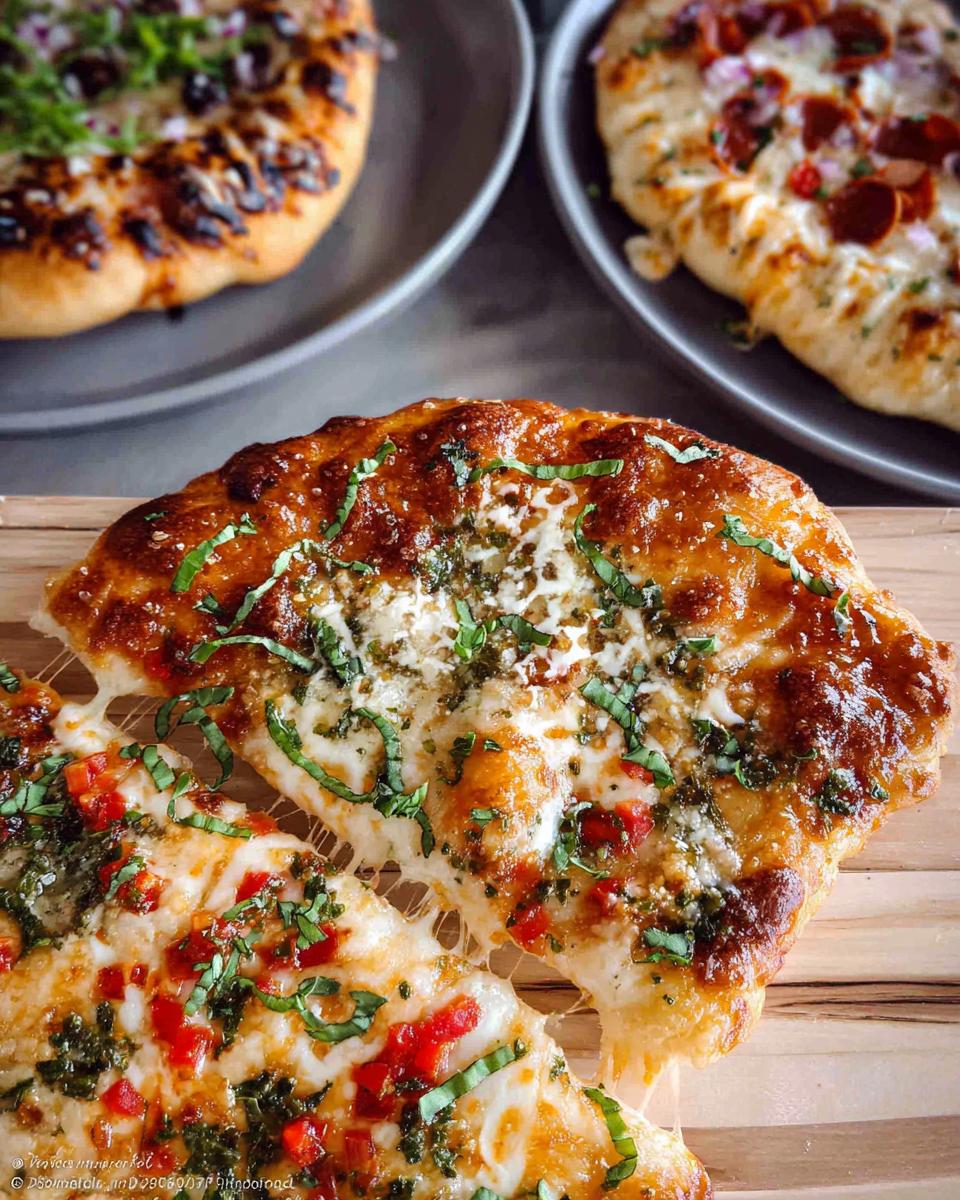
Cheese is a must! Pile on about 1 cup of shredded mozzarella per pizza, or go fancy with fresh mozzarella slices. Blue cheese crumbles add a punch, and dollops of ricotta cheese bring a lovely creaminess.
Hearty Meat Topping Selections
Love your meats? We’ve got pepperoni (or turkey pepperoni!), crumbled Italian sausage that’s been browned, ham or Canadian bacon, crispy cooked bacon bits, seasoned cooked chicken, yummy chicken apple sausage (Aidell’s is great!), sliced cooked meatballs, and even some cooked shaved steak.
Fresh Ingredient Toppings
Load up on the good stuff! Grab bell peppers (red or green, sliced into strips), onions (red or white, julienned), mushrooms (sliced), Roma tomatoes (sliced or diced), fresh spinach or kale (stems removed and chopped), thinly sliced fennel bulb, sweet diced pineapple, and fresh basil leaves.
Jarred and Canned Topping Choices
Don’t forget the pantry staples! We’ve got black olives, green olives (no pimentos needed!), kalamata olives (pitted, of course), roasted red pepper strips (drained and patted dry so they don’t make things soggy), and jalapeño peppers for a little kick.
Step-by-Step Instructions for The Ultimate Pizza Night Recipes Guide for Beginners
Alright, let’s get this pizza party started! Making pizza at home is way less about strict rules and more about having fun and getting creative, but there are a few steps that make a HUGE difference. Follow these simple instructions, and you’ll be a pizza-making pro in no time!
Parcooking Your Pizza Crusts
This step is our little secret to a perfectly crispy crust that holds up to all those yummy toppings. First things first, get your oven or grill nice and hot – aim for 450°F (230°C). If you’re using a grill, crank it up high! If you’re using a baking sheet, just sprinkle it with a little semolina flour (or cornmeal) and lay your carefully shaped dough circle on top. If you’re going for that authentic pizza stone vibe, generously dust a pizza peel with semolina and slide your dough onto it. Now, pop that crust into the hot oven or onto the grill for just 1-2 minutes on the stone, or about 2-3 minutes on a baking sheet. You just want the outside to look a little dry and not doughy anymore. This par-baking step is key for that amazing crunch!
Preparing and Storing Your Toppings
While your crust is cooling down, let’s get those toppings ready to go! This is where you can really play. Cook any raw meats first – crumble that sausage, brown that beef. Slice up your peppers, onions, and mushrooms nice and thin. If you’re using jarred stuff like olives or roasted red peppers, give them a quick drain and pat them dry so they don’t make your pizza soggy. The best trick? Pop everything into little baggies, bowls, or those handy “snackle boxes” and keep them chilled in the fridge. Everything’s prepped and ready for action!
Setting Up Your Pizza Assembly Line
This makes the whole process SO much smoother. Think of it like setting up your own little pizza buffet! Get your plates ready, then your parcooked crusts. Next up, grab some olive oil and salt – brush those crust edges with oil and give them a little sprinkle of salt; it tastes amazing! Then, line up your sauces, all your cheeses, and then all those colorful toppings. This way, everyone can just grab what they want and build their dream pizza without running all over the kitchen. It’s like a fun, edible art project!
Baking Your Perfect Pizza
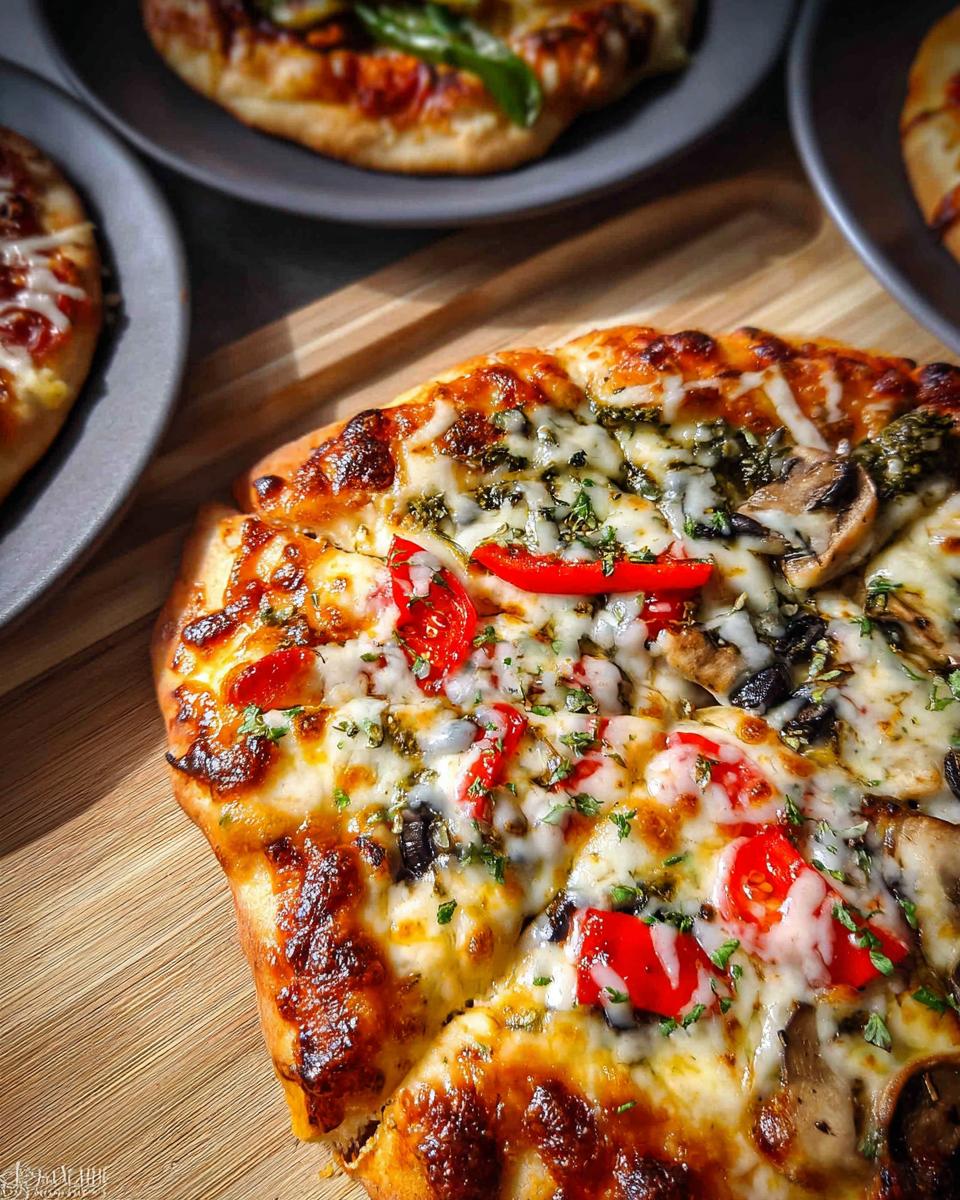
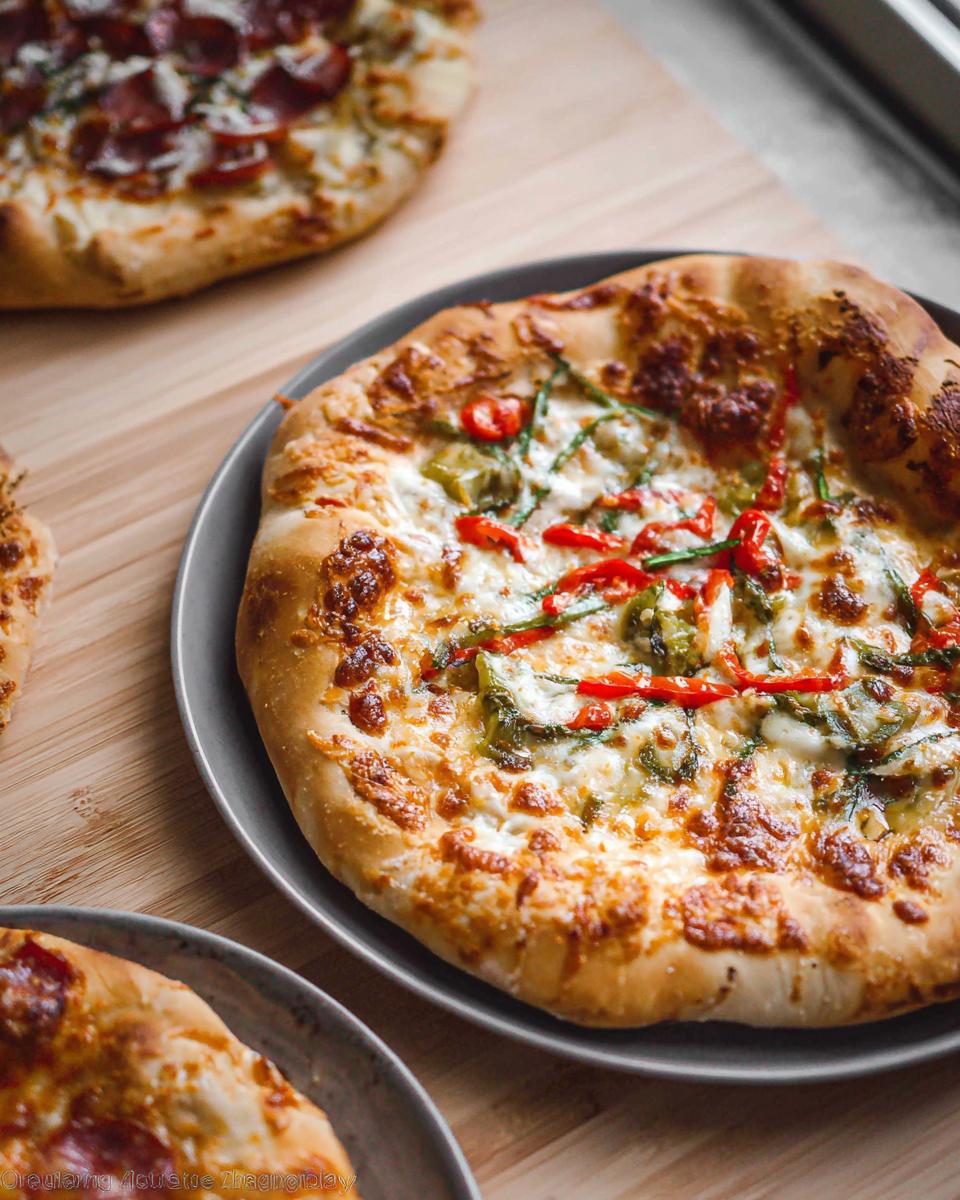
Now for the glorious finale! Slide your creations onto the preheated pizza stone or baking sheet. If you’re using the hot grill, pop it on there and close that lid. In the oven, just slide it on in. You’ll want to bake for about 7-10 minutes on the grill, or 12-14 minutes in the oven. Keep an eye on it – you’re looking for bubbly, melted cheese and a crust that’s golden brown and looks perfectly crisp. As soon as it looks amazing, pull it out, slice it up, and get ready for the best pizza night ever!
Tips for Success with Your Homemade Pizza
Making pizza at home is seriously rewarding, and a few little tricks can make all the difference between a good pizza and a *great* pizza. Don’t worry, these are totally beginner-friendly! First off, when you’re working with the dough, try not to overwork it once you’ve added the wet ingredients – you want it to be soft and a little sticky, not tough like leather. And when it comes to toppings, think about balance! Don’t pile everything so high that the crust can’t handle it. Also, make sure your wetter toppings, like tomatoes or pineapple, are patted dry. A super hot oven and a preheated pizza stone or baking sheet are your best friends for that irresistibly crispy crust (seriously, preheat that stone for at least 30 minutes!). If you’re looking for more awesome tips and general recipe genius, definitely check out this incredible resource!
Making Your Pizza Night Gluten-Free or Low-Carb
Okay, so you’re thinking about making pizza night work for everyone, even if some folks are going gluten-free or low-carb? Absolutely doable, and honestly, it opens up a whole new world of delicious possibilities! For gluten-free crusts, there are some awesome pre-made options out there, or you can totally find fantastic recipes using almond flour or cauliflower crusts. Just make sure your sauce and toppings are good to go too! If low-carb is the goal, skip the traditional dough altogether and go for a ‘fathead’ dough made with mozzarella and cream cheese, or just load up on all your favorite toppings over a bed of fresh greens or roasted veggies. It’s all about getting creative! For some seriously good inspiration on keeping things both low-carb and gluten-free, these resources are gold:
Awesome Gluten-Free Lunch Box Ideas
Frequently Asked Questions About Pizza Night
Got questions about whipping up the best homemade pizza? Totally understandable! It’s your first time diving into pizza night, and we’ve got your back. Here are a few things beginners often wonder about:
Can I make pizza dough ahead of time?
Absolutely! You can make your pizza dough a day or two in advance and keep it covered in the fridge. It might even taste better because it develops more flavor! Just let it come to room temperature for about 30 minutes before you plan to use it.
What’s the best way to get a crispy crust?
For that amazing crispy crust, a super hot oven or grill (450°F or higher!) is key. Using a preheated pizza stone or even just a good old baking sheet helps a ton. And don’t skip the parcooking step – it pre-cooks the dough just enough to give it that perfect crunch!
How do I prevent my pizza from getting soggy?
Soggy pizza is the worst, right? The biggest culprits are too much sauce or wet toppings. Try to use just enough sauce, spread it thinly, and make sure any veggies or meats are patted dry before they go on. Also, don’t overload your pizza!
Serving and Storing Your Homemade Pizza
Alright, pizza’s fresh out of the oven – time to devour! Slice it up while it’s hot and bubbly. Those crispy edges and melted cheese are best enjoyed right away. If, by some miracle, you have leftovers (which never happens at my house!), let them cool completely. Then, wrap them up tight in plastic wrap or pop them in an airtight container. They’ll keep in the fridge for about 2-3 days. For reheating, I swear by popping a cold slice back onto a hot baking sheet or even right on the oven rack for a few minutes at around 375°F (190°C). It really brings back that crispy crust magic, almost like it’s fresh from the oven! For more amazing meal ideas, check out this delicious chicken recipe!
Share Your Pizza Night Creations!
Alright, pizza lovers! Now that you’ve got all the secrets to making amazing pizza right at home, I really want to hear about it! Did you try a totally wild topping combo? Did the kids make a masterpiece? Snap a pic and share it in the comments below – I’d absolutely love to see what you come up with! And if you have any extra tips or questions, don’t hesitate to reach out here. Happy pizza making!
The Ultimate Pizza Night Recipes Guide for Beginners
Ingredients
Equipment
Method
- Shape and parcook the pizza crusts. You can do this up to one day in advance. If you have a pizza stone, place it on your grill or in your oven. Preheat the grill on high or the oven to 450℉.
- Cut each pound of dough into two equal pieces and shape each into a ball. Roll or press each ball into a 10″ circle using a rolling pin or your hands. Let the dough rest for 5 minutes and roll again. You can also stretch the dough using your fists until it reaches the desired size and doesn’t shrink back.
- If baking on a sheet pan or pizza pan: Sprinkle the pan with semolina flour and place the crust on top. Bake for 2-3 minutes, until the exterior of the crust is no longer raw and doughy.
- If baking on a pizza stone: Sprinkle a pizza peel liberally with semolina flour and place the crust on top. Shake the peel to ensure the crust slides smoothly; add more semolina flour underneath if needed.
- Slide each crust onto your pizza stone. Close the grill lid or oven door and cook for 1-2 minutes, until the exterior of the crust no longer feels doughy.
- Stack the parcooked crusts on a plate with parchment paper in between. Cover with plastic wrap and store in the refrigerator.
- Prepare the toppings. Cook any raw meats in advance, slice or dice fresh toppings, and drain jarred toppings. Store them in baggies, small bowls, or snackle boxes in the refrigerator.
- Set up an assembly line before pizza time. Arrange ingredients in the order they’ll be needed: plates, parcooked crusts, olive oil and salt (with a pastry brush), sauces, cheeses, and toppings. Remind everyone to brush the edges of their crust with olive oil and sprinkle with salt before adding toppings.
- Preheat the pizza stone on the grill on high heat or your oven to 450 degrees again.
- Start by assembling kids’ pizzas and any shareable pizzas. Then, let other diners assemble their own pizzas.
- Transfer each pizza onto the pizza stone (or onto a baking sheet for the oven). Close the grill cover or oven door and bake for 7-10 minutes on the grill or 12-14 minutes in the oven. The cheese should be melted and the crust golden brown.
- Cut pizzas into slices and enjoy!
Notes
Tried this recipe?
Let us know how it was!
Certified Nutritional Science Authority
The intersection of celiac disease and metabolic health fascinated me from my first dietetic internship. Watching patients struggle to find foods supporting both their autoimmune condition and weight goals launched my career mission: proving medically necessary diets can be nutritionally optimal.
For twelve years, I’ve specialized in gluten-free living while achieving metabolic health objectives. My published research demonstrates that properly planned gluten-free, low-carb eating provides superior nutrition compared to standard approaches.
The hidden trap? Most commercial gluten-free products are carb bombs – rice flour and potato starch masquerading as healthy alternatives. My frameworks avoid this completely, using nutrient-dense ingredients like almond flour and flaxseed that enhance rather than just replace.
Every recipe I review meets rigorous standards: adequate protein for metabolic support, healthy fats for satiety, proper fiber levels for digestive health – all maintaining strict gluten-free protocols for celiac management. I’ve guided over 500 individuals through this optimization process.
My personal gluten-free, low-carb lifestyle fuels my long-distance cycling and triathlon training – proof that these approaches deliver sustained energy and mental clarity. Medical necessity doesn’t mean nutritional compromise.