
Let’s be honest, sometimes the main event gets all the glory, right? But what if I told you that mastering your veggie sides can completely transform your everyday meals and make them sing? I still remember the day I hosted my first dinner party after switching to gluten-free cooking. I was determined to impress, and I poured my heart into creating a spread of vibrant, flavorful vegetable sides. To my absolute surprise, the star of the night wasn’t some fancy entree, but a simple roasted beet salad! It was that moment, seeing my friends light up with every bite, that I realized the true power of vegetables. It sparked this incredible passion in me for creating innovative veggie sides that truly shine. I’m Chef Maria Rodriguez, and I’m so excited to share with you how you can learn How to Make Veggie Sides Recipes Like a Pro (2025), starting with this amazing roasted beet recipe!
Why You’ll Love How to Make Veggie Sides Recipes Like a Pro (2025)
Trust me, you’re going to adore diving into the world of veggie sides, especially with this guide! It’s not just about making a side dish; it’s about transforming your plate. Here’s why you’ll be hooked:
- So Easy, Seriously: Even if you think you’re not a kitchen whiz, these recipes are foolproof. We break it all down so you can’t mess it up!
- Flavor Explosion: Say goodbye to boring veggies! We’re talking vibrant, delicious flavors that will make you actually look forward to your greens (and reds, and purples!).
- Healthy & Happy: You’re packing your meals with nutrients without even trying too hard. It’s a win-win for your taste buds and your body.
- Super Versatile: The techniques you learn here work with tons of different vegetables. You’ll be a veggie side ninja in no time, ready for any meal!
Essential Ingredients for Perfect Roasted Beets
Alright, let’s get our ingredients ready for these gorgeous roasted beets. It’s super simple – that’s the beauty of it! You really only need a few things, and they all work together to make these beets shine.
Here’s what you’ll need:
- 6 medium beets: Make sure they’re scrubbed really well, and trim off those leafy tops. We want the roots nice and clean for roasting!
- Extra-virgin olive oil: Just a little bit for drizzling. It helps everything get nice and caramelized in the oven.
- Sea salt: A pinch of this enhances all the natural sweetness.
- Freshly ground black pepper: Adds just the right little kick.
That’s literally it! No fancy stuff, just pure, delicious beet goodness.
Step-by-Step Guide: How to Make Veggie Sides Recipes Like a Pro (2025)
Okay, let’s get down to business and make these roasted beets! Don’t worry, it’s way simpler than it sounds, and I’ll walk you through every single step. You’ll be roasting veggies like a pro after this! For more amazing veggie adventures, be sure to check out all our recipes.
Preheating and Preparing the Beets
First things first, let’s get that oven nice and hot. Crank it up to 400°F (200°C). While it’s heating, grab your scrubbed beets. Each beet gets its own little foil sleeping bag! Drizzle each one generously with olive oil, sprinkle on some salt and pepper, then wrap them up tight in the foil. Pop them all onto a baking sheet so they’re ready to go.
Roasting for Perfect Tenderness
Now, slide that baking sheet into your preheated oven. These beauties will roast for about 35 to 60 minutes. The exact time really depends on how big your beets are – smaller ones cook faster. How do you know they’re ready? Just poke one with a fork. If it goes in super easily, like butter, they’re perfect! You’re looking for that fork-tender magic, not crunchy or hard at all.

Cooling and Peeling the Beets
Once they’re perfectly tender, pull them out of the oven. Be careful, that foil is hot! Let them cool down just enough so you can handle them – maybe about 10-15 minutes. The skins will slide right off once they’re a bit cooler. Seriously, the easiest way is to just run them under cool water and rub the skins off with your fingers. It’s way less messy than you might think!
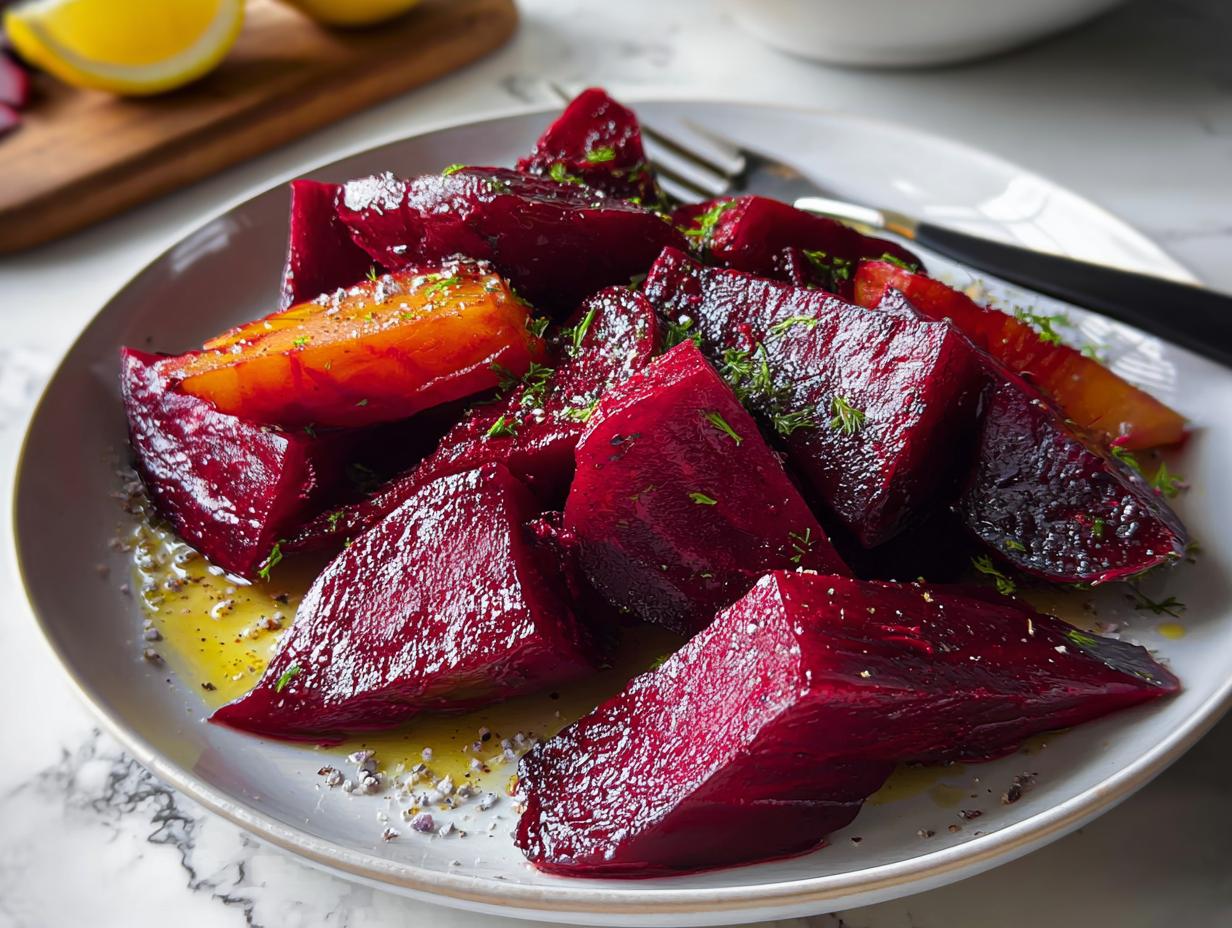
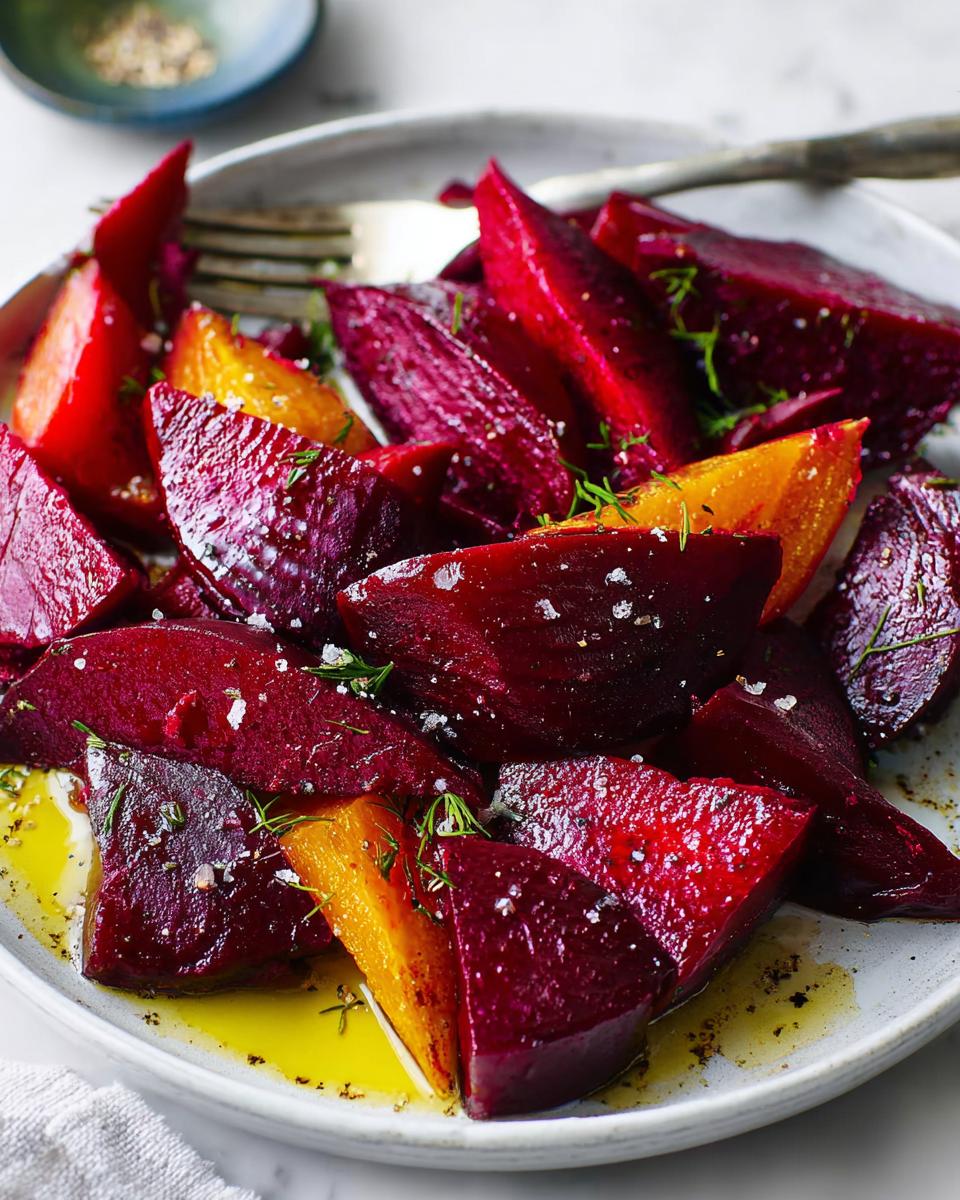
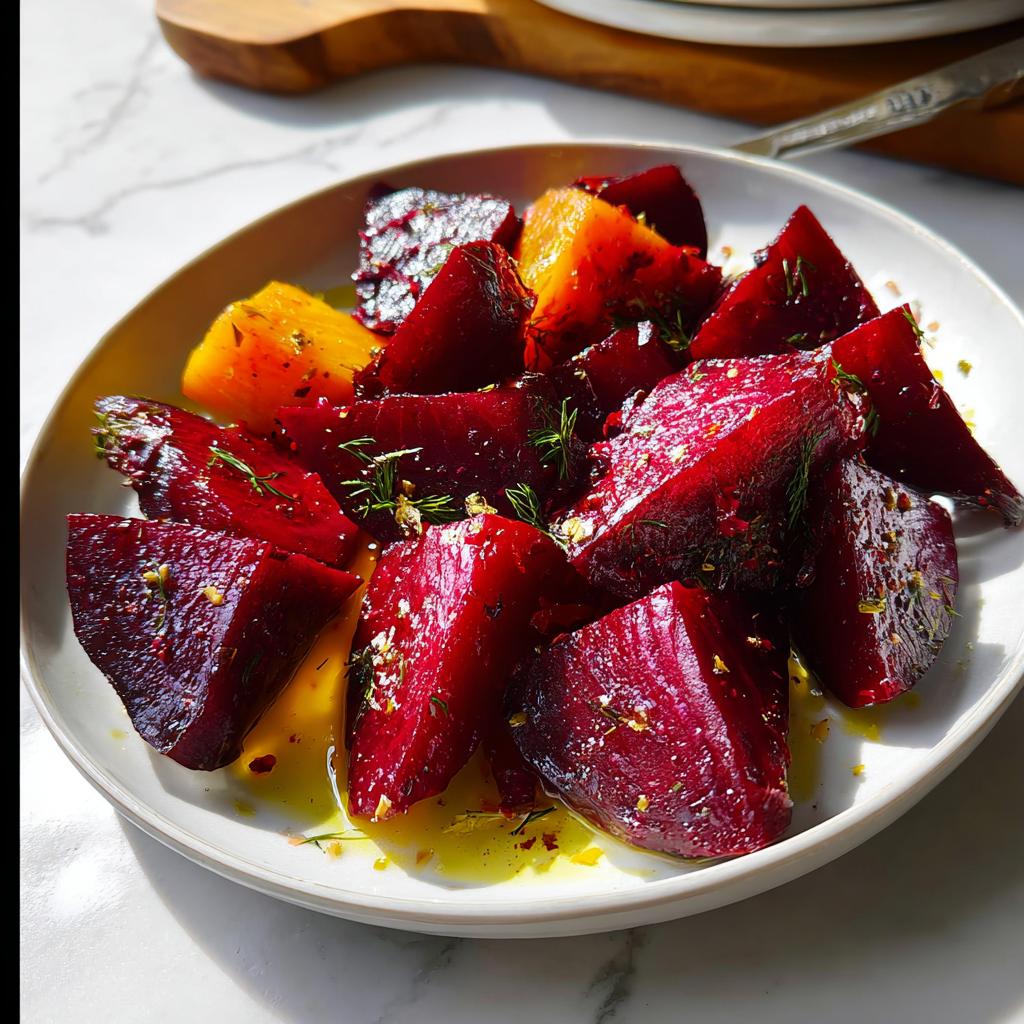
Finishing and Serving Your Roasted Beets
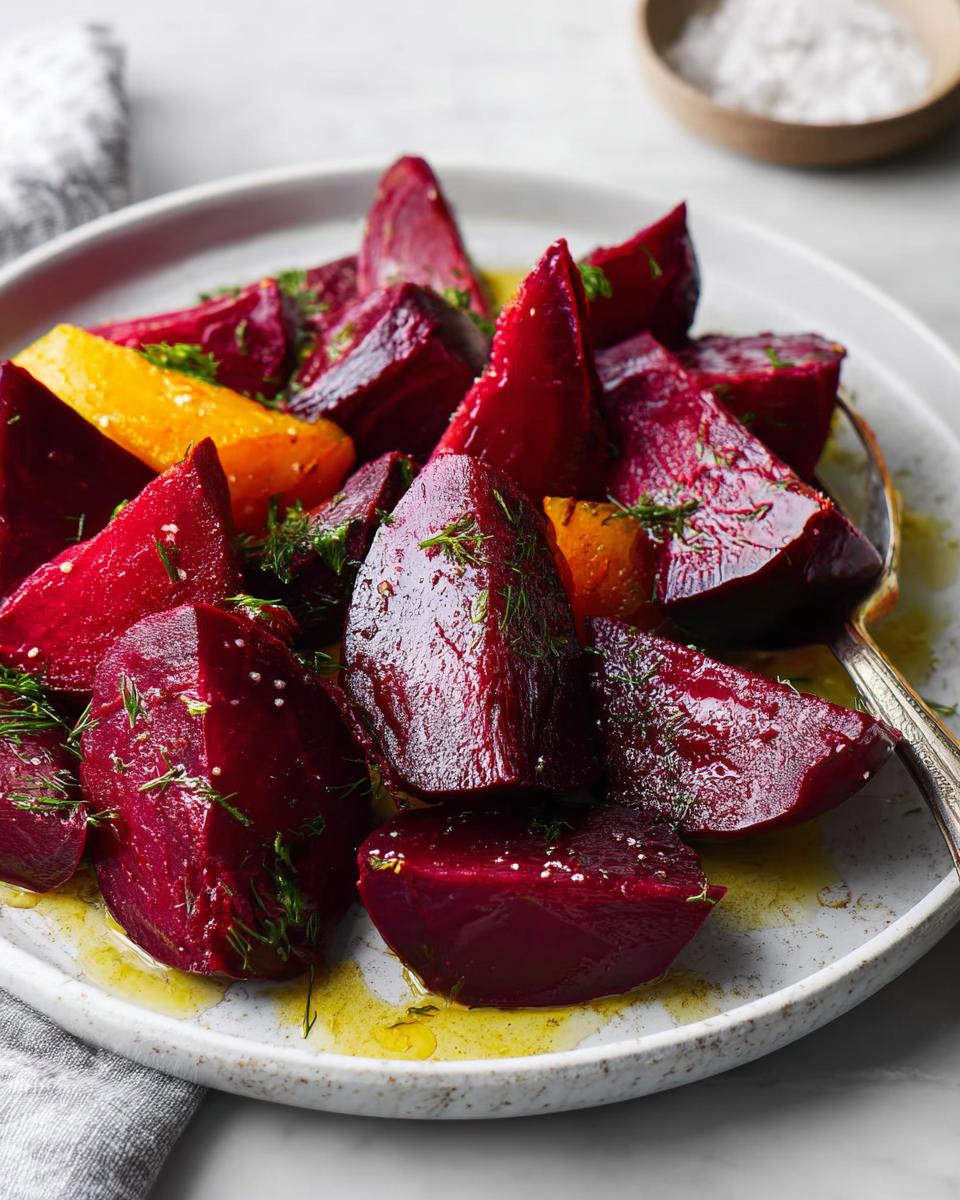
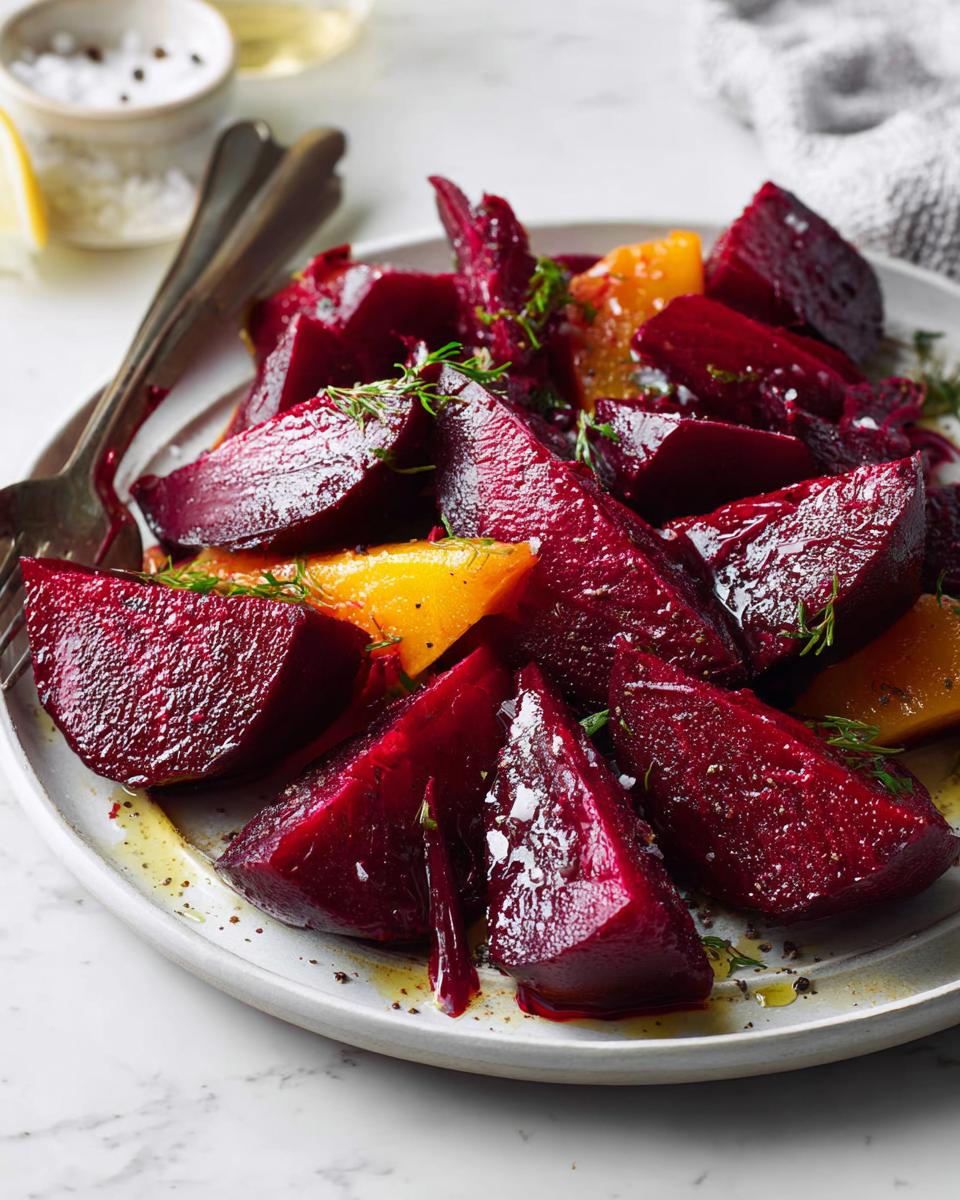
Now for the fun part! Once peeled, you can cut or slice your beets however you like. I usually go for wedges or bite-sized cubes. Give them another little drizzle of olive oil, a sprinkle of salt, and a grind of fresh pepper. Give them a good toss, taste a piece (my favorite part!), and adjust the seasoning if needed. And voilà! Your gorgeous roasted beets are ready to be devoured.
Tips for Success with Roasted Beets
Alright, so roasting beets is pretty straightforward, but like anything, a few little tricks can make them even better. It’s all about paying attention to the details to get that perfect sweet, tender result every time. So, let’s talk about how to make sure your roasted beets are absolute showstoppers!
First off, picking the right beets is key. Look for ones that are firm to the touch and have a deep, vibrant color. Avoid any with soft spots or blemishes. Smaller to medium-sized beets are usually best because they cook more evenly and have a sweeter flavor. If you end up with super big ones, they might take a bit longer, so just keep that fork-tender test in mind!
When it comes to peeling, that cool water trick is a game-changer. Sometimes, if the beets are *really* fresh and vibrant, the skins virtually melt away. If you’re struggling with peeling, don’t force it – just give them another quick rinse and gentle rub. And remember, roasting time is a guideline, not a strict rule! Your oven might run hotter or cooler, and beet size varies, so always trust your fork. For more amazing vegetable side dish ideas, definitely check out this great resource.
Ingredient Notes and Substitutions
You know, the beauty of this roasted beet recipe is how simple it is, but you can absolutely play around with it! It’s totally adaptable. If you’re out of olive oil, a good quality avocado oil works just as well. It has a high smoke point and a really neutral flavor, so it lets those sweet beet flavors shine through. Some people even swear by a tiny bit of coconut oil for a subtle hint of sweetness, though I usually stick to olive oil myself.
And salt and pepper? While sea salt and freshly ground black pepper are my go-to for that clean, sharp flavor, feel free to experiment! A sprinkle of flaky Maldon salt right at the end adds a lovely texture. If you’re feeling adventurous, a pinch of smoked paprika or a tiny dash of chili flakes can add a whole new dimension. For more idea on how to make your meals work for different needs, check out this guide on meal planning!
Serving Suggestions for Your Veggie Sides
Okay, so you’ve got these gorgeous roasted beets, and you’re wondering what to put on the rest of the plate, right? Don’t stress! These beets are so versatile, they play well with pretty much anything. Think of them as the perfect supporting actor that totally steals the show! They’re amazing alongside a perfectly cooked piece of chicken, like this easy Tuscan chicken recipe. So simple, yet so delicious!
And if you’re looking for a full meal that comes together in a flash, you *have* to check out ideas for easy one-pot meals. These roasted beets are the perfect colorful addition to any of those weeknight wonders. They add that beautiful pop of color and a fantastic earthy sweetness that just makes everything feel a little more special. Seriously, your guests will think you spent hours in the kitchen!
Frequently Asked Questions About Roasted Beets
Got questions about these amazing roasted beets? I’ve got you covered! Cooking with veggies can sometimes bring up a few curiosities, and that’s totally normal. Let’s dive into some common queries to help you out.
Can I roast beets without foil?
Oh yeah, you totally can! If you’re trying to be more eco-friendly or just ran out of foil, roasting beets directly on a baking sheet works too. Just give the beets a good drizzle of olive oil and season them well. You might want to place them on a layer of parchment paper on your baking sheet because beets can bleed a bit, and this makes cleanup way easier. They might get a little more caramelized and even slightly crispy on the edges, which is pretty delicious in its own right!
How long do roasted beets last?
Once they’re roasted and cooled down, you can store your beets in an airtight container in the refrigerator. They usually stay good for about 3 to 5 days. They’re great for meal prepping because you can just grab a portion whenever you need a quick, healthy side dish. Just give them a little taste test before serving, as the flavor can deepen over time.
Are beets good for you?
Absolutely! Beets are nutritional powerhouses. They’re packed with vitamins like folate, manganese, and potassium, and they’re a good source of fiber, which is great for digestion. They also contain antioxidants and compounds that can help reduce inflammation. So, not only are they super tasty, but they’re also doing wonderful things for your body. Talk about a win-win!
What if my beets are really tough after roasting?
If your beets aren’t quite fork-tender after the suggested roasting time, don’t panic! It usually just means they need a bit more time. Pop them back in the oven, covered, and check them every 10-15 minutes. Sometimes, larger or older beets just take longer. You can also try adding a tiny splash of water to the foil packet before re-wrapping them to help them steam a bit more. For any other questions, feel free to reach out!
Nutritional Information
Just a heads-up, the nutritional info here is a rough estimate, as it can totally change depending on the size of your beets and exactly how much olive oil you use. But generally, for about a 1/6th serving, you’re looking at roughly 150-200 calories, with about 8-12g of fat, 2-3g of protein, and 15-20g of carbs.
Share Your Culinary Creations!
Alright, so now you’ve whipped up these amazing roasted beets, and I bet they look and taste incredible! But guess what? The fun doesn’t stop there! I absolutely LOVE seeing how you bring my recipes to life in your own kitchens. Seriously, it makes my day!
So, please, don’t be shy! Leave a comment below and tell me how your beets turned out. Did you discover a new favorite seasoning? Maybe you paired them with something unexpected? Don’t forget to give the recipe a star rating if you enjoyed it – it really helps other cooks find these gems. And if you snap any photos, tag us on social media! I can’t wait to see your beautiful creations. For more about my kitchen adventures, check out my story!
Roasted Beets
Ingredients
Equipment
Method
- Preheat your oven to 400°F (200°C).
- Place each beet on a piece of foil. Drizzle generously with olive oil and sprinkle with salt and pepper. Wrap the beets in the foil, place on a baking sheet, and roast for 35 to 60 minutes, or until fork-tender. The timing will depend on the size and freshness of the beets.
- Remove the beets from the oven, remove the foil, and set aside to cool. When the beets are cool to the touch, peel off the skins. You can hold them under running water and slide the skins off with your hands.
- Cut or slice the beets and drizzle lightly with olive oil. Season to taste with salt and pepper, toss, and serve.
Notes
Tried this recipe?
Let us know how it was!
Certified Gluten-Free Culinary Master
Everything changed in 2017 when I received my celiac diagnosis. After ten years as a traditional pastry chef creating elaborate wedding cakes and French pastries, I suddenly couldn’t even taste my own work. It felt like the end of my culinary world.
Instead, it became my greatest challenge. I had to completely relearn baking – understanding how gluten-free flours behave differently, how they bind, how they absorb moisture. Adding the low-carb requirement? That was like solving a puzzle with half the pieces missing.
My breakthrough came with what I now call my “foundation flour blend system” – different combinations that seamlessly replace wheat flour while maintaining low-carb macros. These techniques have been adopted by culinary schools and have helped countless bakers who thought their favorite treats were gone forever.
That first successful batch of gluten-free, low-carb chocolate chip cookies? Watching my husband close his eyes and smile told me I’d found my true calling. Now, with over 300 tested recipes, I prove daily that dietary restrictions don’t mean culinary limitations.
When I’m not experimenting in my Austin test kitchen, I’m teaching weekend workshops or tending my herb garden with Biscuit, my rescue beagle who’s become an expert at detecting oven timers.