
You know, there’s something truly magical about that first time you roll out your own pasta dough. I remember a perfect Saturday afternoon, determined to wow my family, and as I kneaded, I felt this incredible connection to all the chefs I looked up to. It hit me then – pasta is as much about the love and skill you put in as it is about the ingredients themselves. That first taste of homemade fettuccine? Pure joy and pride! Since then, figuring out how to make pasta recipes like a pro (2025) has become a bit of an obsession for me. It’s a journey, and honestly, the process is just as delicious as the final dish. As Dr. Michael Thompson, a Nutritional Science Advisor, I’ve seen firsthand how empowering it is to master these techniques and bring that professional touch to your own kitchen.
The Foundation: Mastering Your Pasta Dough
Alright, let’s talk about the heart of everything – the pasta dough! This is where the magic really begins, and honestly, it’s the foundation for making pasta recipes like a pro. A good dough means everything is easier later on, from rolling to shaping. I always start with a really solid recipe, and for me, an egg-based dough is usually the way to go. It gives you that perfect richness and texture, but don’t be afraid to explore other types too!
Choosing the Right Pasta Dough Recipe
When I’m going for that classic pasta feel, an egg-based dough is my go-to. The eggs give it a beautiful golden color and a tender, yet sturdy, bite. But, if you’re making something like a delicate filled pasta or something that needs to hold up in a broth, a simple water-based dough can be amazing too. The key is using good quality ingredients – fresh eggs, good flour, and the right ratios. Trust me, it makes all the difference!
The Crucial Resting Period for Pasta Dough
Now, this is a step a lot of people skip, but oh my goodness, DON’T! Letting your pasta dough rest is super important. You want to wrap it up tight and let it chill for at least 30 minutes, sometimes even an hour. What’s happening in there? The gluten is relaxing, making the dough much easier to work with later. It stops being so springy and tough, allowing you to roll it out super thin without it fighting you. It’s a game-changer for achieving that perfect, pro-level texture!
Essential Tools for How to Make Pasta Recipes Like a Pro (2025)
Okay, so you’ve got your awesome dough ready to go. Now, let’s talk about the tools that help you get that professional finish. Honestly, you can totally make amazing pasta with just a good old rolling pin, but having the right equipment can make things a *lot* easier and help you achieve super consistent results. We’re talking about making pasta recipes like a pro, right? So, let’s get equipped! You can learn more about making pasta like a pro and see how these tools come into play.
Manual Pasta Rolling Techniques
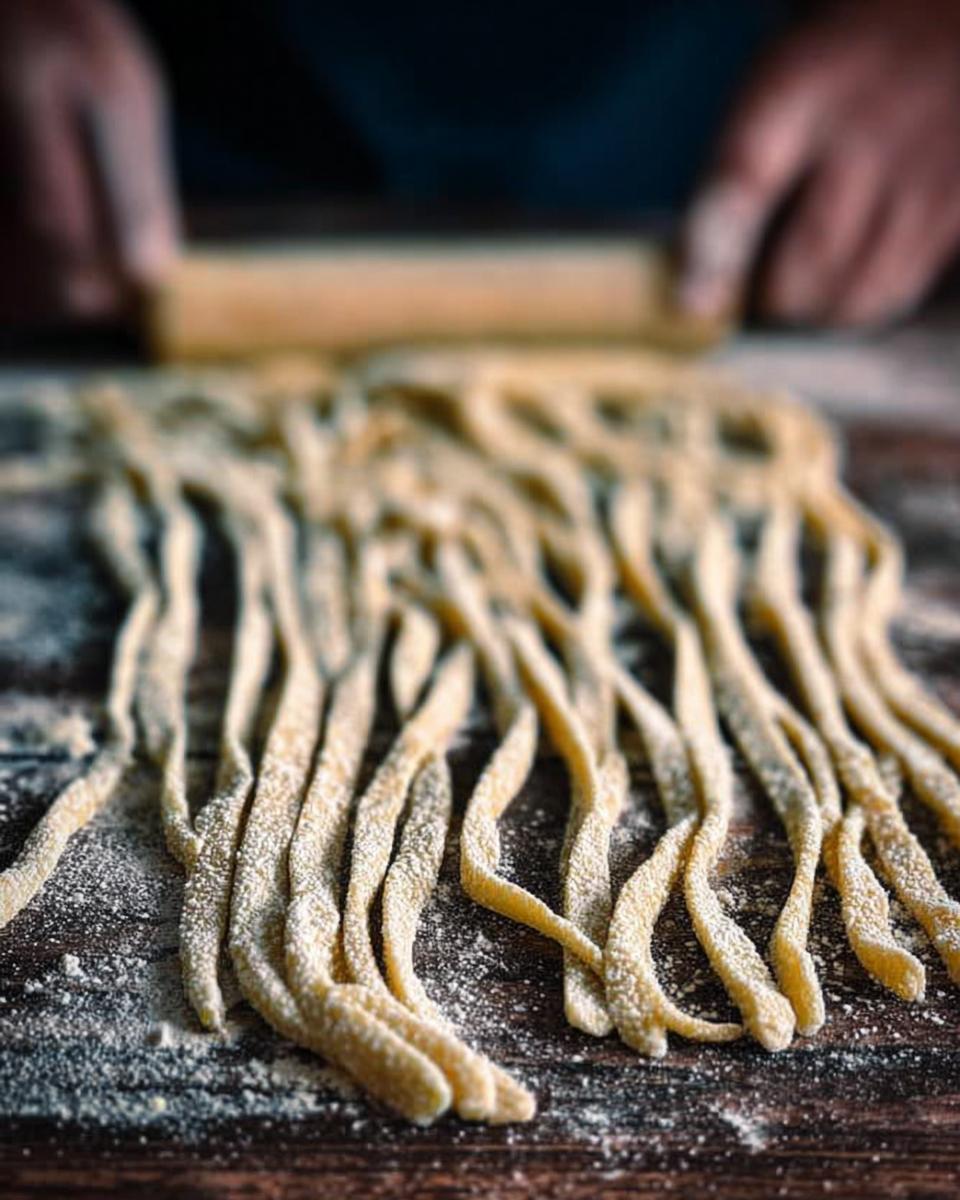
Don’t underestimate the humble rolling pin! It’s the most basic tool, but it’s totally possible to get beautifully thin pasta sheets with it. The trick is patience and a *lot* of elbow grease. You’ll want a good, sturdy pin and a large, clean surface. Roll from the center outwards, constantly turning the dough to get an even thickness. It takes some practice to get it consistently thin without tears, but when you nail it, it feels super rewarding. I like to keep some extra flour handy to prevent sticking.
Pasta Machines and Attachments
This is where things get fun if you want to speed things up and get that pro look! Pasta machines, whether they’re the classic crank kind or the fancy electric ones, are lifesavers for getting even sheets of dough. You just feed the dough through rollers that get progressively thinner. Plus, most machines have attachments for cutting different shapes – think fettuccine, linguine, spaghetti. Even if you’re using a KitchenAid mixer with a pasta attachment, it does all the heavy lifting for you. Brands like Imperia also make fantastic manual presses that give you incredible control!
Shaping and Cutting Your Homemade Pasta
Now comes the really fun part – turning those beautiful sheets of dough into amazing pasta shapes! This is where you can really let your creativity shine and get that professional look. Whether you’re going old-school with a knife or using a machine, getting the shapes right is key to making your dishes sing.
Hand-Cut Pasta Shapes
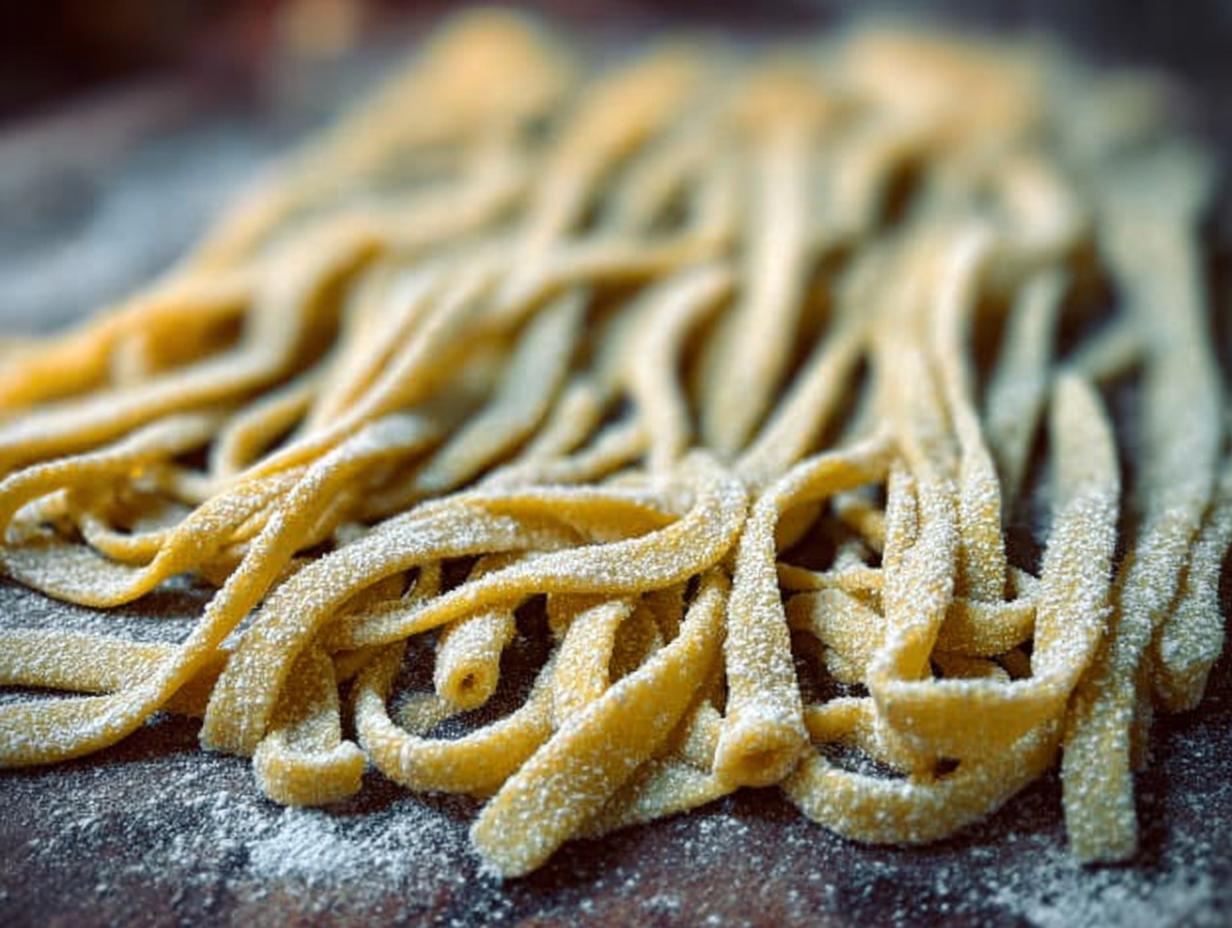
For shapes like lasagna, pappardelle, or tagliatelle, I love using a sharp knife to cut the pasta sheets by hand. It’s all about getting that dough rolled thin and even first. Then, just fold it gently a few times, like a loose scroll, and slice it into strips. For pappardelle, make them nice and wide! The trick to clean cuts is a sharp blade and not rushing. You want nice, defined strands that will cook perfectly and hold your sauce beautifully.
Using a Motorized Pasta Press
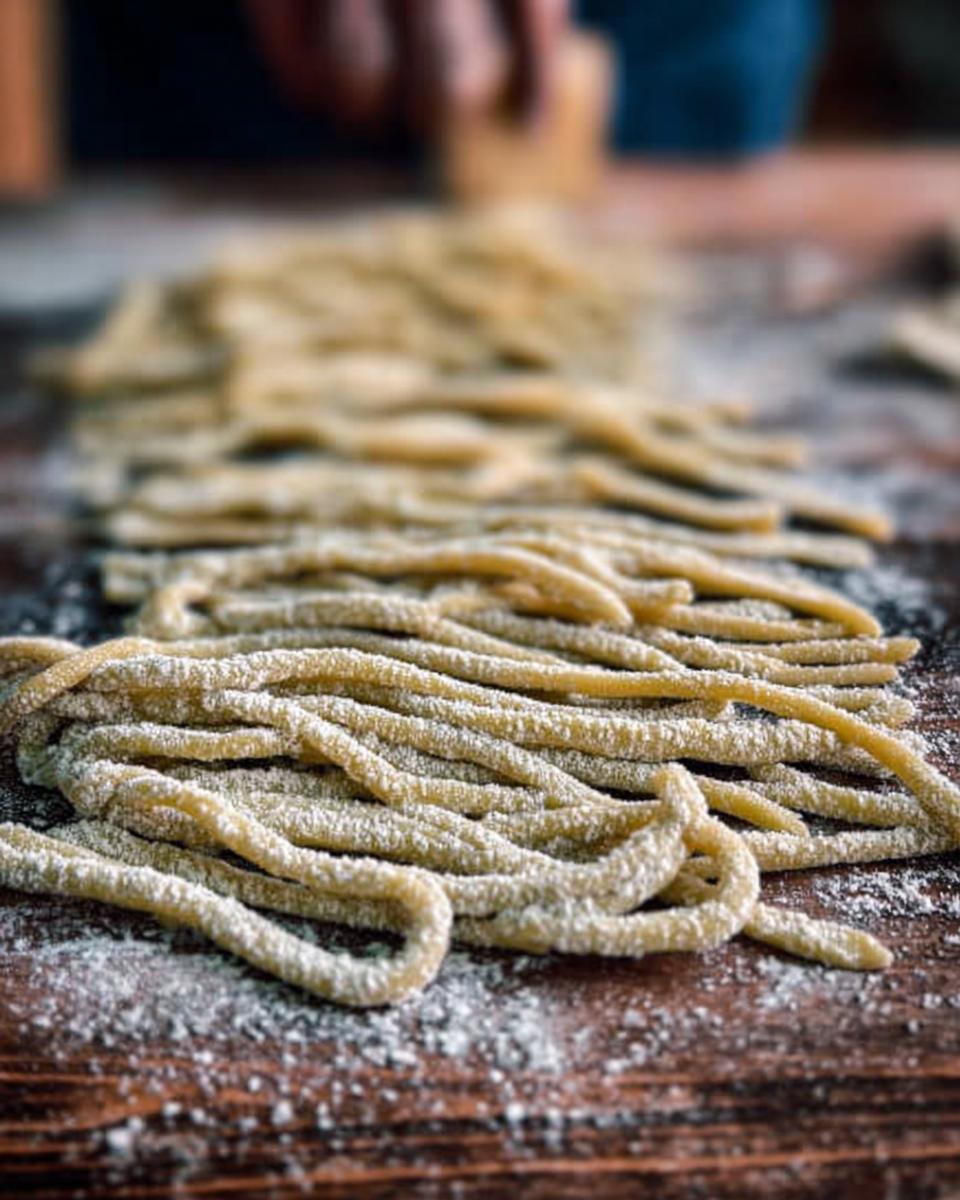
If you’ve got a motorized pasta press, it’s a game-changer for efficiency. You feed your dough sheet through, and out pops beautifully cut strands. It’s all about finding a rhythm – pushing the dough in and catching the pasta as it emerges. Honestly, it takes a little practice to get the hang of it, but once you do, you can churn out perfect spaghetti or fettuccine in no time. It’s definitely a technique that helps you make pasta like a pro!
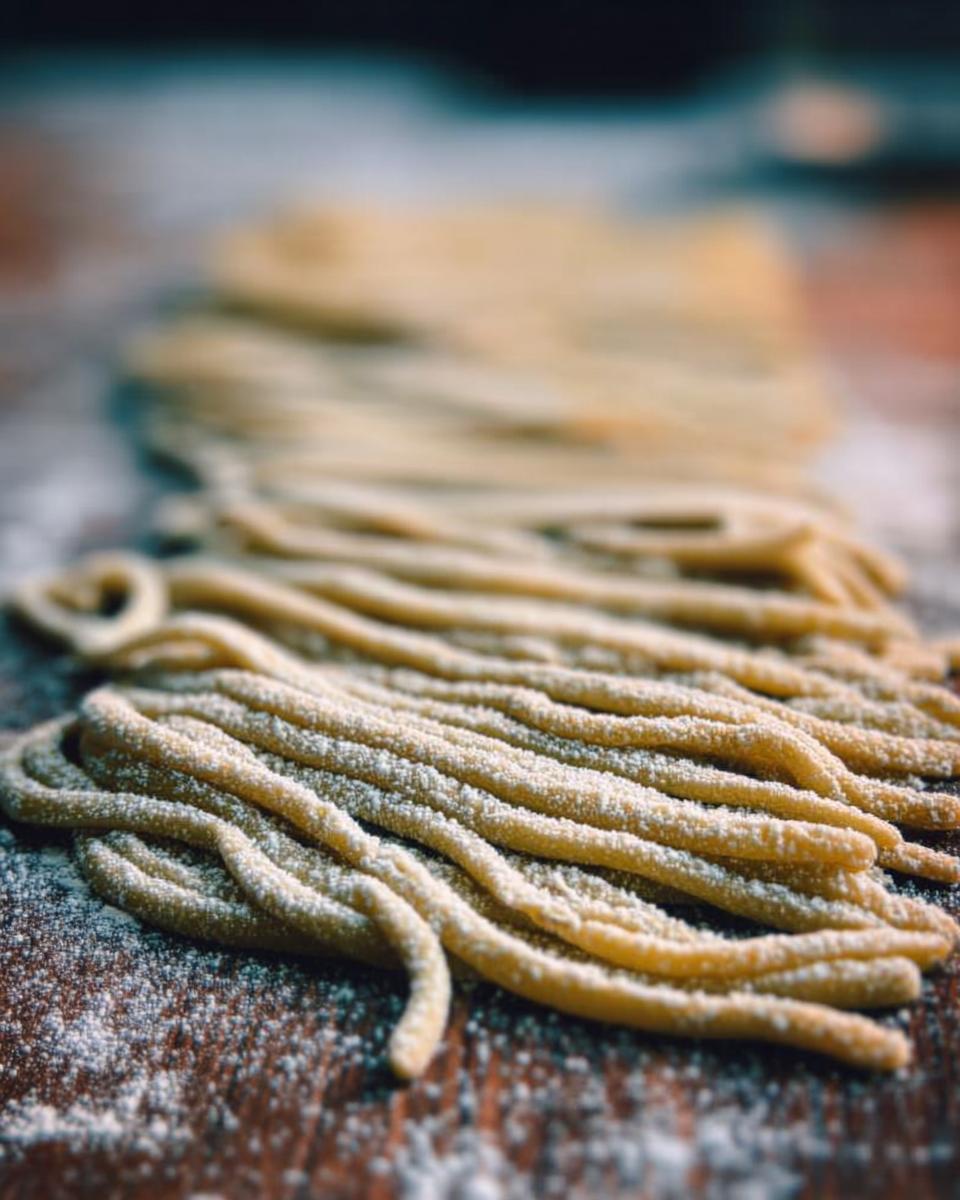
The Art of Drying Fresh Pasta
Alright, now that we’ve got our gorgeous pasta shapes ready, let’s talk about the drying process. This step is SO important, guys, especially if you want to make pasta recipes like a pro without it turning into a tangled, sticky mess. Drying doesn’t just prevent sticking; it also changes the texture and even speeds up your cooking time later on. So, don’t skip this part!
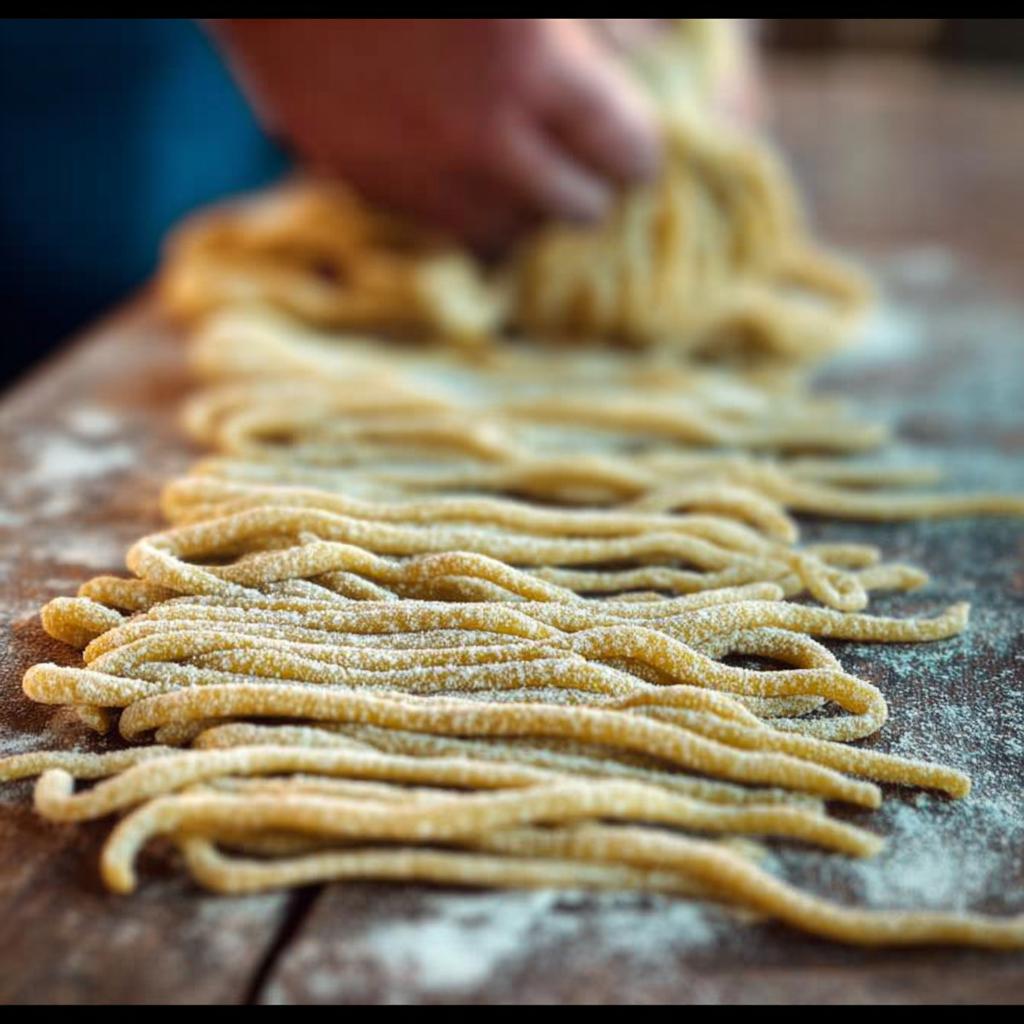
Preparing Your Drying Space
You’ll want to find a nice, clean spot to lay out your pasta. I usually just clear a large section of my counter and cover it with a clean kitchen towel. But if you’re making a lot, you might want to get a bit more organized. Some people use the backs of chairs (covered, of course!) or even a dedicated pasta drying rack, which is super handy if you make pasta often. The main thing is to have space for each piece of pasta to breathe and dry evenly. Make sure it’s not too humid in there, either!
Preventing Sticking with Semolina
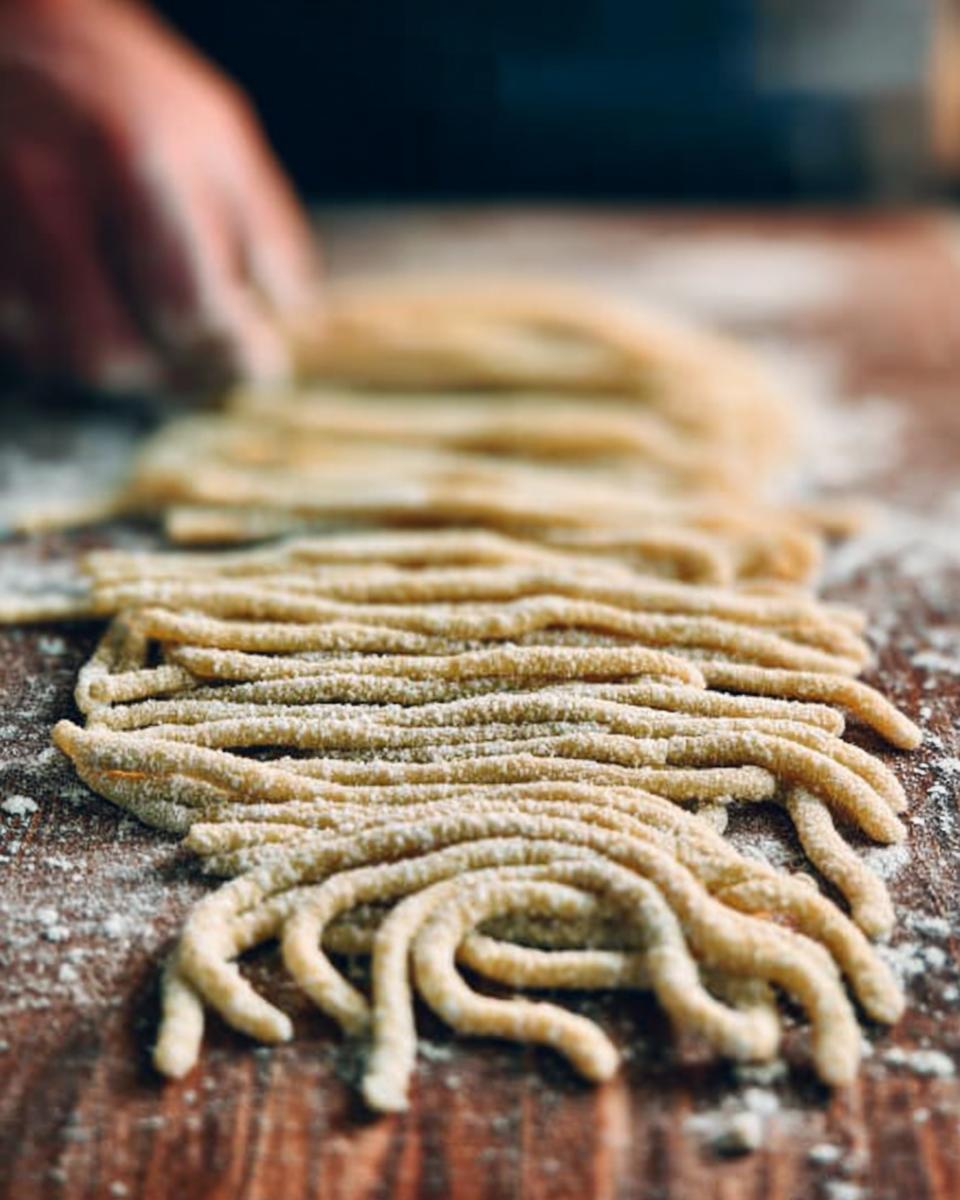
This is my secret weapon for perfectly separated pasta: semolina! You don’t need a ton, just a good dusting. As you cut or shape your pasta, toss it gently with some semolina. It acts like little bumpers, keeping each strand or shape from clinging to its neighbor. For a big batch of dough, I usually use about a cup or so of semolina, just to be on the safe side. You can also grab some fresh pasta recipes to see how much semolina they recommend based on the pasta type.
Achieving Optimal Pasta Dryness
So, how long does this drying thing usually take? For most fresh pasta, you’ll want to let it dry for at least 30 minutes. This is usually enough to firm it up nicely and get it ready for cooking. But here’s a pro tip: if you have the time, let it dry even longer! I sometimes make pasta in the morning for dinner, and just letting it lay out until the afternoon can make the cooking time way shorter. You want it to feel dry to the touch but still have a little give – not brittle, but definitely not sticky wet anymore. It’s a crucial step for making pasta like a pro!
Tips for Success: Elevating Your Pasta Game
You know, making pasta is a bit like playing a musical instrument – the more you practice, the better you get, and the more beautiful the results! To really push your pasta skills to that pro level, focus on a couple of key things that might seem small but make a huge difference.
Ingredient Quality Matters
Seriously, don’t skimp on your ingredients! Using really good quality flour, like a finely milled ’00’ flour, and fresh, vibrant eggs makes your dough taste so much better. It’s not just about the flavour, either; it’s about how the ingredients behave. Better ingredients mean a smoother dough that’s a joy to work with and results in pasta that tastes truly restaurant-worthy. You can find some great gluten-free meal ideas that pair wonderfully with homemade pasta, too!
Practice Makes Perfect
I know, I know, “practice makes perfect” sounds cliché, but with pasta, it’s SO true. Your first batch might not be flawless, and that’s totally okay! Every time you knead, roll, and cut, you’re learning. You’re getting a feel for the dough, understanding how it reacts. Don’t get discouraged! Just keep at it. The satisfaction you get from pulling out a perfectly shaped, delicious strand of homemade pasta is totally worth the effort. It’s an incredibly rewarding process, and you’ll be amazed at your progress.
Frequently Asked Questions About Pasta Making
Lots of people ask me about making pasta, and I totally get it! It can seem a bit daunting at first, but once you get the hang of it, it’s so much fun. Here are some of the questions I get asked most often when folks are trying to up their pasta game. If you have more questions, feel free to reach out via the contact page!
Can I make gluten-free pasta like a pro?
Absolutely! Making gluten-free pasta requires a bit of a different approach, but you can totally get pro results. You’ll want to experiment with gluten-free flour blends, often using things like rice flour, almond flour, or even chickpea flour for a boost of protein. The dough might be a little stickier or more crumbly, so don’t be afraid to adjust your liquid. Using a good binder like xanthan gum can also help things hold together!
How long does fresh pasta last?
Fresh pasta is best enjoyed pretty quickly, usually within a day or two if you keep it in the fridge. Make sure it’s well-wrapped or in an airtight container. If you want to make a bigger batch and save it for later, freezing is your best bet! Just spread the pasta shapes out on a baking sheet, freeze them until solid, then pop them into a freezer bag. It can last for a good month or two that way!
What is the best flour for homemade pasta?
For that classic, silky Italian pasta, a finely milled ’00’ flour is often the top choice. It gives you a really smooth texture. But honestly, you can make fantastic pasta with all-purpose flour too! Semolina flour is also brilliant, especially for shapes that need a bit more chew or structure, and it’s great for dusting to keep things from sticking. Experimenting with different flours can lead to some awesome discoveries!
Serving and Storing Your Homemade Pasta
Okay, you’ve done it! You’ve made beautiful, fresh pasta. Now, let’s make sure you serve and store it like a pro. It’s all about maximizing that amazing texture and flavor you worked so hard for. Think about pairing it with a killer sauce, maybe something like those amazing gluten-free chicken dishes we love!
Best Sauces for Fresh Pasta
The beauty of fresh pasta is its delicate texture. Thicker cuts like pappardelle or tagliatelle are amazing with rich, hearty sauces – think slow-cooked ragu or a creamy mushroom sauce. For thinner strands like spaghetti or linguine, lighter sauces work wonders, like a classic aglio e olio, a simple pesto, or even just butter and Parmesan. Don’t drown that gorgeous pasta in something too heavy; let its flavor shine through!
Storing Fresh Pasta Properly
If you’re not cooking all your pasta right away, you’ve got a couple of options. For short-term storage, just pop it in an airtight container in the fridge. Make sure it’s well-dusted with semolina to prevent sticking! For longer storage, freezing is your friend. Lay the pasta shapes on a baking sheet, freeze ’em until solid (this takes about an hour), then transfer them to a freezer bag. This way, you’ve got homemade pasta ready for quick meal prep anytime!
Nutritional Considerations for Your Pasta Creations
Now, let’s chat about what goes into your amazing homemade pasta. While this recipe is all about technique, it’s good to have a rough idea of the nutritional side. For a typical serving of pasta dough (which can vary a lot depending on how thick you roll it and what ingredients you use!), you’re likely looking at around 300-400 calories. Most of that will be carbohydrates, which is what gives you energy! You’ll also get a decent amount of protein, especially if you’re using eggs and a good quality flour. Fat content is usually pretty low in the dough itself. Remember, these are just estimates – what you pair it with, like a rich sauce or chicken thighs, will really change the final nutritional profile. For more ideas on planning meals, check out this gluten-free diabetic meal plan.
Share Your Pasta-Making Journey!
So, have you made pasta before? What are your favorite shapes to create? I’d absolutely love to hear all about your experiences, your triumphs, or even any little hiccups you hit along the way! Drop a comment below – let’s swap stories and answer any lingering questions you might have. You can also learn more about my journey and approach on the About page!
How to Make Pasta Recipes Like a Pro (2025)
Ingredients
Equipment
Method
- Start by preparing a good recipe for pasta dough. An egg-based dough is recommended, but many variations exist.
- Allow the dough to rest for at least 30 minutes. This resting period is crucial for the dough’s texture and workability.
- Decide on your equipment. You can use a rolling pin, but a pasta roller or press will help achieve an even result.
- If using a pasta machine, roll out the dough into flat sheets. These can be cut by hand for shapes like lasagna or pappardelle, or sent through attachments for spaghetti or fettuccine.
- If using a motorized pasta press, learn the rhythm of feeding the dough and slicing the shapes as they emerge. This takes practice.
- Prepare a clean space for drying the pasta. This could be a large table, the backs of chairs, or a drying rack.
- Dust the pasta pieces with semolina to prevent them from sticking together as they dry.
- Let the pasta dry for at least 30 minutes. For weekend meals, you can make the pasta in the morning and let it dry under towels until evening to reduce cooking time.
Notes
Tried this recipe?
Let us know how it was!
Certified Nutritional Science Authority
The intersection of celiac disease and metabolic health fascinated me from my first dietetic internship. Watching patients struggle to find foods supporting both their autoimmune condition and weight goals launched my career mission: proving medically necessary diets can be nutritionally optimal.
For twelve years, I’ve specialized in gluten-free living while achieving metabolic health objectives. My published research demonstrates that properly planned gluten-free, low-carb eating provides superior nutrition compared to standard approaches.
The hidden trap? Most commercial gluten-free products are carb bombs – rice flour and potato starch masquerading as healthy alternatives. My frameworks avoid this completely, using nutrient-dense ingredients like almond flour and flaxseed that enhance rather than just replace.
Every recipe I review meets rigorous standards: adequate protein for metabolic support, healthy fats for satiety, proper fiber levels for digestive health – all maintaining strict gluten-free protocols for celiac management. I’ve guided over 500 individuals through this optimization process.
My personal gluten-free, low-carb lifestyle fuels my long-distance cycling and triathlon training – proof that these approaches deliver sustained energy and mental clarity. Medical necessity doesn’t mean nutritional compromise.