
Ugh, weeknight dinners, right? It feels like a constant battle trying to find something *new* and *delicious* that doesn’t take hours to make. And chicken thighs? They’re amazing – so juicy and forgiving! But sometimes, I just want a recipe I can trust, one that’s a guaranteed crowd-pleaser. Well, get ready to ditch those recipe searches, because I’ve got it right here: The Only Chicken Thigh Recipes Recipe You’ll Need (2025). It’s simple, packed with flavor, and seriously, it’s the only one you’ll ever need. I remember the first time I made it for my family on a crazy busy night; the aroma filled our house, and seeing those happy faces? Pure magic. This recipe quickly became our go-to, bringing us together around the table, one delicious bite at a time.
Why This is The Only Chicken Thigh Recipes Recipe You’ll Need (2025)
So, why am I calling this The Only Chicken Thigh Recipes Recipe You’ll Need (2025)? Honestly, it’s all about making life easier and your dinner table happier! This isn’t some fussy, complicated dish. It’s designed for *real* life, for those nights when you want something amazing on the table without all the fuss. Trust me, you’ll be reaching for this one again and again.
-
Effortless Preparation
Seriously, this recipe is a lifesaver on busy weeknights. You just mix up a quick seasoning paste, toss the chicken, and let the oven do most of the work. There’s hardly any hands-on time involved, which means more time for you to relax or actually hang out with your family instead of being stuck in the kitchen.
-
Unbeatable Flavor
Don’t let the simplicity fool you – these chicken thighs are bursting with flavor! That blend of garlic, onion, paprika, and herbs creates an incredible crust while keeping the inside super juicy and tender. It’s that perfect balance that makes you lick your fingers – a savory, slightly smoky taste that just hits the spot every single time.
Ingredients for The Only Chicken Thigh Recipes Recipe You’ll Need (2025)
Alright, let’s talk about what you’ll need to make The Only Chicken Thigh Recipes Recipe You’ll Need (2025). Don’t worry, it’s all pretty standard stuff you probably already have in your pantry! Getting these right makes all the difference for that amazing flavor and tender texture we’re aiming for.
First up, the seasoning magic. You’ll grab:
- 2 tablespoons of good old olive oil – it helps the spices stick!
- 2 teaspoons of garlic powder – can you ever have too much garlic? I think not!
- 2 teaspoons of onion powder – for that savory base
- 1 teaspoon of ground paprika – gives it a lovely color and a hint of smokiness
- 1 teaspoon of Italian seasoning – a little herby goodness
- 1 teaspoon of dried parsley – brightens everything up
- 2 teaspoons of salt – essential for flavor!
- 0.5 teaspoon of black pepper – just a little kick
And for the star of the show, the chicken:
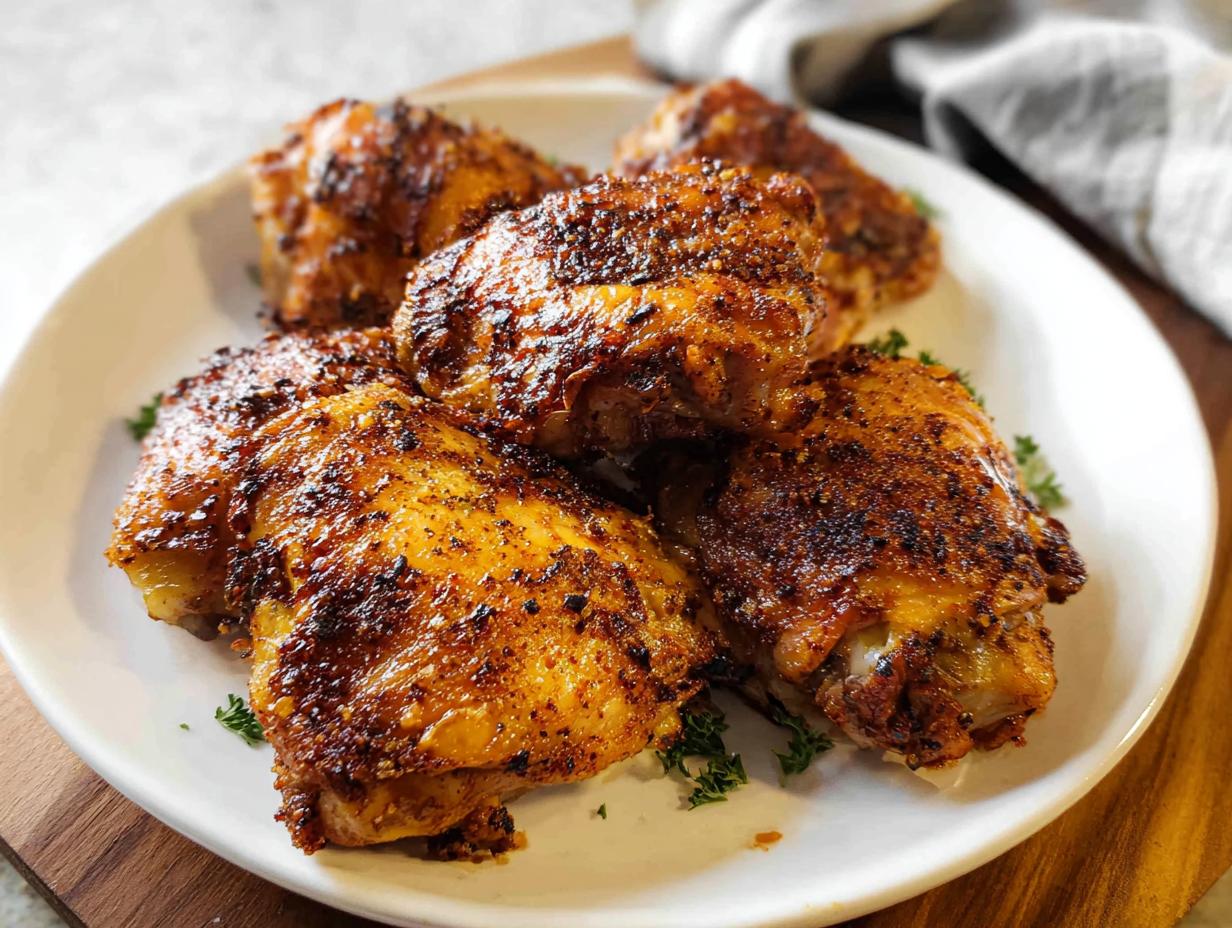
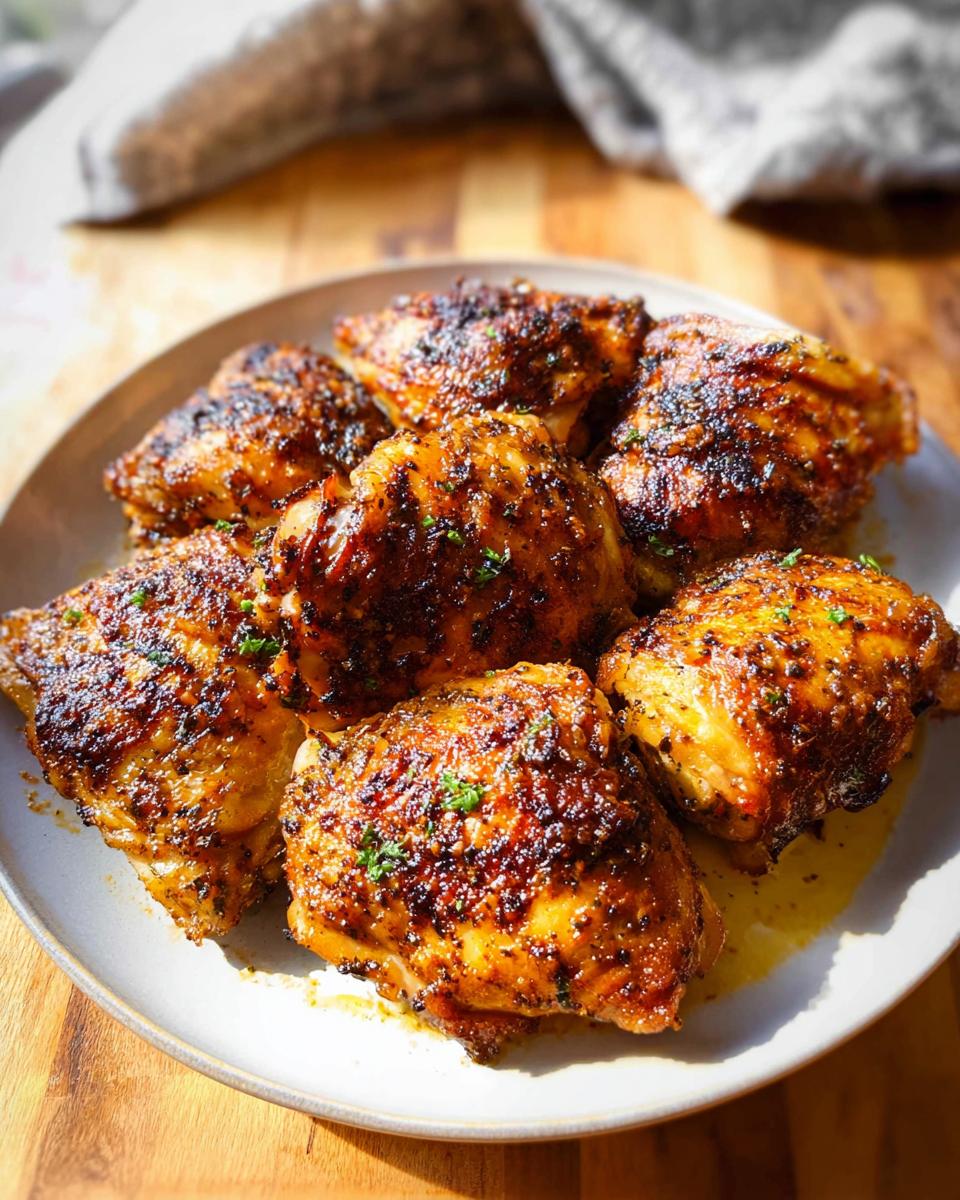
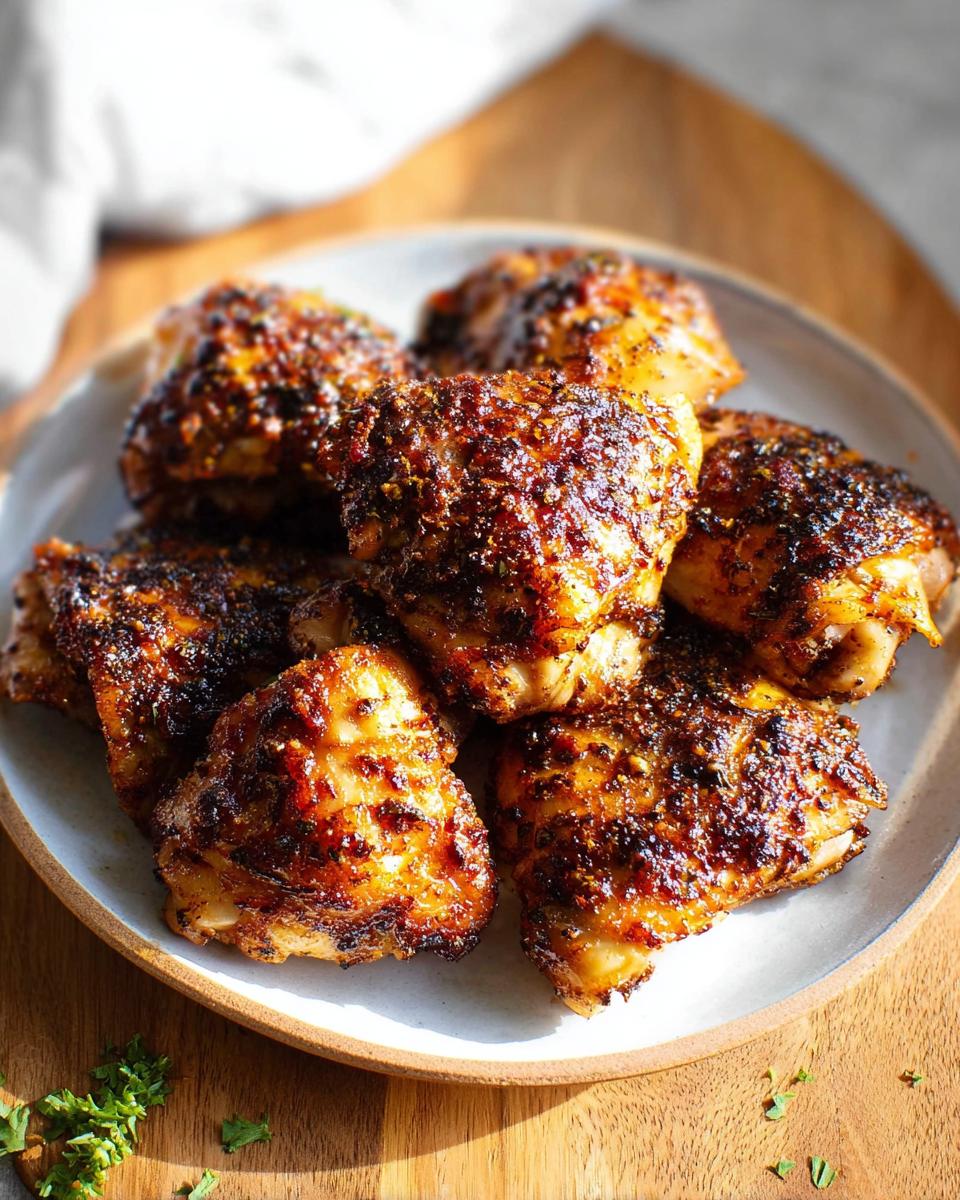
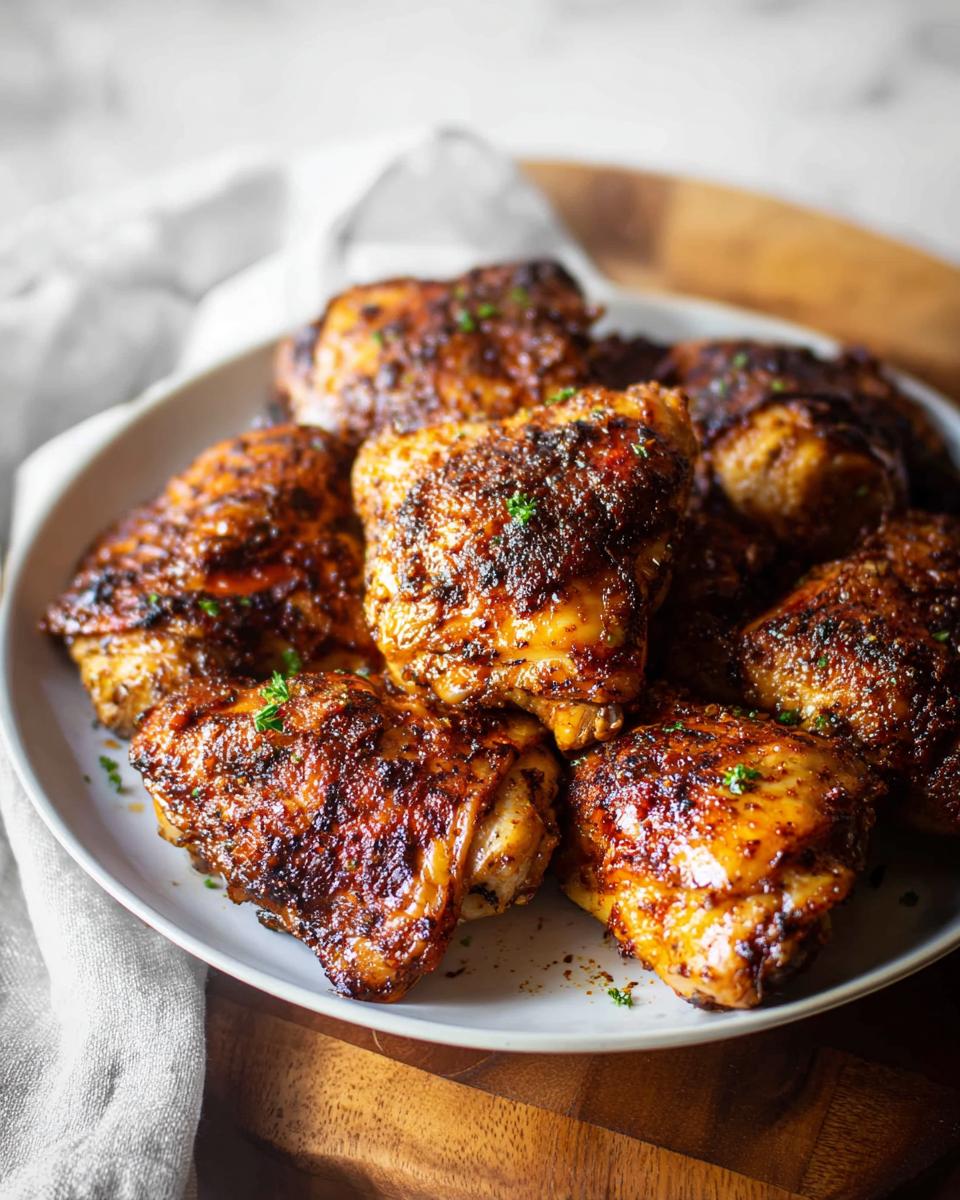
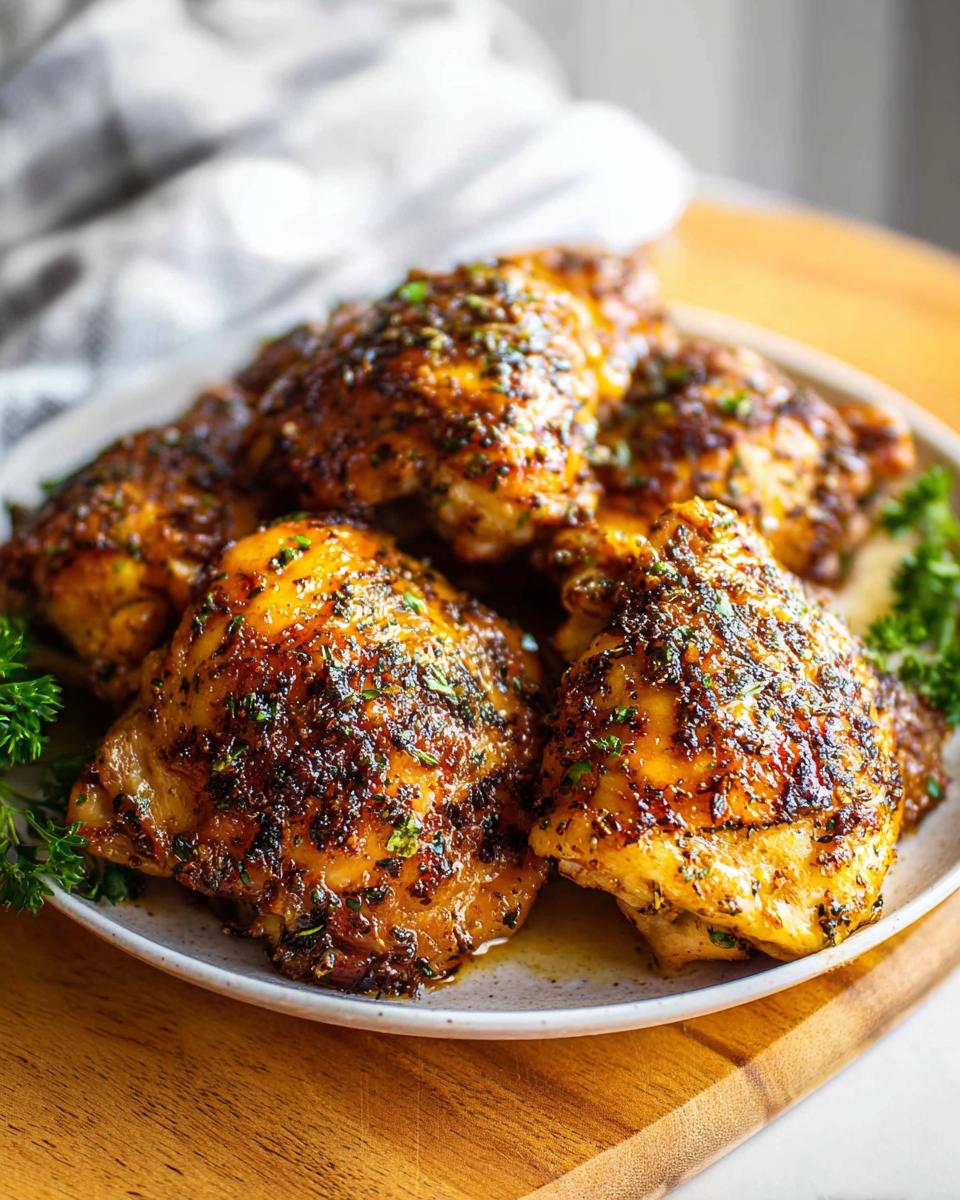
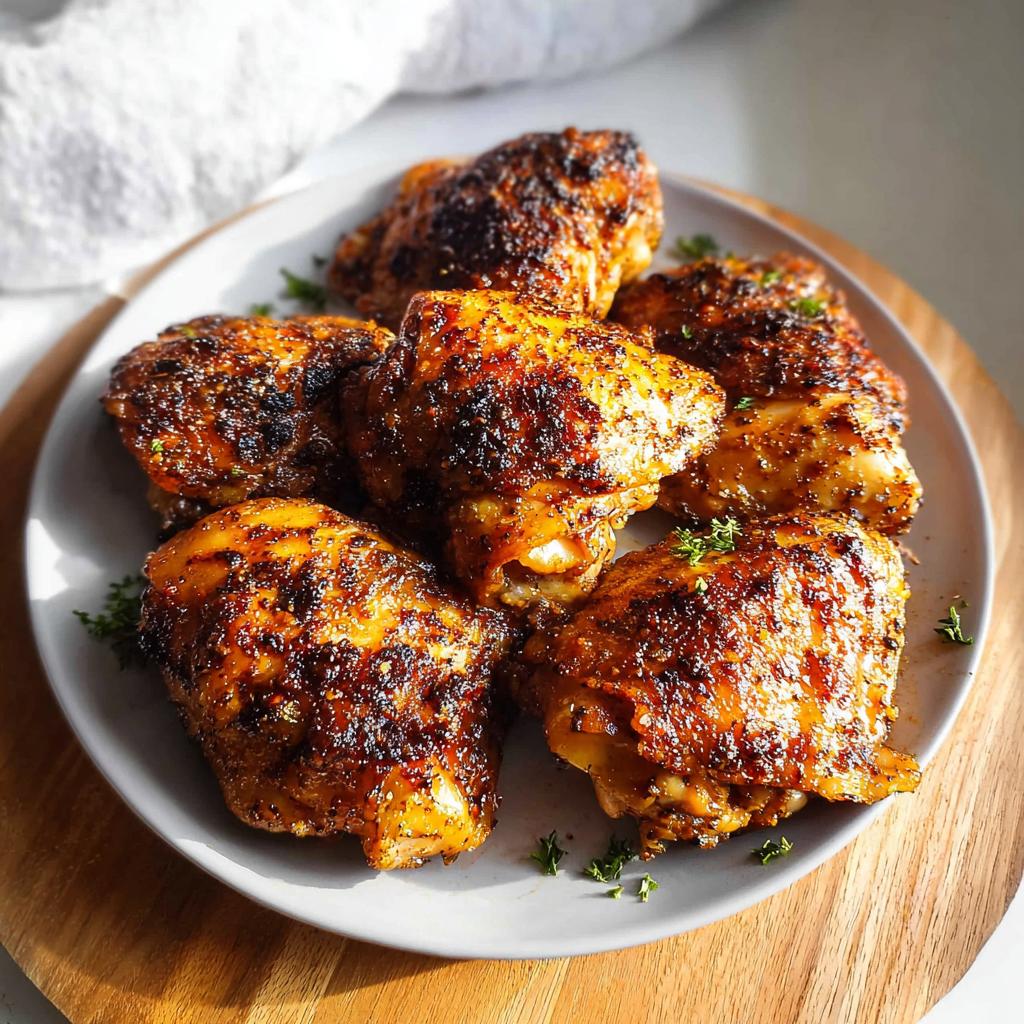
- 2 pounds of chicken thighs (that’s usually about 6 to 8 pieces). Make sure they’re patted really dry – we want that skin to get nice and crispy!
- 1 tablespoon of butter, diced – this is totally optional, but it adds a little extra richness and helps with browning.
How to Prepare The Only Chicken Thigh Recipes Recipe You’ll Need (2025)
Alright, let’s get cooking! Making The Only Chicken Thigh Recipes Recipe You’ll Need (2025) is honestly a breeze. Just follow these simple steps, and you’ll have perfectly seasoned, juicy chicken thighs in no time. No fancy techniques, just good old-fashioned deliciousness! If you’re looking for more crispy skin secrets, check out these tips.
Step 1: Preheat and Prepare the Pan
First things first, get that oven roaring to 400°F! While it’s heating up, grab a rimmed baking sheet. Lining it with foil makes cleanup a dream, trust me. Pop that lined pan into the oven as it preheats – a hot pan helps get that skin nice and crisp right from the start.
Step 2: Create the Flavorful Seasoning Paste
Now for the flavor maker! In your big bowl, mix the olive oil with all those yummy dried seasonings: garlic powder, onion powder, paprika, Italian seasoning, parsley, salt, and pepper. Stir it all up until you’ve got a thick, fragrant paste. This is what coats the chicken and locks in all the yummy goodness.
Step 3: Coat the Chicken Thighs
Toss those patted-dry chicken thighs right into the bowl with the seasoning paste. Get your hands in there (or use tongs if you prefer!) and really rub that paste all over each piece, making sure to get under the skin a bit. If your bowl is feeling a little snug, don’t be afraid to do it in two batches. We want every inch coated!
Step 4: Initial Bake and Butter Addition
Carefully take that hot baking sheet out of the oven. Lay your seasoned chicken thighs onto it, giving them a little space so they can brown nicely. If you’re using butter for extra richness, dot those little cubes over the chicken now. Pop it back into the hot oven and let it bake for about 20 minutes.
Step 5: Basting for Juiciness
After those first 20 minutes, carefully pull the pan out again. See all those delicious juices pooling in the pan? Spoon some of that liquid right over the chicken thighs – this is called basting, and it keeps them super moist and adds even more flavor. Into the oven they go again for another 10 minutes.
Step 6: Final Bake and Temperature Check
Give them another quick baste after those 10 minutes are up. Now, you’ll continue baking for another 5 to 15 minutes. The most important part here is to use a meat thermometer! You want to check that the thickest part of the chicken reaches an internal temperature of 165°F. That’s the magic number for perfectly cooked, safe chicken thighs.
Tips for Perfect Chicken Thighs
Okay, so you’ve got the recipe, but let’s talk about taking these chicken thighs from just good to *absolutely spectacular*. A few little tricks can make all the difference, especially when you’re aiming for that perfect bite every single time. These are the things I’ve learned over the years that really elevate the final dish, making sure every piece is tender and full of flavor.
Seasoning Application Techniques
You know how I mentioned rubbing the seasoning paste into the skin? That’s key for amazing flavor! You really want that paste to adhere. If you’re not a fan of touching raw chicken, or if you notice some of the seasoning just slides off during cooking, here’s my little workaround: after you baste the chicken the second time, just sprinkle on a bit more salt, garlic powder, onion powder, and whatever other dried herbs you used. It’s not quite the same as the initial paste, but it helps freshen up that crust before the final bake. For more amazing chicken ideas, sometimes I look at recipes like this Tuscan chicken; it gives me inspiration on how to build layers of flavor.
Ensuring Food Safety
Listen, nobody wants undercooked chicken, right? That’s why a meat thermometer is your best friend here, seriously. Don’t guess! You need to see that thermometer hit 165°F in the thickest part of the thigh. Ovens can be quirky, and chicken pieces aren’t always the same size, so trust the thermometer, not just the clock. It takes just a few extra seconds and gives you total peace of mind that your chicken is perfectly cooked through and, most importantly, safe to eat. It’s the surest way to get those juicy results without any worry.
Ingredient Notes and Substitutions
Let’s chat a bit about the ingredients in this recipe, because sometimes you need a little flexibility in the kitchen! The olive oil is pretty standard, but if you don’t have it, any vegetable oil will totally work. For the spices, don’t sweat it if you’re missing Italian seasoning – a pinch of dried oregano or even just more dried parsley is just fine. If you’re keeping it dairy-free or just don’t have butter on hand, no worries at all! The butter adds a nice touch, but the chicken will still be wonderfully flavorful and juicy without it. It really just comes down to what you have and what you like!
Serving Suggestions
These chicken thighs are so versatile, they’ll basically go with anything! For a super easy weeknight meal, try serving them alongside some fluffy rice or roasted potatoes. If you’re looking for something a little lighter, a fresh green salad or some steamed broccoli is always a winner. Honestly, they’re fantastic with just about any veggie side. For more easy dinner ideas, check out these one-pot wonders or explore balanced meal planning!
Storage and Reheating
Got leftovers? Lucky you! Let these delicious chicken thighs cool down completely, then pop them into an airtight container. They’ll be good in the fridge for about 3-4 days. When you’re ready to enjoy them again, a quick reheat is all you need. You can pop them back in the oven at around 350°F for about 10-15 minutes, or even reheat them gently in a skillet on the stovetop. For quick lunches, check out these easy lunch ideas!
Frequently Asked Questions
Got some burning questions about these chicken thighs? I get it! It’s always good to know the little details. Here are a few things people often ask, and don’t worry, they’re super simple fixes!
Can I use chicken breasts instead of thighs?
You totally can, but chicken breasts cook much faster and can dry out more easily. If you use them, you’ll want to keep a close eye on them and probably reduce the total baking time significantly. Start checking the temperature after about 15-20 minutes total to avoid overcooking.
How do I ensure crispy skin?
The key is getting that skin *really* dry before you season it, so pat those thighs down well! Also, making sure your pan is nice and hot when you lay the chicken on it helps a lot. For extra crispiness, you can even try broiling them for the last minute or two, but watch them super carefully so they don’t burn!
Can this recipe be made ahead of time?
You can definitely prep the seasoning paste and get the chicken seasoned a few hours ahead of time and store it covered in the fridge. That way, when it’s dinner time, you just pop it onto the hot pan and into the oven. Just remember the basting is best done right before serving for maximum juiciness!
Nutritional Information
Just a heads-up, the nutritional info below is an estimate per serving, since oven temps and exact chicken sizes can vary a bit! But generally, you’re looking at around 347 calories, 28g of fat, 21g of protein, and only 2g of carbs. Pretty amazing for such a flavorful dish, right?
Share Your Culinary Creations!
Okay, now it’s your turn! I’d absolutely LOVE to hear how your chicken thighs turned out. Did you try any fun variations? Let me know in the comments below, or give this recipe a rating if you loved it! You can also connect with us and share your delicious photos on social media. If you have any questions or just want to say hi, feel free to reach out via our contact page!
The Only Chicken Thigh Recipes Recipe You’ll Need (2025)
Ingredients
Equipment
Method
- Preheat your oven to 400°F. Line a rimmed baking sheet or large rimmed pan with foil. Place the lined pan in the oven as it heats. You want the pan to be hot when you add the chicken.
- In a large bowl, combine the olive oil with all the dried seasonings to form a paste.
- Add the chicken thighs to the bowl with the seasoning paste. Toss to coat. If your bowl is too small, work in batches. Remove each thigh and rub the seasoning into the skin.
- Carefully place the seasoned chicken thighs onto the hot pan. Dot with the diced butter, if using. Bake in the hot oven for 20 minutes.
- Carefully remove the pan from the oven and baste the chicken with the juices that have accumulated in the pan. Return the pan to the oven and bake for 10 more minutes. Baste again.
- Continue baking for another 5-15 minutes, or until the chicken reaches an internal temperature of 165°F. Use a meat thermometer to check.
Nutrition
Notes
Tried this recipe?
Let us know how it was!
Master Recipe Testing Coordinator
Honestly? I got into recipe testing because I was tired of expensive failures. My gluten sensitivity meant constantly modifying recipes, only to watch them fall apart in my kitchen. After earning my food science degree, I realized the problem wasn’t the recipes – it was the lack of real-world testing.
So I built what became our signature system: every recipe gets tested by fifteen different home cooks. Grandmother with a 1970s oven? Check. College student with only a hot plate? Double check. Denver altitude versus Miami humidity? We’ve got it covered.
My food science background explains why certain substitutions work, but my gluten sensitivity keeps it real. I know the disappointment of reading “just like the original” and ending up with wasted ingredients and ruined dinner plans.
Our network now includes over 200 volunteer testers across different regions, skill levels, and dietary needs. I track everything – ingredient availability, altitude performance, equipment variations – until each recipe achieves “foolproof reliability.”
Leading our social media community is equally rewarding. Whether troubleshooting a recipe gone wrong or celebrating someone’s first successful gluten-free bread, I’m there for every step of their journey.
When I’m not coordinating test kitchens, I’m hiking with Scout, my border collie mix, mentally planning the next round of testing protocols. Reliable recipes aren’t just nice to have – they’re essential for sustainable dietary change.